

Install Bonelab Mods WITHOUT A PC | How to Install Bonelab Mods Directly On Quest 2
Want to install mods for Bonelab but don’t have a PC, or don’t want to go through all of the hassle to plug your headset into your computer every time you want to install new mods for Bonelab?
Well good thing you don’t have to, because you can download and install Bonelab Mods directly on to your Quest 3 or Quest 2 without needing a PC at all! Here’s a guide on how.
The New Way - How To Download And Install Bonelab Mods
Since the release of Patch #4 on June 6, 2024 Bonelab mods are WAY easier to download and install without a PC on any Meta Quest or other standalone device.
If you still want to install your Bonelab mods manually the old way using Mobile VR Station then keep scrolling down to the rest of the article, but this section will cover how to more quickly and easily install mods since Bonelab patch #4.
Anyway start the game as usual and once you find yourself at the main menu click on the big “MODS” button.

The Mods button in the Bonelab main menu
You will get some prompts asking you if you’re sure you want to install mods, go ahead and accept all of those. You wouldn’t be following this guide if you didn’t want to install Bonelab mods anyway, right?
Once you find yourself in the Mods menu there will be some more buttons, click the “Downloads” button.

The Downloads button in the Bonelab mod menu
In the following menu click the “Mod.io” button, and you’ll be in the Mod.io menu. Since you haven’t already connected Bonelab to mod.io you’ll only see a single button saying “Mod.io Log In” click that.
After a brief delay the button will change into a screen like this one with a five digit code where the red blob is.

You’ll need the code on this page to connect Bonelab to your mod.io account
Go to a browser while keeping your headset on and connected to your WiFi. This could be on any sort of device like a phone or tablet, as long as it is a browser and it is on a device that is connected to the same WiFi network as your Quest is.
Go to mod.io/connect. The first thing you will see once you get there is a page saying that you need to log into mod.io in order to proceed. You can’t connect your account to your Quest headset if you don’t have an account after all.

You’ll have to log into mod.io when you see a screen like this in your browser
Luckily there are a ton of ways to log into mod.io and subscribe to Bonelab mods. You can use any sort of email to sign up, or log in with Discord or Gmail if you already have one of those accounts. No matter how you sign in mod.io is completely free, so don’t worry about any fees.
Once you’re signed in go back to mod.io/connect. Now it will ask you for the 5 digit code that is displayed inside of your headset.

Enter your 5 digit code that you got inside of Bonelab into this browser window
Enter the code and hit submit. As long as you entered it correctly and both your headset and the device you are using the browser on are connected to the same network you will see a prompt telling you you are successful.
Congratulations! Now your mod.io account and your Bonelab installation on your headset are connected. Any mods that you subscribe to on that mod.io account will transfer over to your headset.
So now it’s time to subscribe to some mods! Go to “Browse Games” in the top left corner of your mod.io browser window and search for “Bonelab.” There are an absolute ton of mods made by the fantastic Bonelab modding community for you to pick from. Subscribe to one or two to test it out.

Look at all these Bonelab mods on mod.io!
Once you’re subscribed to the mods you want, put your headset back on and go back to the same Mod.io menu inside of Bonelab that you were in last (where we got the code to enter into mod.io).
Now instead of a login button there will be a different button saying “Download All.” Click that button, and shortly your mods will download to your headset.

Downloading mods for Bonelab
That’s all there is to it! Now your Bonelab mods should be downloaded to and installed on your Meta Quest or other standalone headset and you can enjoy them.
Check out whatever mods you’ve installed by changing your avatar for avatar mods, or spawning weapons or enemies using the spawner as always. Modded maps can be accessed through the Mods menu as well. Enjoy!
Oh, and keep in mind that older mods need to be updated for Patch #4 for this method to work. So older mods may not function, even if you use the old manual installation method outlined below. If the mod won’t work you’ll get an error when downloading them.
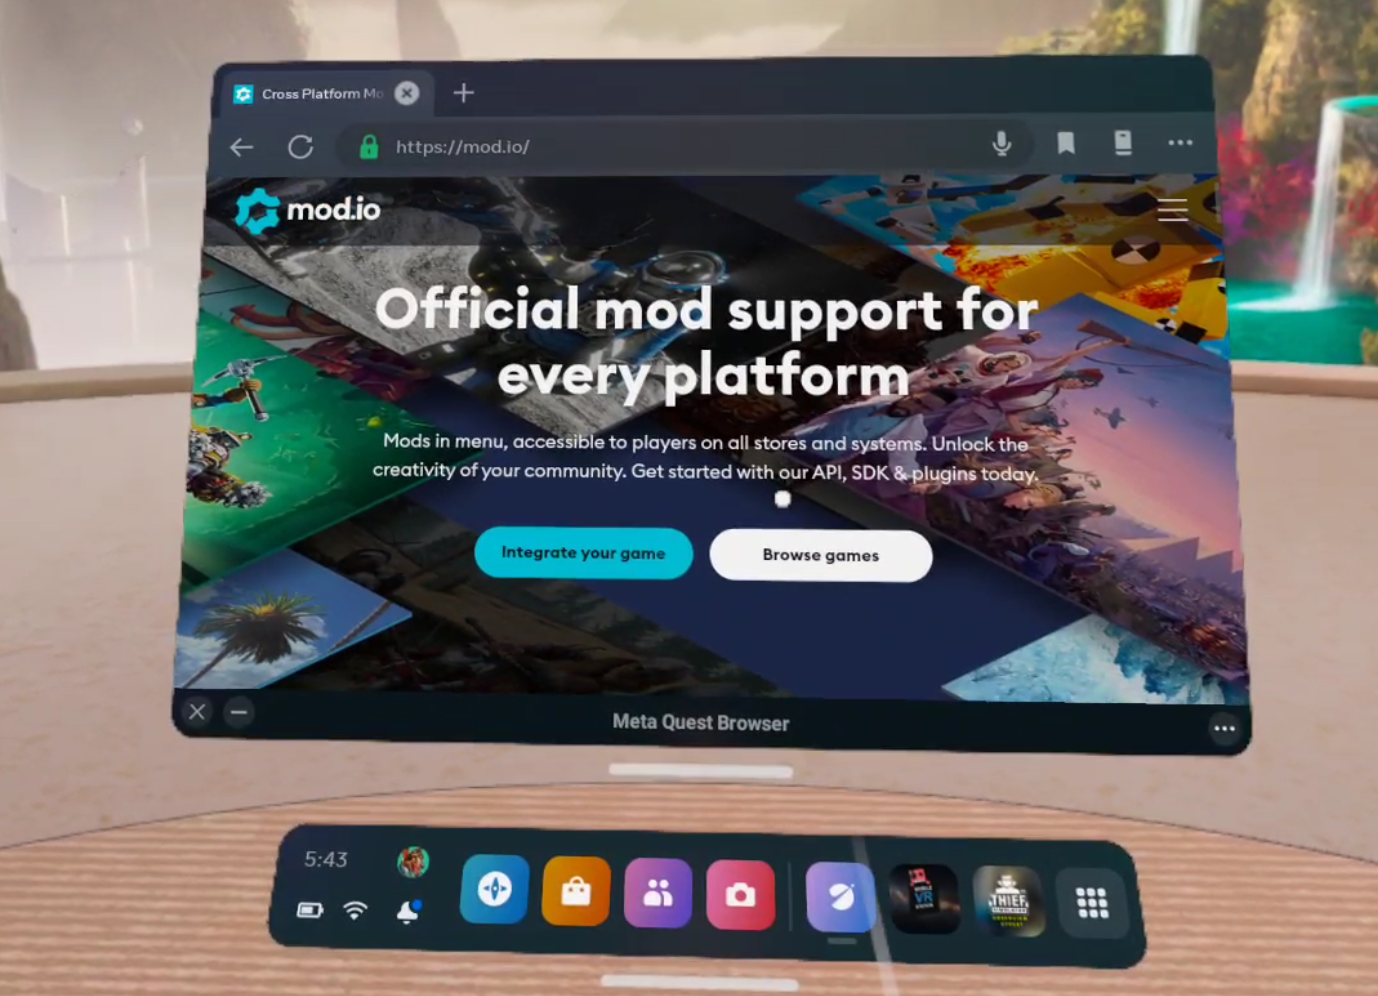
mod.io is a great source for Bonelab mods
Hit the “Browse Games” button and search for Bonelab. If you’re having trouble finding it you can also just go to mod.io/g/bonelab. On the left side of the page make sure to select the “Android” checkbox. Only “Android” mods can be used on the Quest 2, and there’s no use looking at mods that you can’t install on your Quest.
Once you’ve done that feel free to filter by what sort of mod you want or just browse around until you find something that looks like fun. For this example we’re going to be downloading and installing a spiderman Avatar and a sweet new weapon pack.

Searching for a Bonelab mod
Once you’ve found a mod you want, select it to view the mod’s page, and scroll down to the “Live Files” section. Remember, you can only install the Android version of the mod on the Oculus Quest, so click the down facing arrow beside the Android version. The version information will expand, and then you can click the link under “Download to install mod manually”.
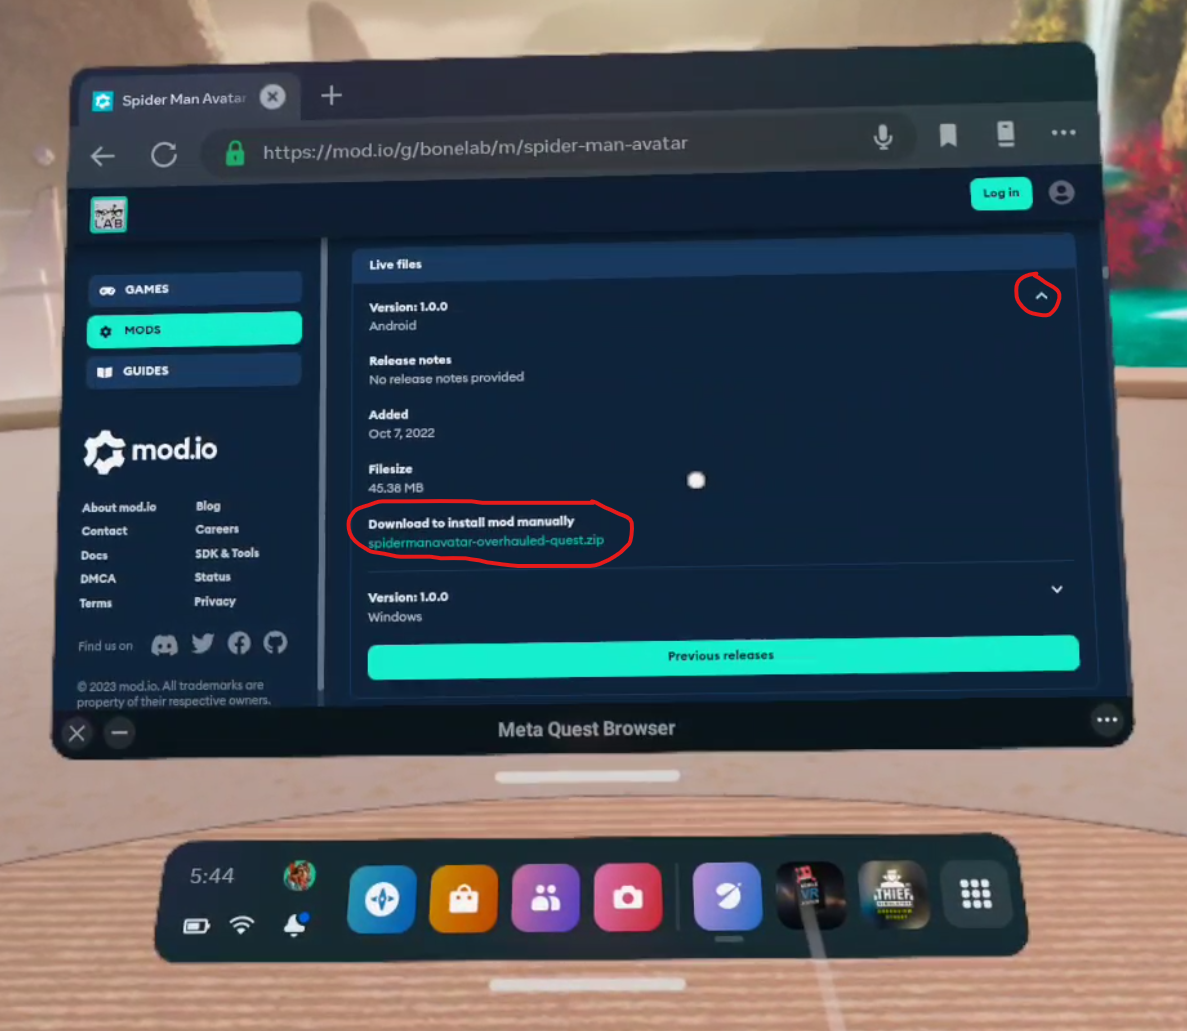
Downloading a Bonelab mod
Once you click the link your Quest will download the mod’s .zip file. You’ll see a little popup on your screen that will tell you how it’s going and when it is done. Once you’ve downloaded whatever Bonelab mods you want it’s time to install them!
How To Install Bonelab Mods
So now you’ve got your .zip files downloaded and you’re ready to install your shiny new mods directly on to your Quest 2 without a PC. To help you with this you’ll need a new App on your Quest. Don’t worry, it doesn’t cost any money and is completely free. It’s called Mobile VR Station and you can install it through the Quest store when using your headset, or through the Quest mobile app, just like you would any other Quest app on the App Lab.
Keep in mind that Mobile VR Station is on the App Lab, so it may be a little harder to find than most Quest applications in the store. Make sure to type in the entire name of the app letter for letter or it may not appear. Anyway, once you’ve got Mobile VR Station downloaded and installed (it shouldn’t take long, it’s not a very big app) go ahead and launch it.

The Android Fixes Button
First thing’s first. Due to an Android update you won’t be able to see or use the Bonelab mods you downloaded without giving Mobile VR Station some additional privileges. So in the “Available Content” main menu scroll around until you see the “Android 12: Android Fixes” folder. Click on it. Then click on the button that says “Enable Manage All Files”. A popup will appear. Select the slider on the popup to give Mobile VR Station the ability to see the mod files. Then hit the Oculus button to return to Mobile VR Station.
Now go to Local Files, then All Folders, then Download. So the File Path at the top of the screen will show Available Content / Local Folders / All Folders at the top, with the name of the Folder you are in “Download” in big letters below it. This is where the mod you downloaded before ended up.

Your mod .zip file!
Now that you can access the .zip folder for your mod, click on the file icon next to it. Then select “Extract Files” you’ll get a confirmation once the files are extracted. Once that’s done, click the “View/Edit” Toggle at the top left of the window to active View/Edit mode. Then click the newly extracted folder so it has a green check mark over its icon. Then hit the copy button in the top left corner (it looks like two sheets of paper). Then click the View/Edit Toggle again, it will be red now.

Extracting mod files
Now that you’ve copied the mod file and exited View/Edit mode, hit the Arrow pointing upwards in the top left corner, you’ll see text saying “Previous Folder” when your pointer is over it. Do this twice, so you’re back in “Local Folders” where you started. Go to “All Folders” then “Android” then “data”.

You have to enable Scoped Storage to look at your game files
Enabling Scoped Storage
You’ll notice that you can’t access Android/data right now, which is unfortunate since that’s where the Bonelab folder is that you have to put your mod folder into. Don’t worry though. You can access the Bonelab folder by switching to Scoped Storage. So click on the “Scoped Storage Actions” button on the bottom. You’ll see four new buttons.

Request Mobile VR Station scoped storage access
Try hitting “Request Access” a popup will appear with a blue button on the bottom that you can press to allow yourself access to the Android/data folders, and all the game files within. This can be a little tricky though. You might press the button, and nothing happens. A popup is supposed to appear with an “Allow” button for you to press. If that popup doesn’t appear then you have to exit the allow menu with the X in the bottom left corner. Then hit the “Crash (Reset")” button in the Mobile VR Station app. The app will crash, and then you hit the Oculus button and relaunch it.
You have to keep doing this until the popup appears (it can take several tries). Once the popup does appear and you hit allow, hit the “Crash (Apply)” button instead. Then when you relaunch Mobile VR Station you should get this message letting you know you’ve activated scoped storage.
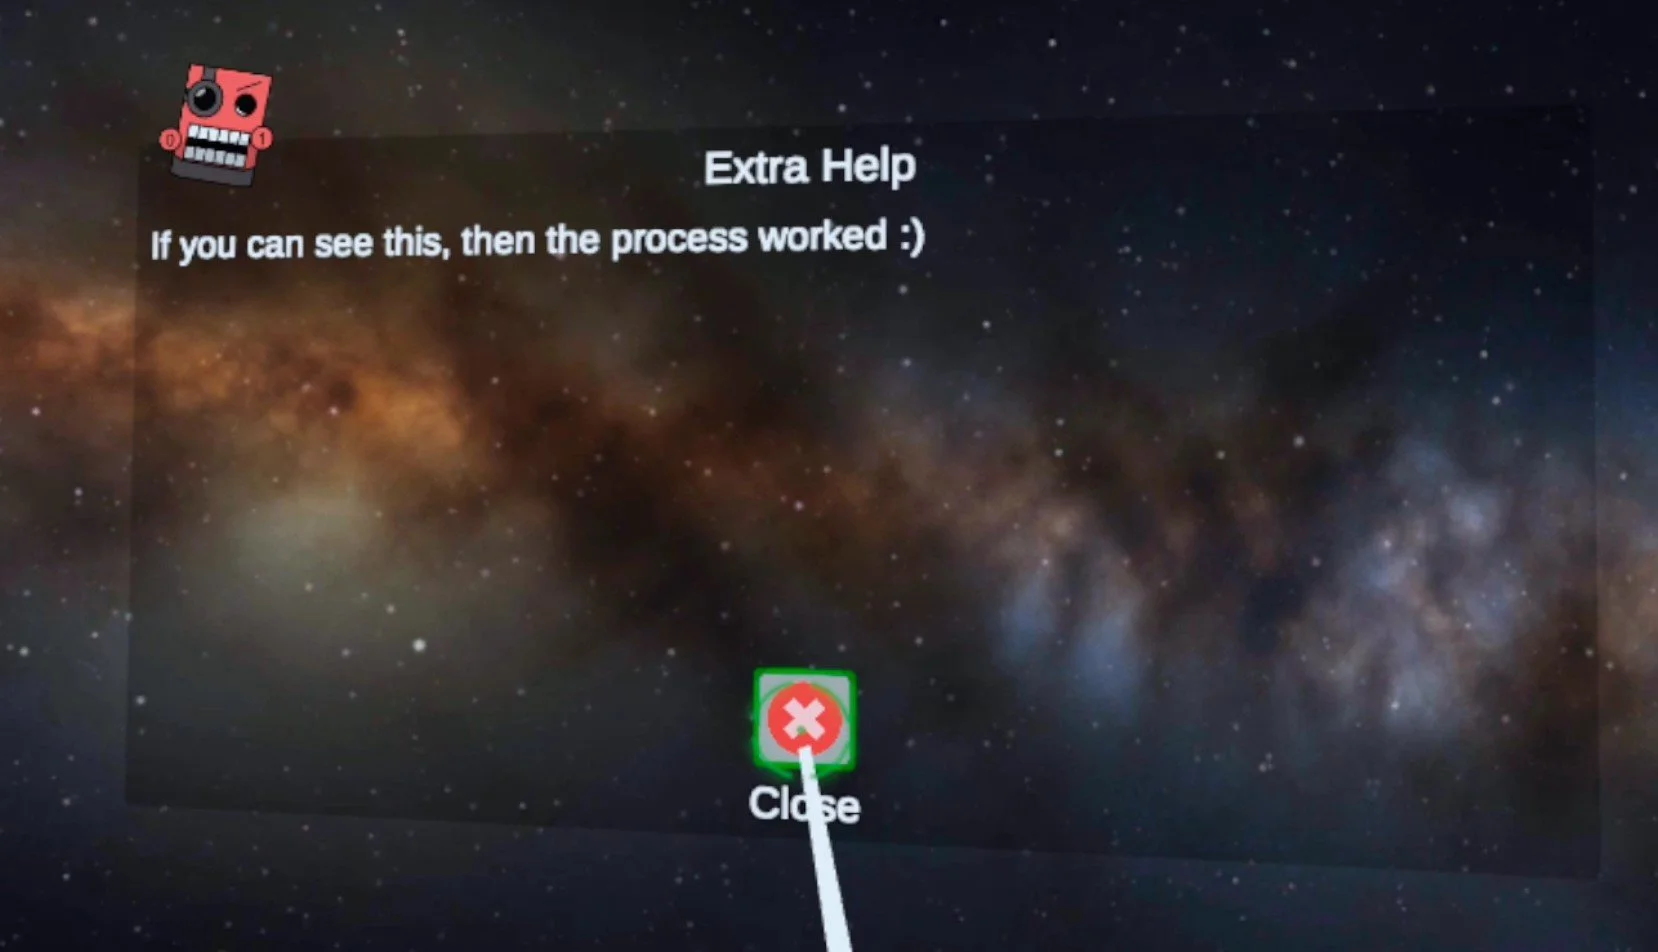
Scoped Storage Activated!
Installing the Bonelab Mod
Now if you go to Local Folders/Android/data you can click the “Switch to Scoped Storage” button and see all the folders for all the games you’ve got installed on your headset. Look for the Bonelab folder and open it.

The Bonelab Folder
Now click on “files” then “Mods” you’ll see all the mod folders you have. Here you can click the “View/Edit” toggle in the top left hand corner and paste your extracted mod folder. If you had to enable scoped storage and restart Mobile VR Station then you’ll have to go back to the “Local Files/Downloads” folder and recopy your mod folder. After you hit paste there might be a delay for a little while, but eventually an “OK” button will appear. Hit that and your shiny new Bonelab mod is installed!
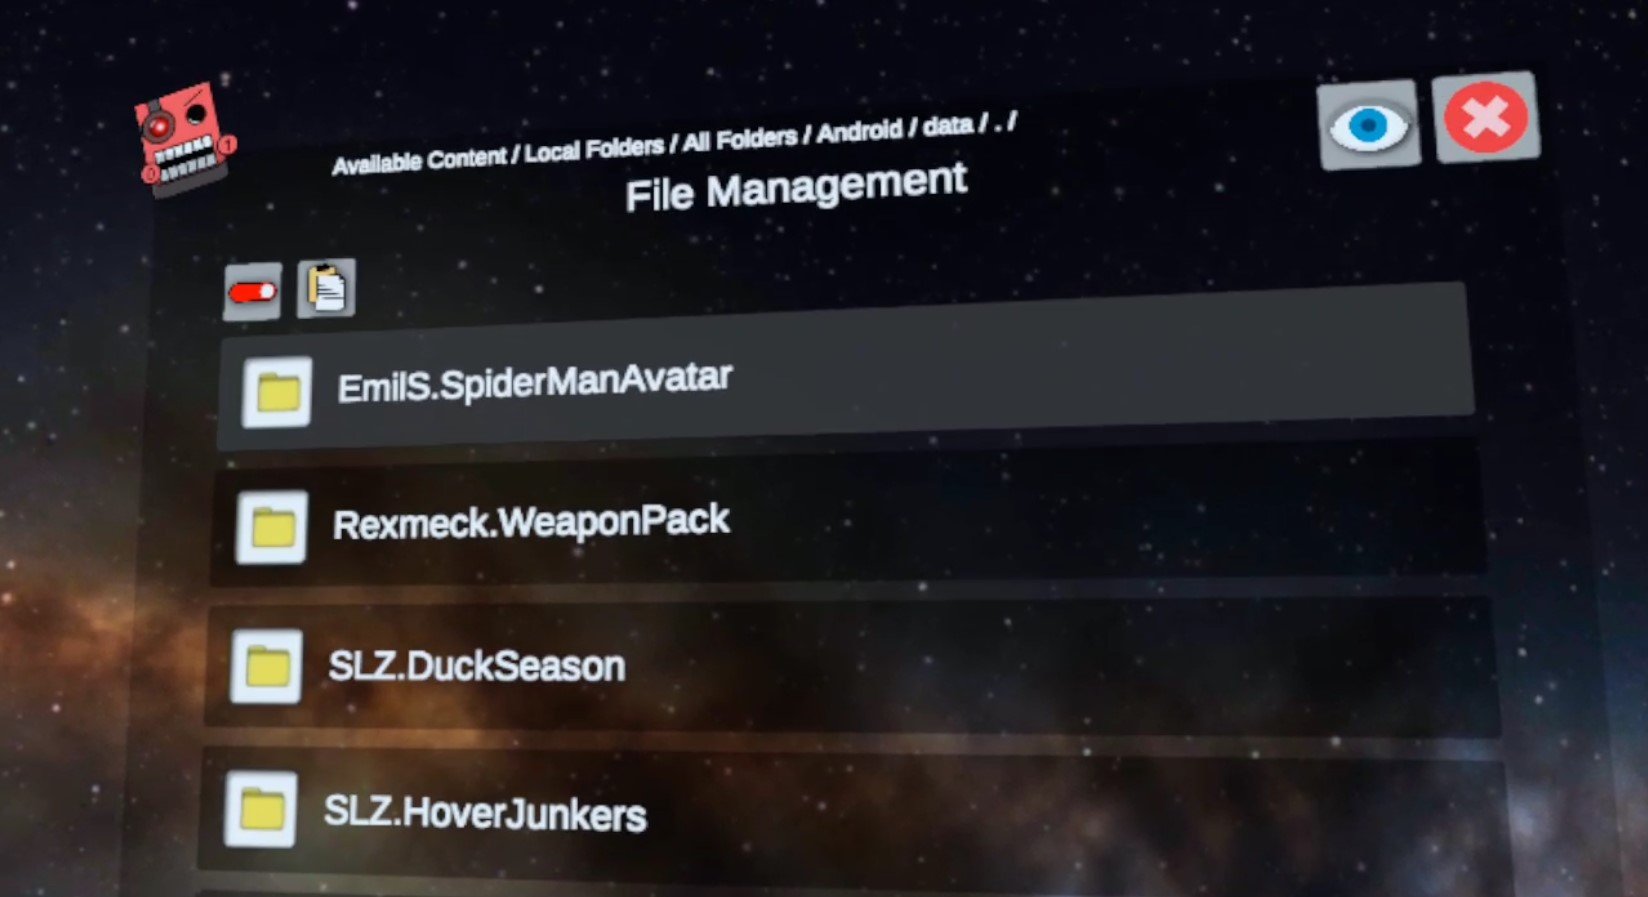
The Installed Mods
Congratulations! Your mod is now successfully installed. Exit out of Mobile VR Station and go to Bonelab to check it out. In the game you can confirm that your mod is installed successfully by going to the MODS menu in the Main Menu and then going to the INSTALLED submenu. Or you can check out the mod console in the Bonelab Hub itself.
Since we installed a new Spiderman Avatar in this tutorial we can check him out and change our avatar to the new Spiderman avatar in the Body Mall in the hub. If you’ve installed a new gun or NPC then you’ll need to access the spawn menu to check them out. Maps are accessible through the MODS station in the Bonelab Hub.
Spiderman pointing a gun at his reflection
For other sorts of mods like the weapon pack we installed you can access those from spawners in Sandbox modes, or with the spawn gun. Here’s the AK74 mod on the gun range!
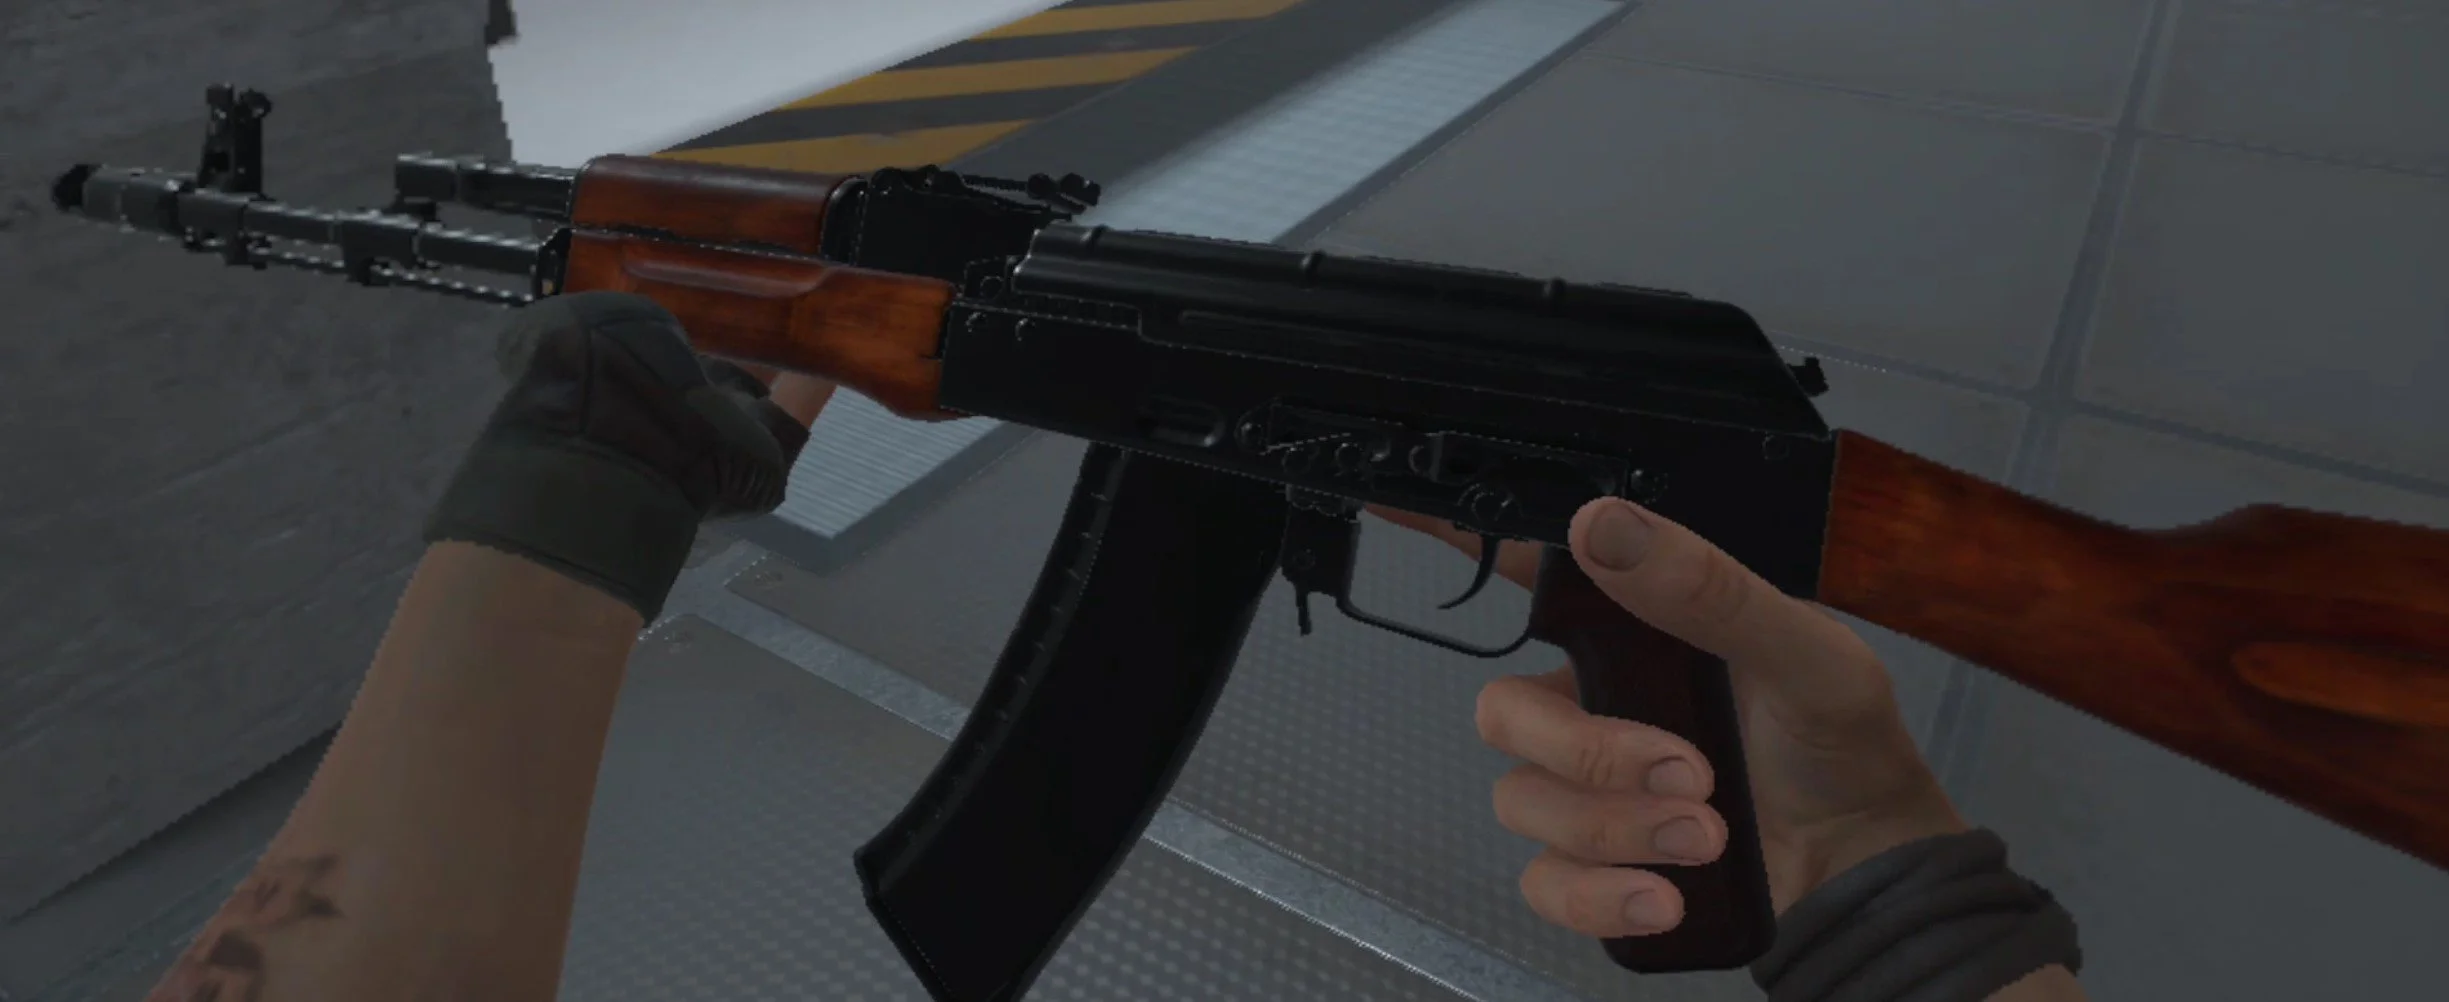
The AK74 from the Rexmeck’s Weapon Pack Mod
Hopefully this helps you enjoy Bonelab Mods more conveniently since you won’t need to chain your Quest 2 to a PC to download and install them. Have fun out there!