Easily Get and Install Into the Radius Mods
Welcome to this step by step guide on how to download and install Into the Radius Mods! Into the Radius is an extremely fun VR game. Even after you’ve played it through a bunch of times, or haven’t even finished it and want a different experience, mods can make this VR Survival Game even better. So keep reading to find out how to install Into the Radius mods as easily as possible.
Into the Radius Mods on the Oculus Quest 2
You might be here to find out how to install Into the Radius mods on the Oculus Quest 2, or if you can install mods on the Quest 2. Well I’m afraid to tell you that currently Into the Radius mods are not supported on the Meta Quest 2. Hopefully at some point in the future they will be, but for now there’s no way to install Into the Radius mods on your Quest 2. To play modded Into the Radius you’ll need to play it via PCVR via Steam or the Oculus App on your PC.
If you have a Quest 2 and want to play Into the Radius on PCVR then you could set up and use Oculus Airlink. The thing about Airlink is that it can drop a ton of frames and be very choppy and look horrible if your internet setup to your PC isn’t very good. If you want to use Oculus Airlink, then make sure your PC is connected to your Router or Modem with an ethernet cable.
If you can’t or don’t want to use Airlink then you’ll need to be able to connect your headset to your PC directly. This is possible with an Oculus Quest 2 using an Oculus Link Cable or comparable USB 3 cable. If you don’t have one there are plenty online that are not as expensive as the official Link Cable, but are possibly not as good.
How to Get Into the Radius Mods
To mod Into the Radius on PCVR let’s start with getting the mods that you’ll want to install. In this example we will be downloading the Scavenger Mod. This mod is a great new way to play the game. Make sure you start a new save file after installing this mod, and always be wary of cross compatibility issues when you have multiple mods installed.
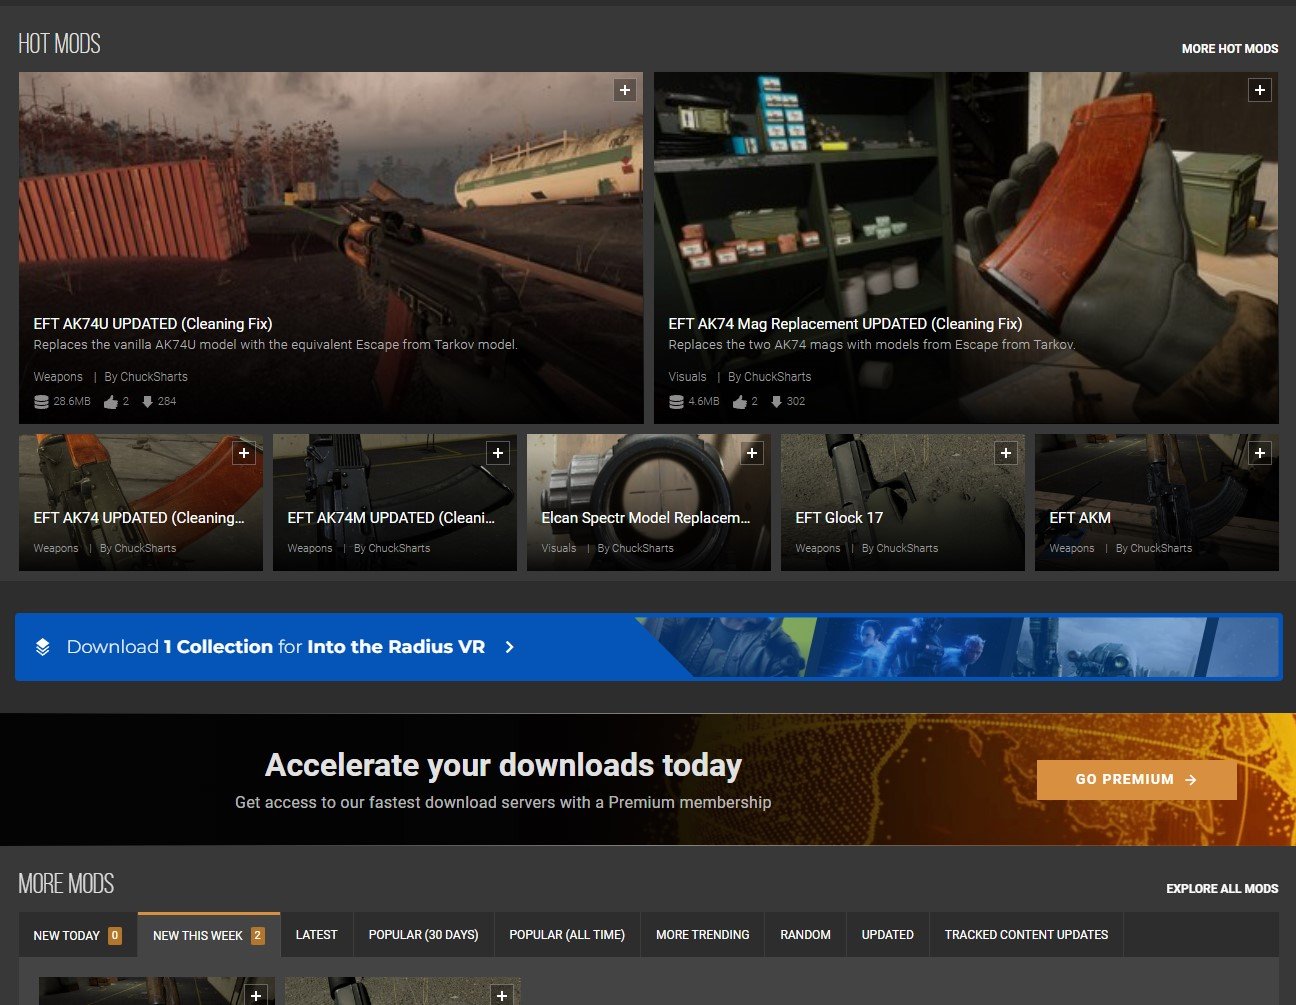
To get the scavenger mod get on your PC and go to nexusmods.com and search by game for “Into the Radius” or follow this link to take you straight to the Into the Radius mod page.
Once you’re here feel free to browse the mods listed on the front page and search through some categories. There’s a bunch of great cosmetic mods that replace objects in the game with different models. There are even other gameplay mods like the STALKER mod that you can install. To find the Scavenger mod search for “Scavenger Mod” in the search bar at the top of the screen, or go to any mod page that you want. When you’re there click on the “Files” tab.
Oh, and make sure that you’re logged into a Nexus Mods account, otherwise you won’t be able to download anything. Don’t worry, you can easily sign up for a free Nexus Mods account. Also you’ll notice that some mods, like the Scavenger Mod, can be installed using Nexus Mod’s Vortex mod manager.
Since not all mods are supported by Vortex, here we’ll be going over how to install these mods manually. Don’t worry, it’s not very hard and takes about just as long as using Vortex anyway.
Now click the “Manual Download” button underneath the latest mod file and you’ll be taken to a downloads page. Select the “Slow Download” button if you’re using a free Nexus Mods account and the file will download to your Downloads folder (or whatever folder you’ve designated files to download to, but Downloads is the default).
Congratulations on your shiny new mod! Time to install it.
How To Install Into the Radius Mods
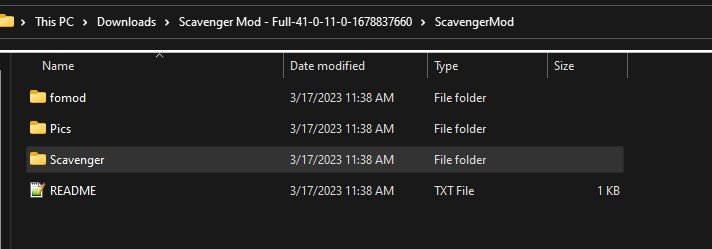
Head to your PC’s Downloads folder. You can find it in the “Quick Access” panel of the file explorer, or go to C:\Users\<Your PC Username>\Downloads. If the downloaded mod file is a .zip file right click on it and select “Extract All” to get the unzipped contents.
Whichever mod you’ve downloaded should come with one or multiple .pak files. Those .pak files contain the actual mod information and all you need to do is move them to the right folder to install the mod. The Scavenger mod comes with a lot of .pak files in the ScavengerMod/Scavenger/ folder. For this example we’ll be installing the .pak file in the “Abundant” folder for as much loot as possible, and also disabling the shop with the .pak in “Optionnal_files”.
Now that we know what .pak files we want to move, let’s open another File Explorer window to where we want to move them. If you run Into the Radius VR through Steam, then go to where you installed Steam and then \steamapps\common\IntoTheRadius\IntoTheRadius\Content\Paks. The default Steam installation path is: C:\Program FIles\Steam\steamapps\common\IntoTheRadius\IntoTheRadius\Content\Paks.
Oculus App users can find the Into the Radius folder in C:\Program Files\Oculus\Software\Software by default. Then go to \IntoTheRadius\Content\Paks.
This “Paks” folder is where you need to move all of the installed .pak files. Just drag the .paks for the mods you want to install into the “Paks” folder and that’s it! You’ve installed Into the Radius mods. When you start the game next they’ll be installed and ready to go.
Well that’s how you install mods in Into the Radius VR. Make sure to be careful that the mods you install don’t overlap and conflict. Be sure to read the README if one comes with a mod you want to install, or at least read the mod’s page to check if the mod developer shows any conflicts. Most should be obvious, for instance don’t install two mods that reskin the same weapon. It’s also best to start a new game after installing mods, as the mods might mess with a differently modded or vanilla game. Especially overhaul mods like the Scavenger or STALKER mods.,
Oh, and make sure to leave pakchunk0-WindowsNoEditor.pak in the “Paks” folder. This .pak is needed to run Into the Radius properly and is part of a vanilla installation of the game. Moving or deleting it will probably break your game.
Have fun out there in a whole new Zone!


