Easily Install Blade and Sorcery: Nomad Mods WITHOUT A PC | How to Install Blade & Sorcery Mods Directly On Quest 2
Want to install mods for Blade and Sorcery: Nomad but don’t have a PC, or don’t want to go through all of the hassle to plug your headset into your computer every time you want to install new mods for Blade & Sorcery: Nomad? Well good thing you don’t have to, because you can download and install Blade and Sorcery Mods directly on to your Quest 2 without needing a PC at all! Here’s a guide on how.
The Blade and Sorcery U12 Mod Menu
With the release of U12, Blade & Sorcery: Nomad and Blade & Sorcery for PCVR both have an integrated mod manager that can be used on either platform to install mods directly from mod.io. If you still want to install a mod manually then go to the “How To Download Blade and Sorcery Mods Manually” section below and read on from there. For the most straightforward method, you’re in the right place.
First off you’ll need to have a mod.io account. So go to mod.io on your phone, or directly through your Quest 2 if you like, and sign up for an account with an email address. No password is needed, just make sure you can access the email so that you can provide the security code that mod.io will send to that email. Once you’ve made an account and entered the code, start up Blade and Sorcery: Nomad on your headset.
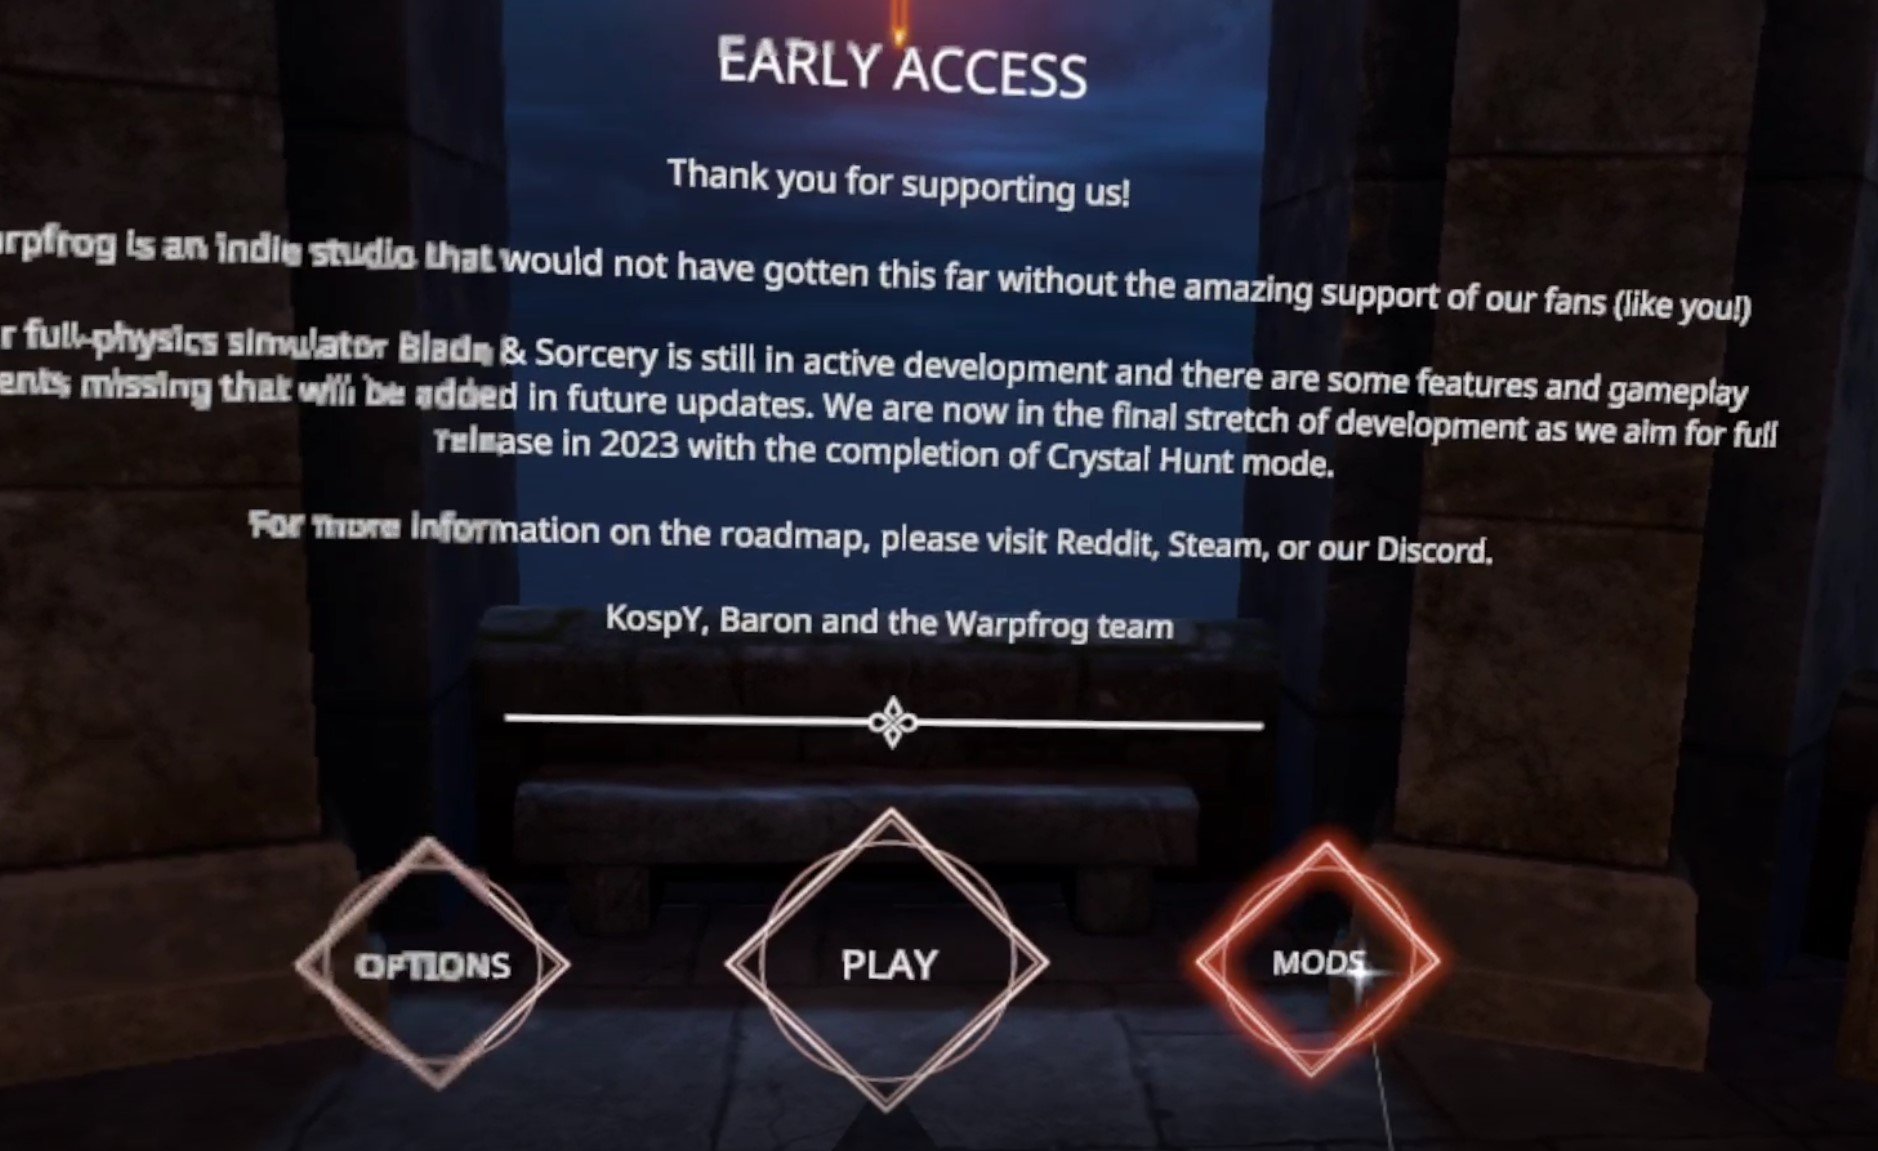
Next to the usual “Play” button on the first screen after the Warp Frog logo, you’ll see a new “Mods” button on the right, hit that, before being presented with a prompt to enter your mod.io email address. This will link your mod.io account to the Blade and Sorcery: Nomad game on your headset to manage mods. Enter the email you used to create your account. You may get an email with another activation code to enter into the game, and once all of that is done you’re presented with the new U12 Blade and Sorcery Mod Manager.
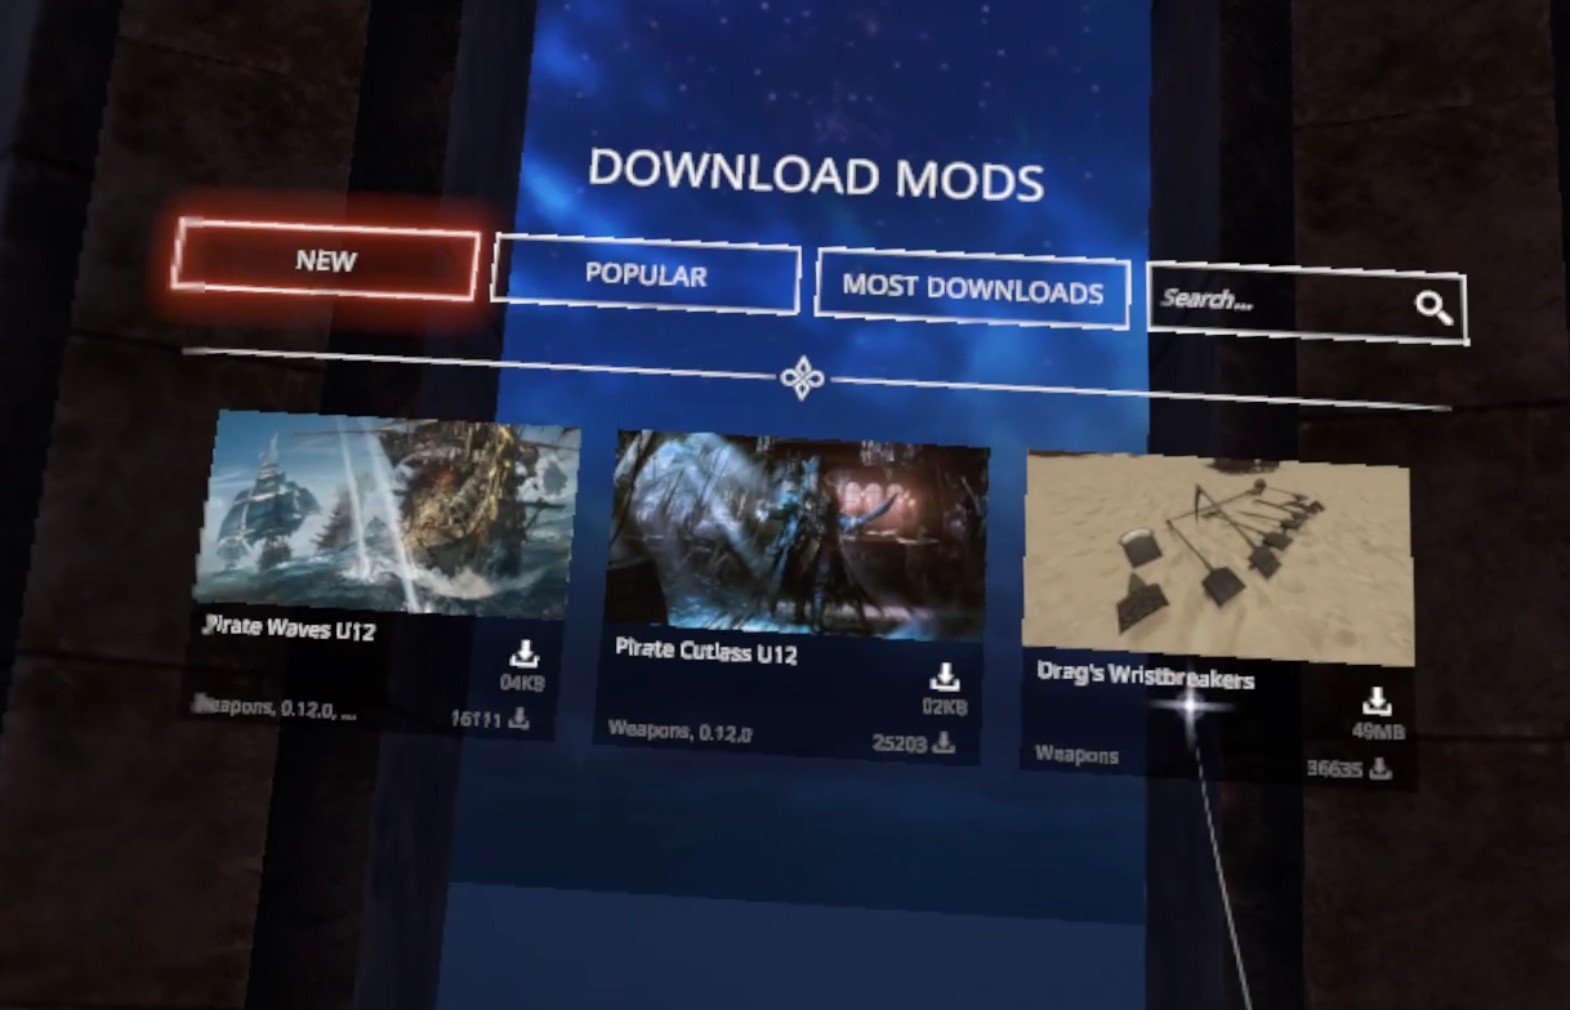
Here in the Mod Manager you can view and download mods as you like. There is a panel on the right to show already installed mods, even those you might have installed manually. You can search for a specific mod in the search bar at the top, or filter with the filter options on the left. Note that any nexusmods.com mods aren’t present here, only those on mod.io.
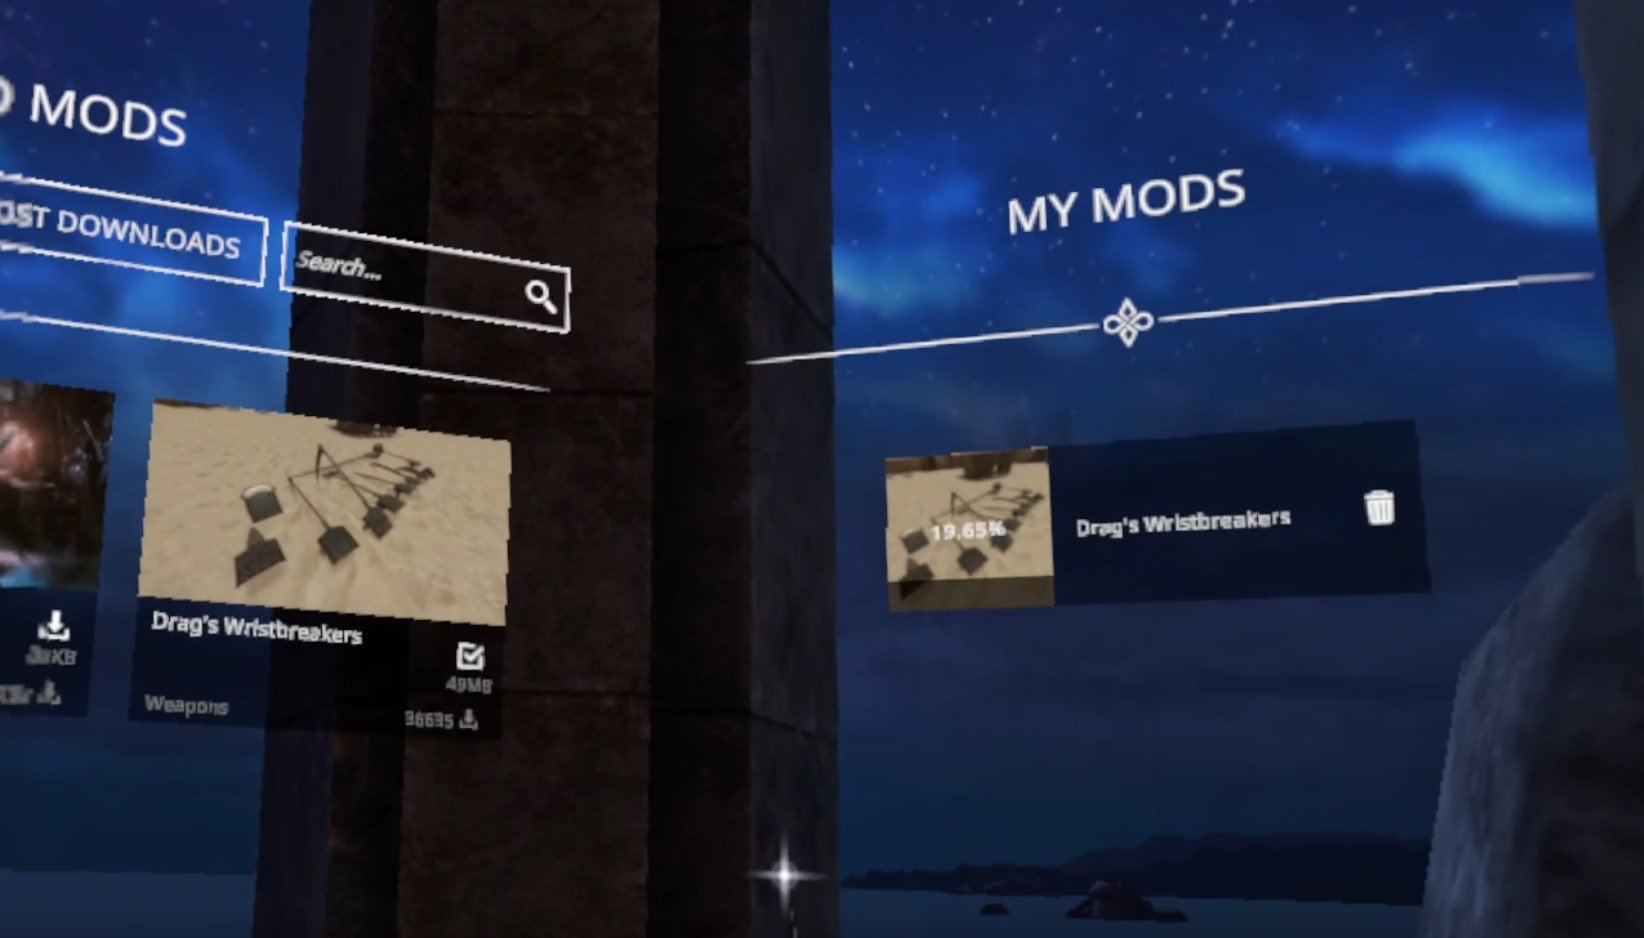
For this example we’ll be installing Drag’s Wristbreakers, a collection of weapons. Download and installation is easy, just hit the little arrow icon to the right of the name of the mod, and you’ll see the download and installation progress in the “My Mods” panel on the right.
Once you’ve installed all the mods you like, just click the “Back” button on the bottom of the center of the Mod Manager to go back to the first screen, and then hit “Play” like always, and select your character. Once you’re back in the game, you can see what mods are installed through the In Game Menu, which you can open by pressing the menu button on your left controller, and clicking on the “Mods” button.
Though you should know that even if the mod shows up in the menus it may not appear ingame. If this happens to you try restarting Blade and Sorcery: Nomad and if the mods still are not appearing, restart your entire headset.
For our example, Drag’s Wristbreakers appears as a “Grippables” menu in the weapon spawner book. Make sure to check mod descriptions for where they should appear, some might appear in already existing menus like the “Swords” category.
Now we can spawn any of our new modded weapons as we like! Enjoy downloading and installing all the Blade & Sorcery: Nomad mods you like super easily!
How To Download Blade and Sorcery Mods Manually
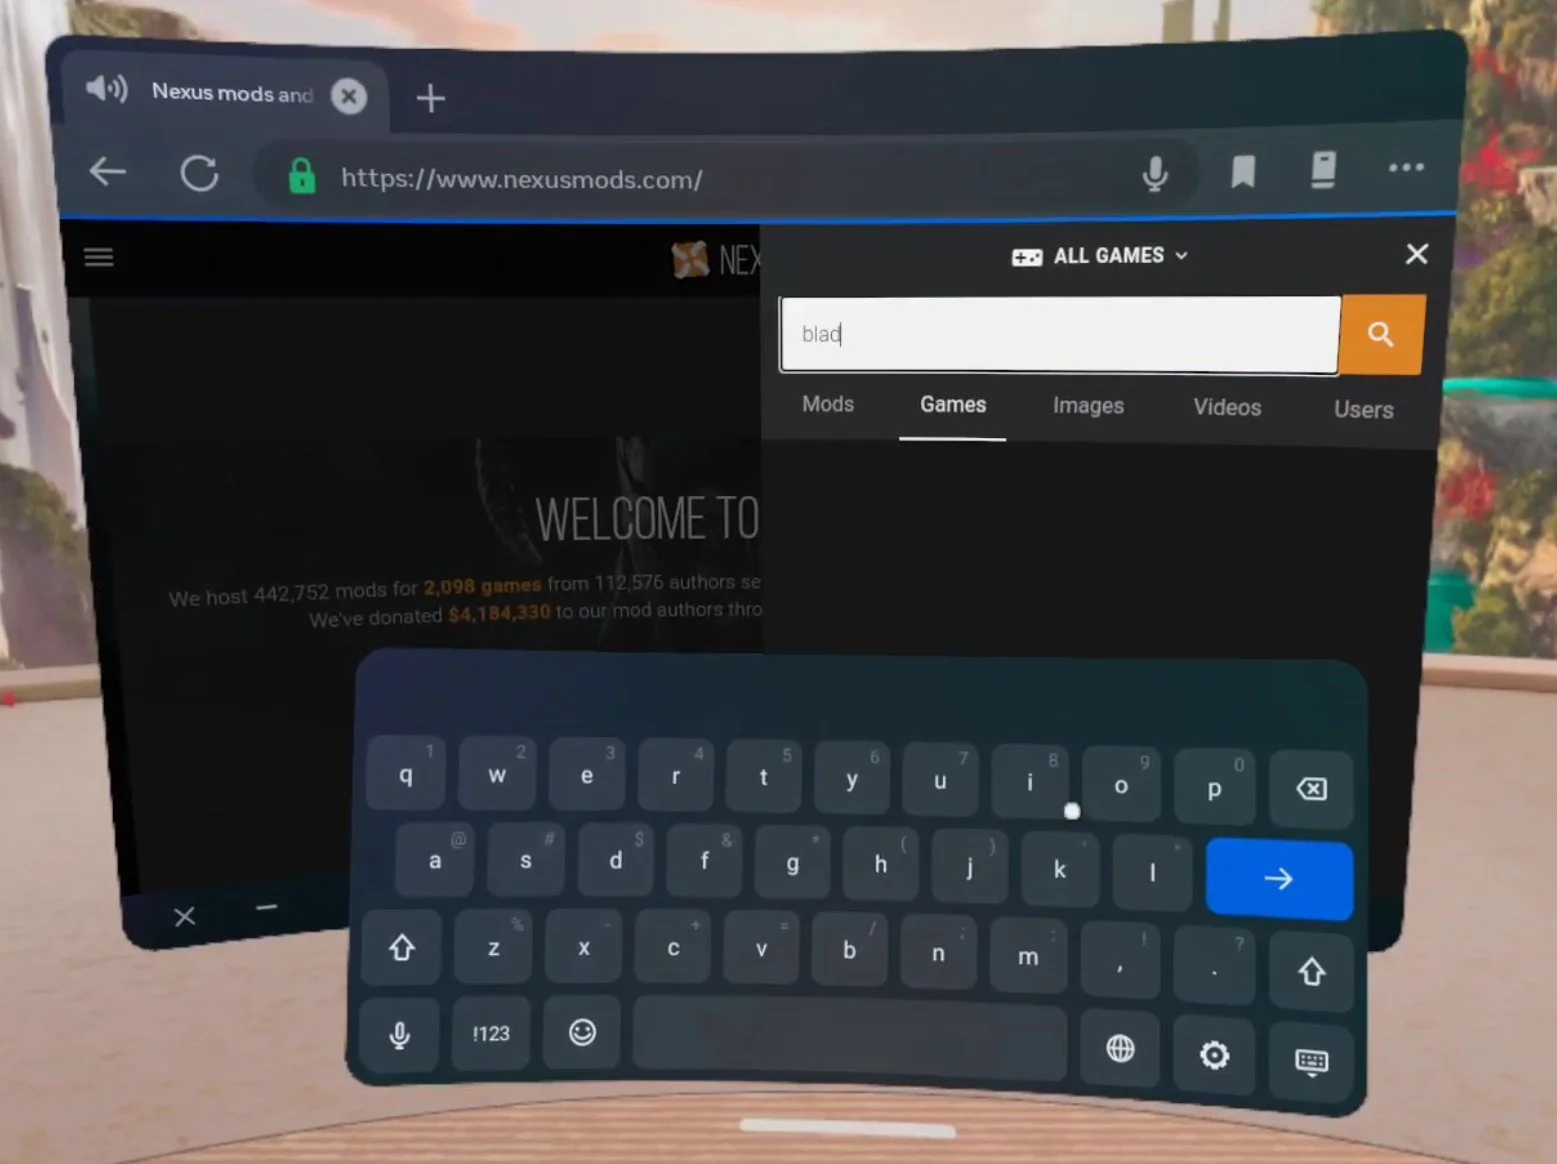
If you want to install Blade & Sorcery: Nomad mods the old fashioned way without using the built in Mod Manager, then here’s how. Let’s start with the fun part, finding all of the Blade & Sorcery mods that you can download! In your Quest 2 go to the “Meta Quest Browser” app (the one you can use to browse the internet on your headset) and go to the website nexusmods.com.
Hit the little search spyglass in the top right and then select “Games” to search by game. Then type in “Blade & Sorcery” to search for Blade & Sorcery: Nomad. Make sure to use “&” instead of “and” as searching “Blade and Sorcery” will give you no results.
After you search for Blade & Sorcery, make sure you select Blade & Sorcery: Nomad and not regular Blade & Sorcery, because mods downloaded for PCVR Blade and Sorcery will not work on your Quest 2. Once you’re on the Blade and Sorcery: Nomad page it will look something like this.
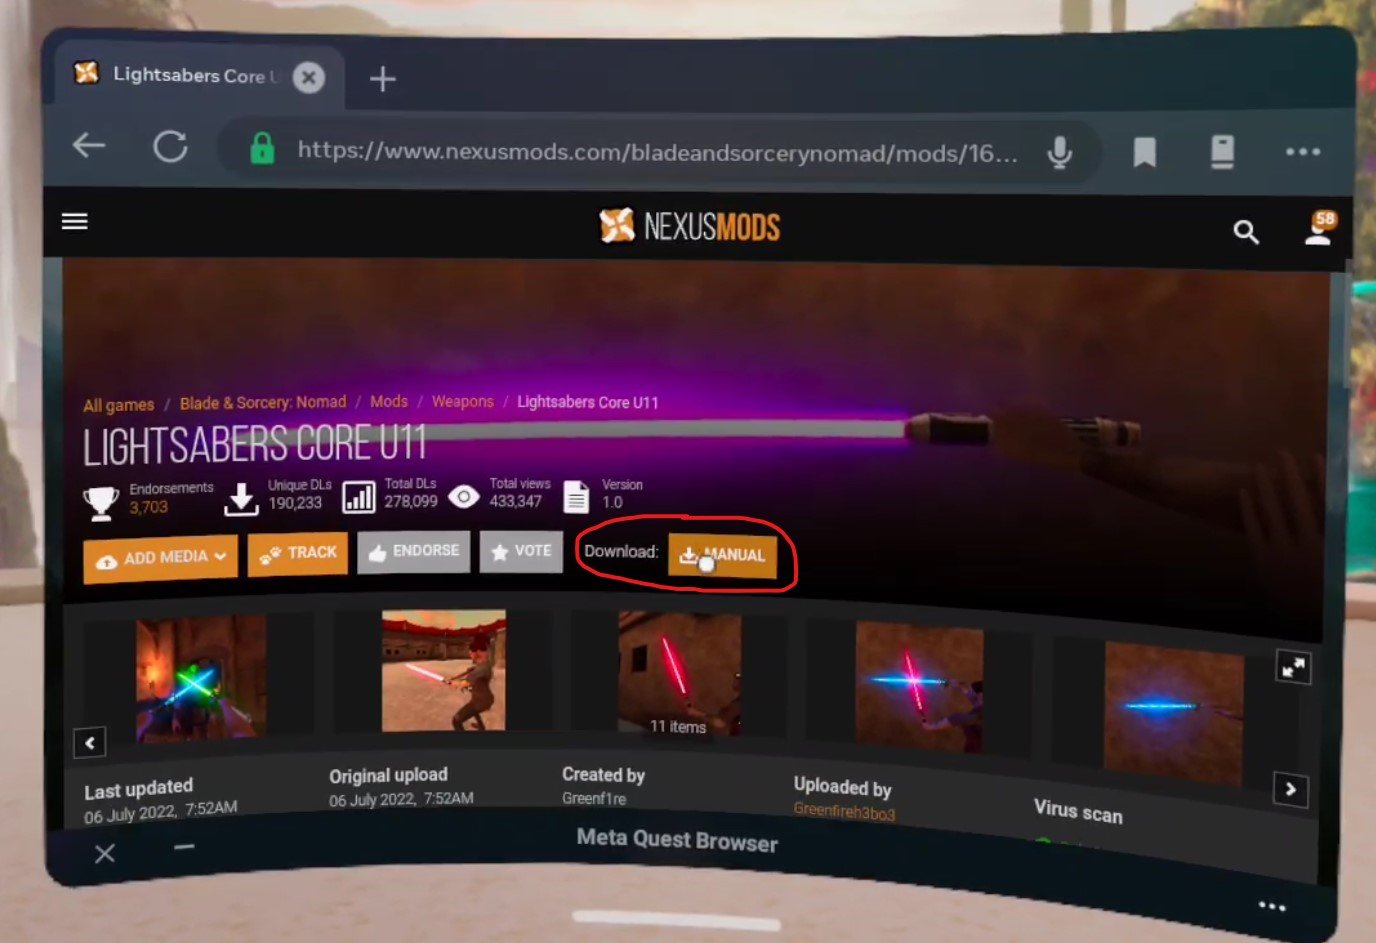
The most popular and trending mods are displayed here at the front page, but you can also use the search spyglass in the top right corner again to search for whatever you want. In this example we’ll be installing a lightsaber mod, and found one by searching for “lightsaber”. Selecting a mod here displays the mod page.
When you’re on the mod page select the “Download: MANUAL” button or go to the Files tab and download from there. One unfortunate thing here is that even on a Quest 2, Nexus Mods will force you to log into an account in order to download a file. Luckily the accounts are free, though putting your login information into a Quest 2 can be a little annoying. Either way once you select the Download button and are logged in, select the “Slow Download” button if you’re using a free account.
The page will change and you’ll have to wait about 5 seconds for the download to begin, but once it does you’ll see a little popup on your screen that will tell you how it’s going and when it is done. Once you’ve downloaded whatever Blade and Sorcery mods you want it’s time to install them!
How To Install Blade & Sorcery: Nomad Mods Manually
So now you’ve got your .zip files downloaded and you’re ready to install your shiny new mods directly on to your Quest 2 without a PC. To help you with this you’ll need a new App on your Quest. Don’t worry, it doesn’t cost any money and is completely free. It’s called Mobile VR Station and you can install it through the Quest store when using your headset, or through the Quest mobile app, just like you would any other Quest app on the App Lab.
Keep in mind that Mobile VR Station is on the App Lab, so it may be a little harder to find than most Quest applications in the store. Make sure to type in the entire name of the app letter for letter or it may not appear. Anyway, once you’ve got Mobile VR Station downloaded and installed (it shouldn’t take long, it’s not a very big app) go ahead and launch it.
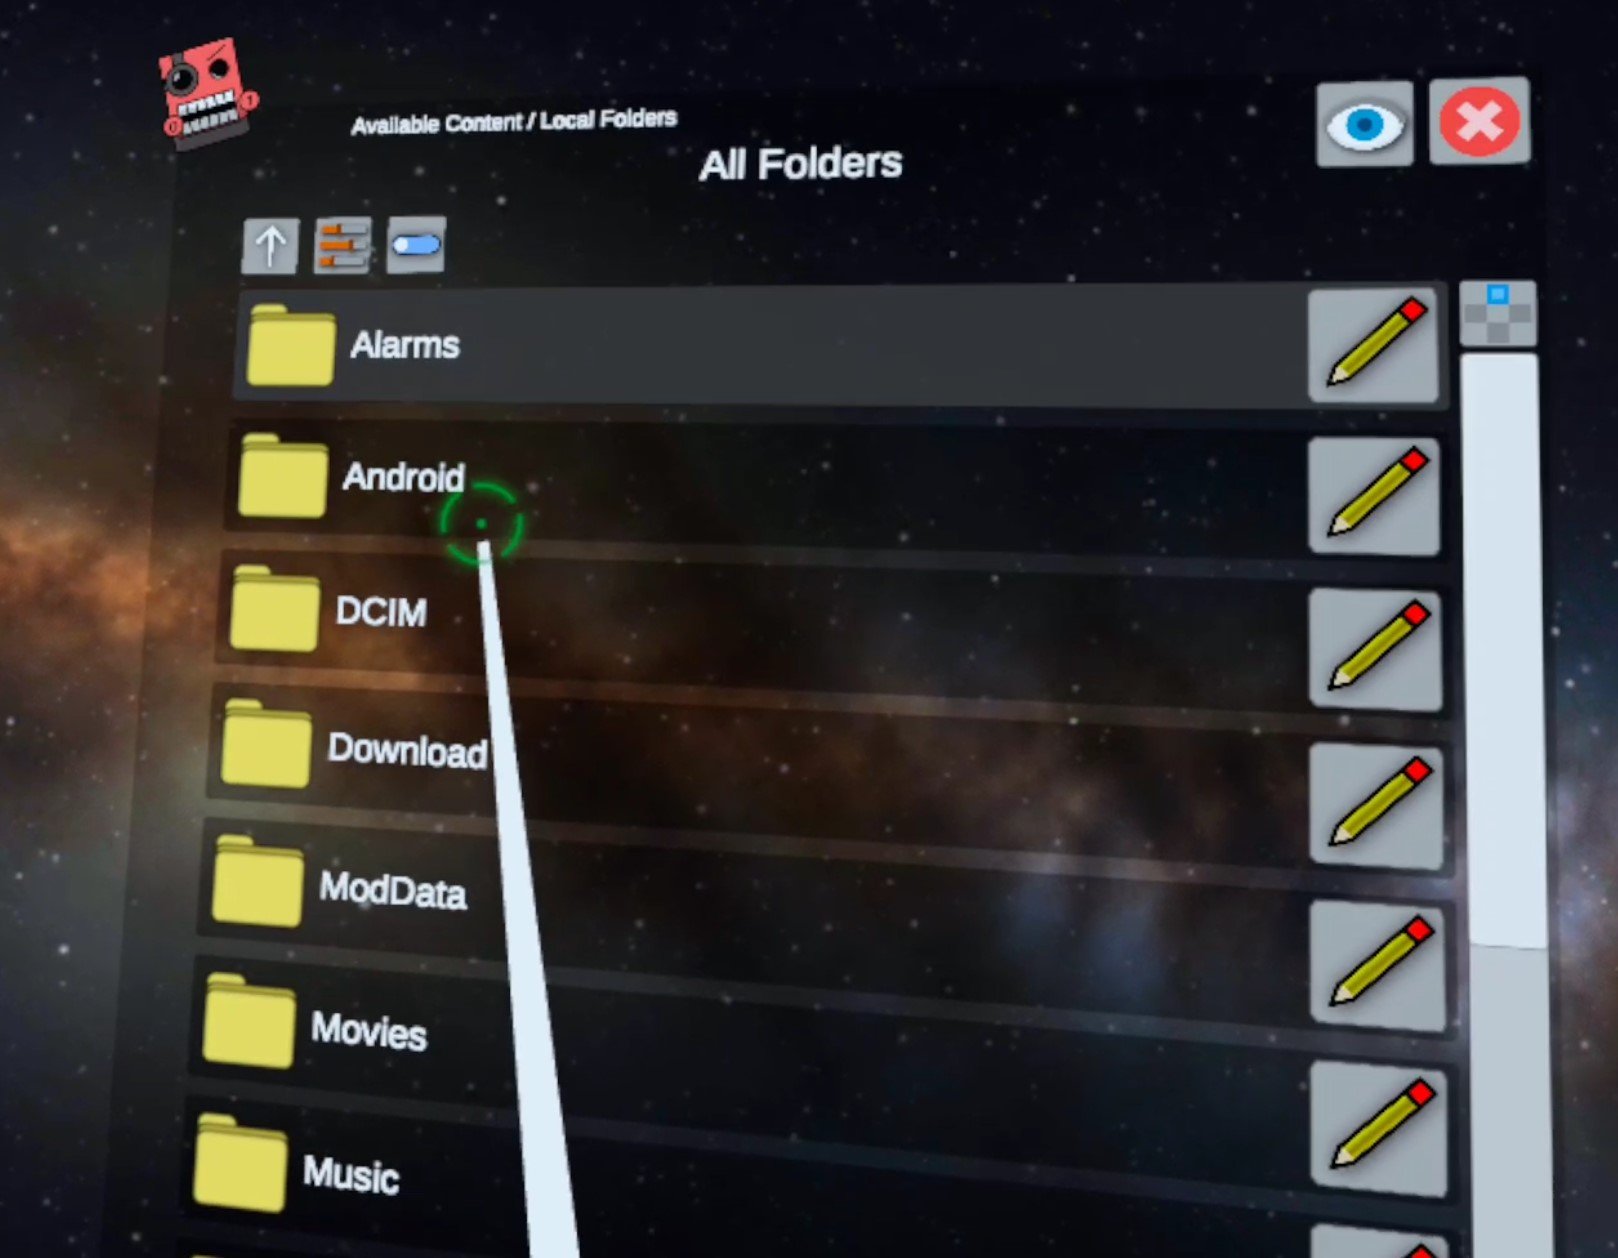
Now that you’re in go to Local Files, and then Downloads. So the File Path at the top of the screen will show Available Content / Local Folders at the top, with the name of the Folder you are in “Download” in big letters below it. This is where the mod you downloaded before ended up.
Now that you can access the .zip folder for your mod, click the blue View/Edit Toggle in the top left corner. Once you hit it you’re given new options to affect the files in the folder you are in. Click the .zip file for your mod. When you do that it will have a green check mark over its file icon. Then hit the copy button in the top left corner (it looks like two sheets of paper). Then click the View/Edit Toggle again, it will be red now.
Now that you’ve copied the mod file and exited View/Edit mode, hit the Arrow pointing upwards in the top left corner, you’ll see text saying “Previous Folder” when your pointer is over it. Do this twice, so you’re back in “Local Folders” where you started. Now go to “All Folders” at the top, and you’ll be shown all of the Folders of files in your Oculus device.
Luckily what we’re looking for will be at the top again, go to “Android” then “data” and you’ll now have a list of every installed application on your Meta Quest 2. Scroll around until you find the “com.Warpfrog.BladeAndSorcery” folder and select it.
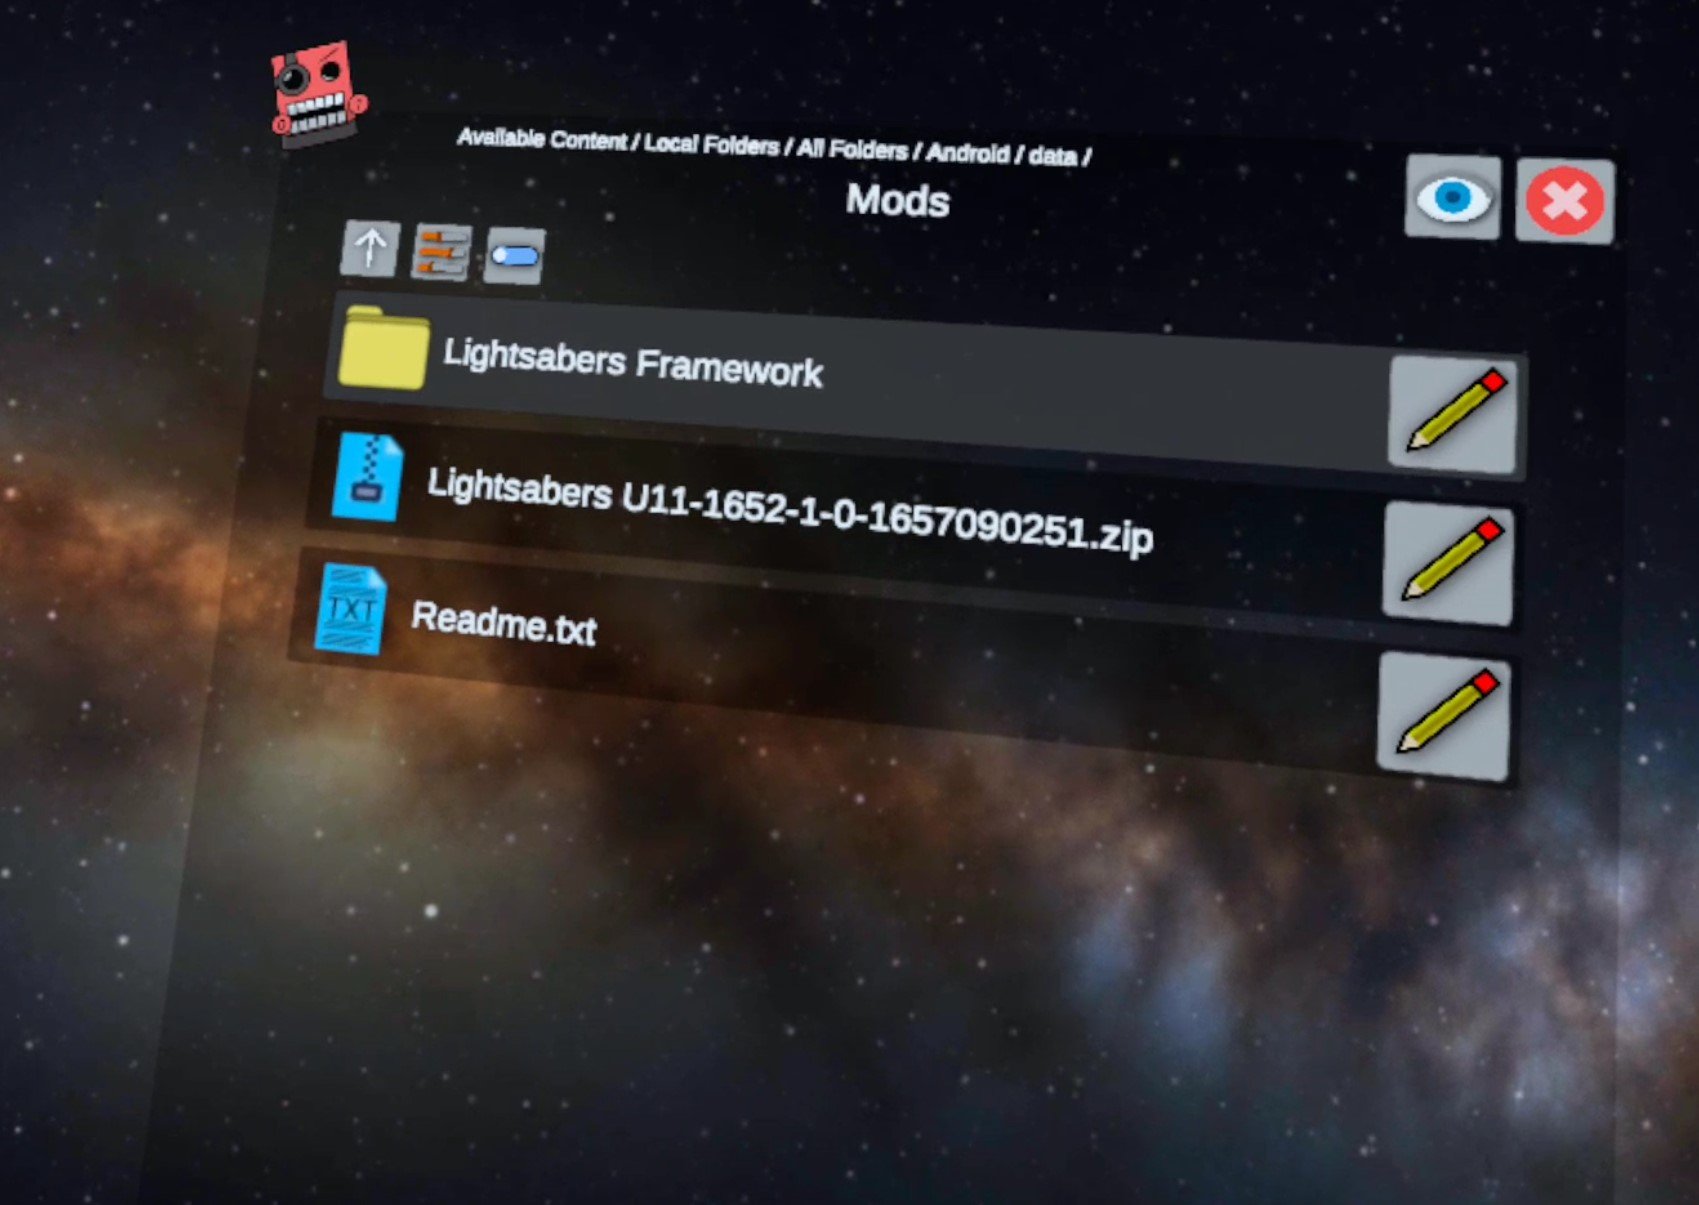
When you’re in the Blade And Sorcery folder, finally go to “files” and then “Mods” which will bring you to your destination, the folder we’ll need to extract our Blade and Sorcery: Nomad Mods to. If you’ve never installed a mod before it will only have a Readme.txt file in it.
All that’s left to do is paste your copied mod folder here and unzip it. So hit the blue View/Edit Toggle in the top left again and select the Paste (Move) button that looks like a clipboard with a piece of paper that has a pair of scissors drawn on it. A green checkmark button with “Finished” beside it will appear, press that too. Hit the View/Edit Toggle to exit View/Edit mode. Now you’ve moved your .zip Blade & Sorcery: Nomad Mod into the Blade & Sorcery: Nomad mod folder!
Now that the .zip is where you want it to be, just click on it’s file icon (no need to hit the View/Edit Toggle) then select the new “Extract Files” button that shows up. After a brief wait it will say “Files Extracted” then click the Okay button that appears beneath it. You should now see a regular folder for your mod in this folder.
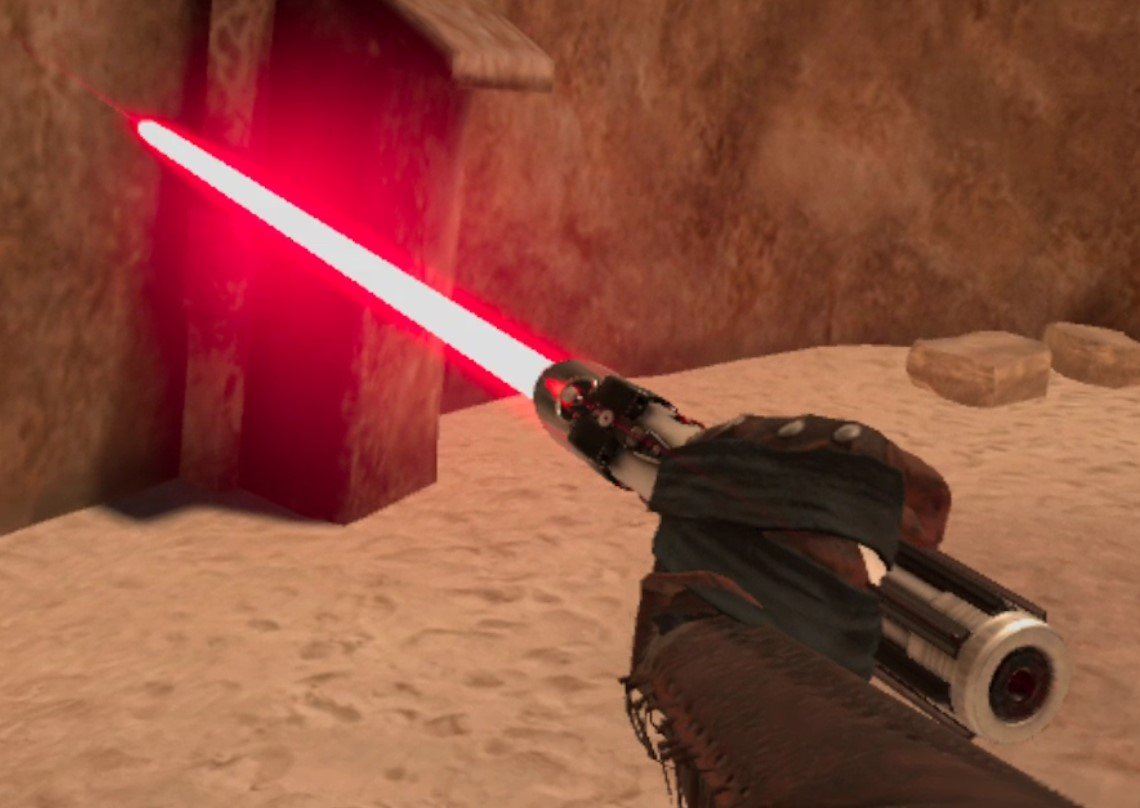
Congratulations! Your mod is now successfully installed. Exit out of Mobile VR Station and go to Blade and Sorcery: Nomad to check it out. In the game we can confirm that the lightsaber mod is installed successfully by starting a Sandbox game and checking the book that you spawn weapons from for a new category.
From here we can spawn our new Lightsabers and go to town with them. Of course other types of mods may appear elsewhere, like the Enemy spawning book or the Map Menu, depending on what type of mod it is.
Hopefully this helps you enjoy Blade and Sorcery: Nomad Mods more conveniently since you won’t need to chain your Quest 2 to a PC to download and install them. Have fun out there!


