

Easily Change and Replace Your Oculus Quest 2 Controller Batteries
When the battery level of your Oculus Quest 2 controllers gets low you’ll need to change the batteries. If you want to know the best way to change your Oculus Quest 2 controller batteries and replace them, then here’s how. After all, you can’t enjoy Virtual Reality with no Oculus Controller battery power.
What You’ll Need to Replace the Battery
First you’ll want to grab a couple of single AA batteries. The Meta Quest 2 controllers take alkaline batteries, disposable or rechargeable. Luckily the alkaline battery is the kind most commonly used in all sorts of appliances, and is what you’d call a typical AA battery.
Unlike the Quest 2 headset itself or the Meta Quest Pro controllers, the Quest 2 touch controllers don’t have an internal battery or integrated battery that can be charged with a usb-c cable. Hopefully a built-in rechargeable battery will be included in future Quest models.
If you use your Oculus Quest 2 a lot then you might want to consider getting some rechargeable AA batteries that come with battery chargers, so that you won’t have to throw away old disposable batteries and constantly have to buy more. It’s a good idea to keep your controller battery life from ruining your best Quest 2 experience.

If you have fragile nails or simply don’t want to use them to remove the battery, get a thin tool like a pair of tweezers or thin spatula. You’ll either need to use that or one of your fingernails to remove the battery from the compartment.
Change the Oculus Quest 2 Controller Battery: Short Version
The short version of how to replace your Oculus Quest 2 controller batteries is this: Remove the battery cover on your Quest controller. It’s on the grip of it on the side that doesn’t have the grip button. Then take out the old battery, dispose of it or recharge it, and replace it with a replacement battery before slipping the battery compartment cover back on. For a longer explanation with details and pictures, keep reading this article.
Replace the Oculus Quest 2 Controller Batteries: Long Version
Once you’ve got your batteries it’s time to open the battery covers on the Quest 2 controllers so that you can remove the old AA batteries and replace them with new ones. Since there’s no latch or indentation in the controller it’s not immediately obvious how to do this, so we’ll go through it step by step.
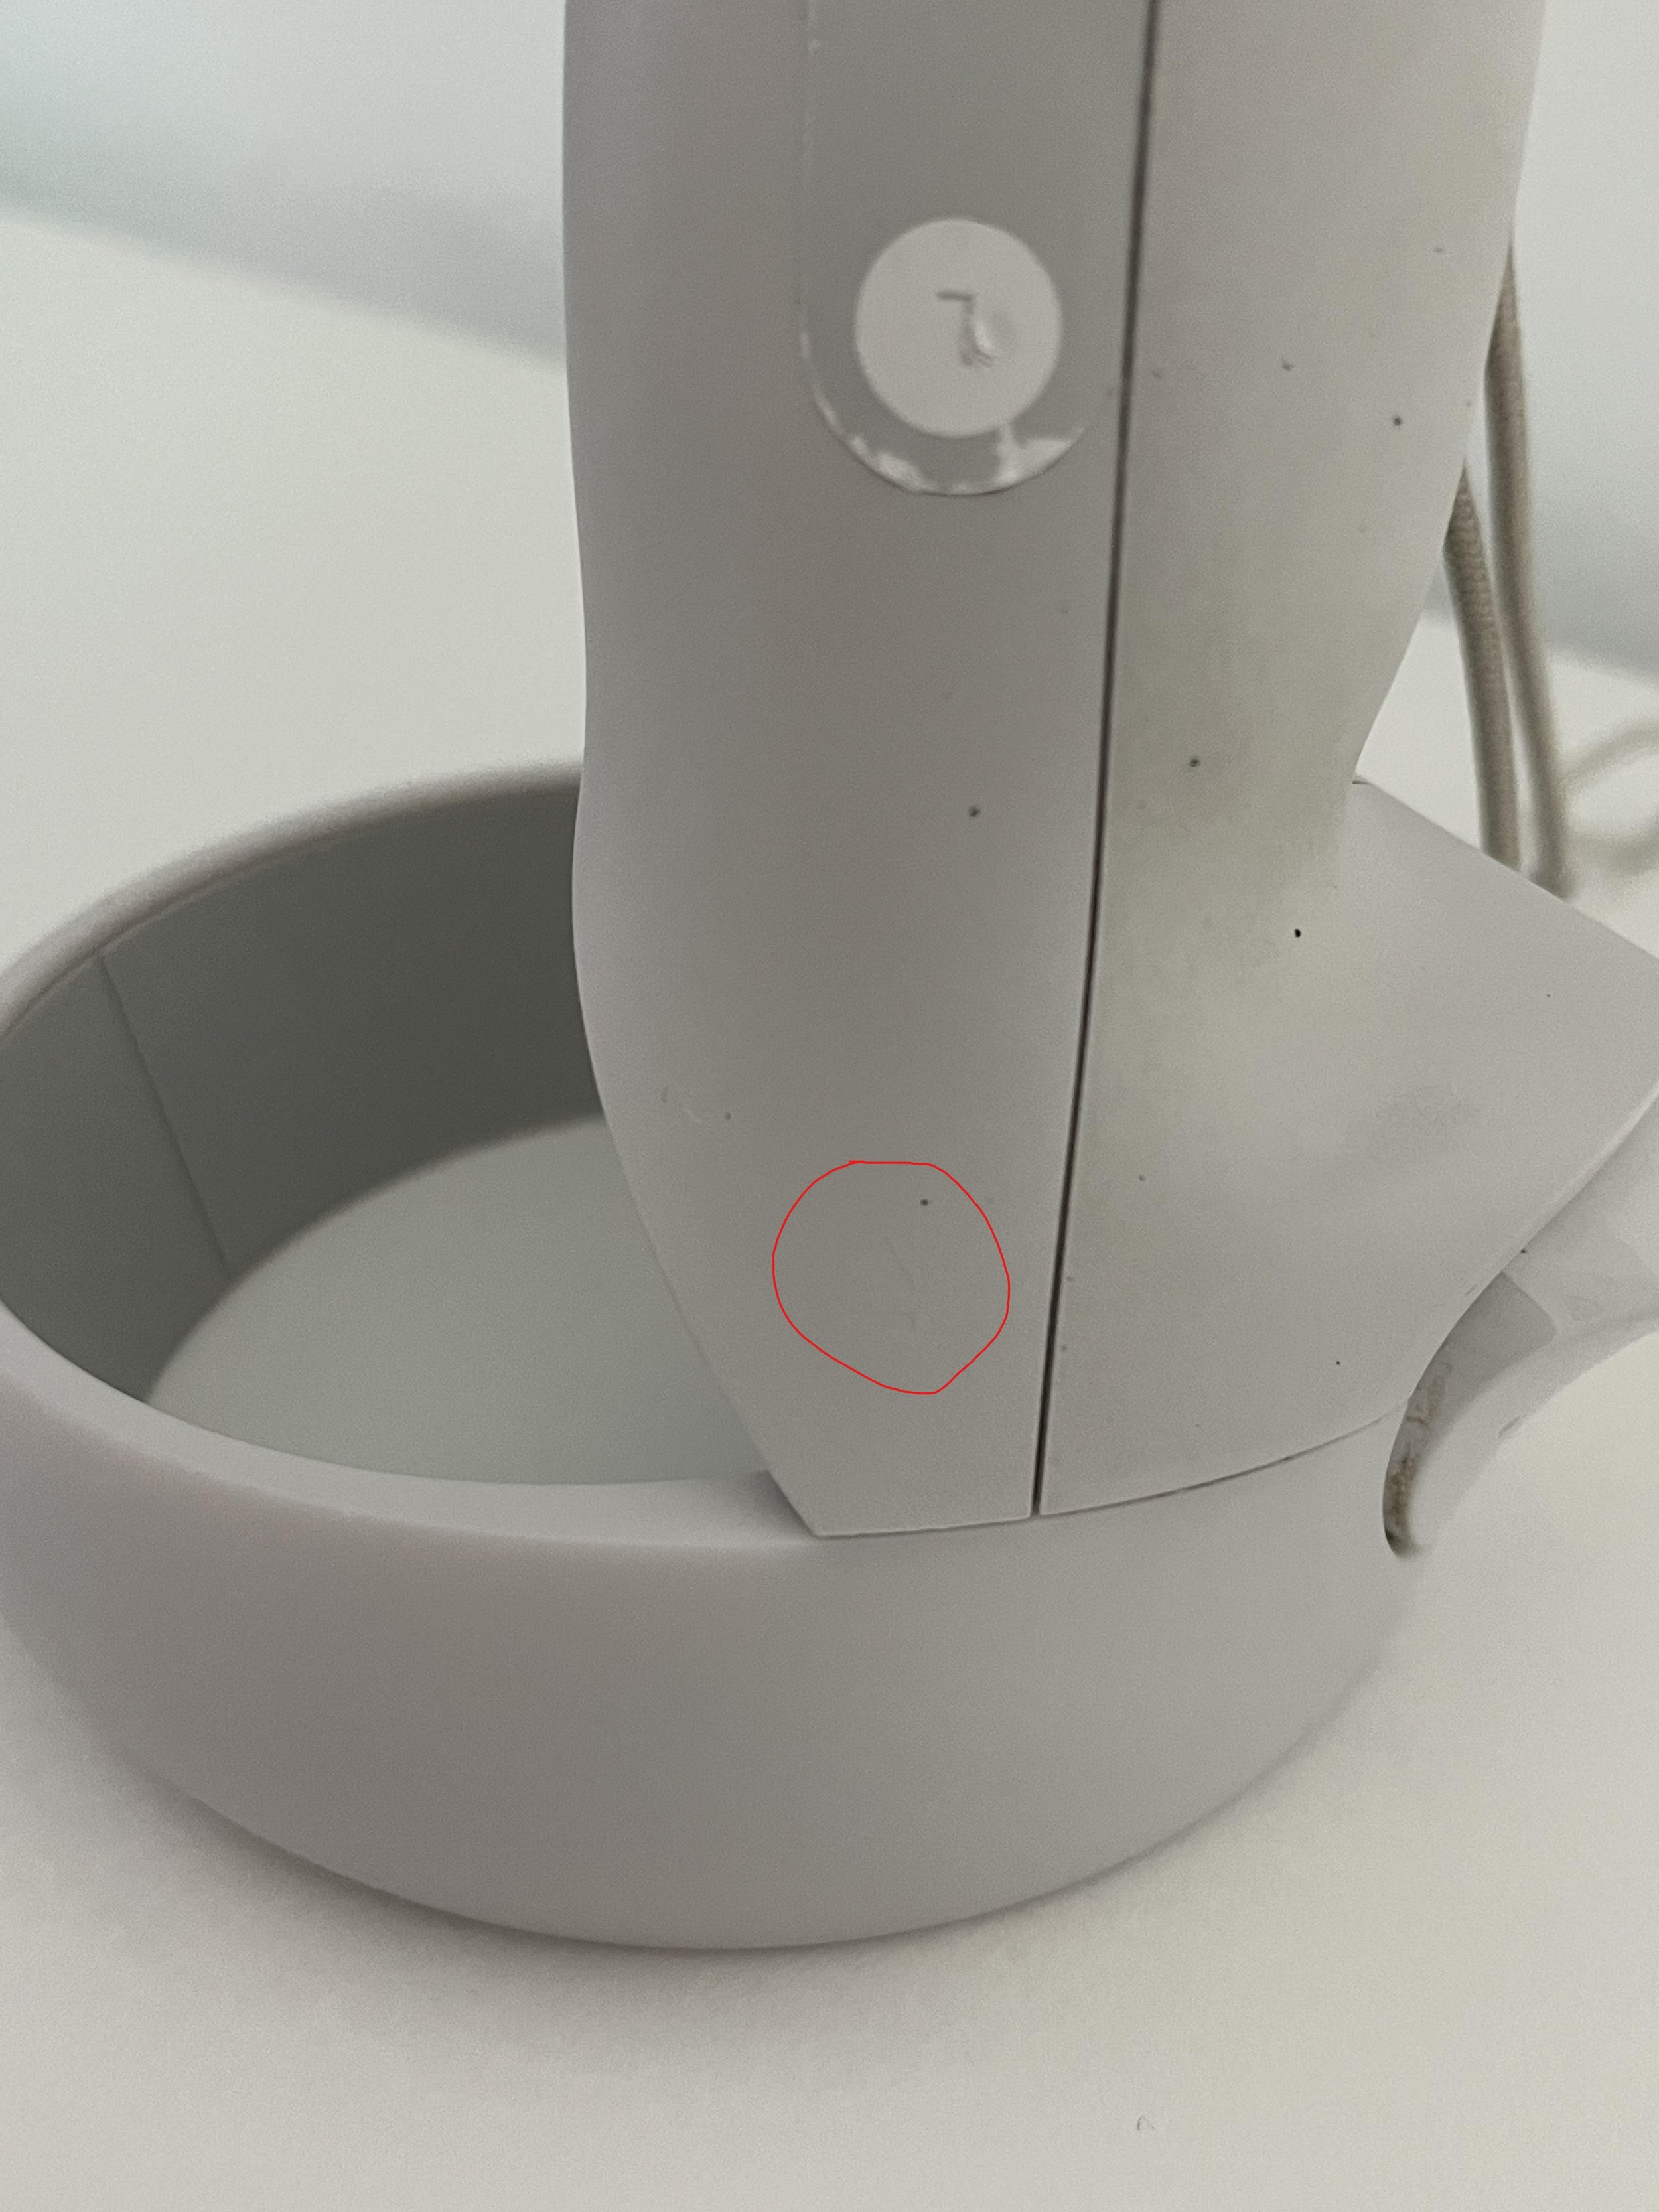
First locate where the cover is. That will be on the outer side of the grip of the controller, the side that does not have the grip button and is completely smooth. If you haven’t removed the stickers indicating which hand to hold the controller in, that will be the side with the “L” or “R” sticker.

At the top of the battery compartment cover you’ll also see a little downwards arrow indented into the plastic, right below the ring at the top of the controller. This small eject icon shows you the direction to push to unlatch the battery cover. It can be hard to see, but easier to feel with one of your fingers.
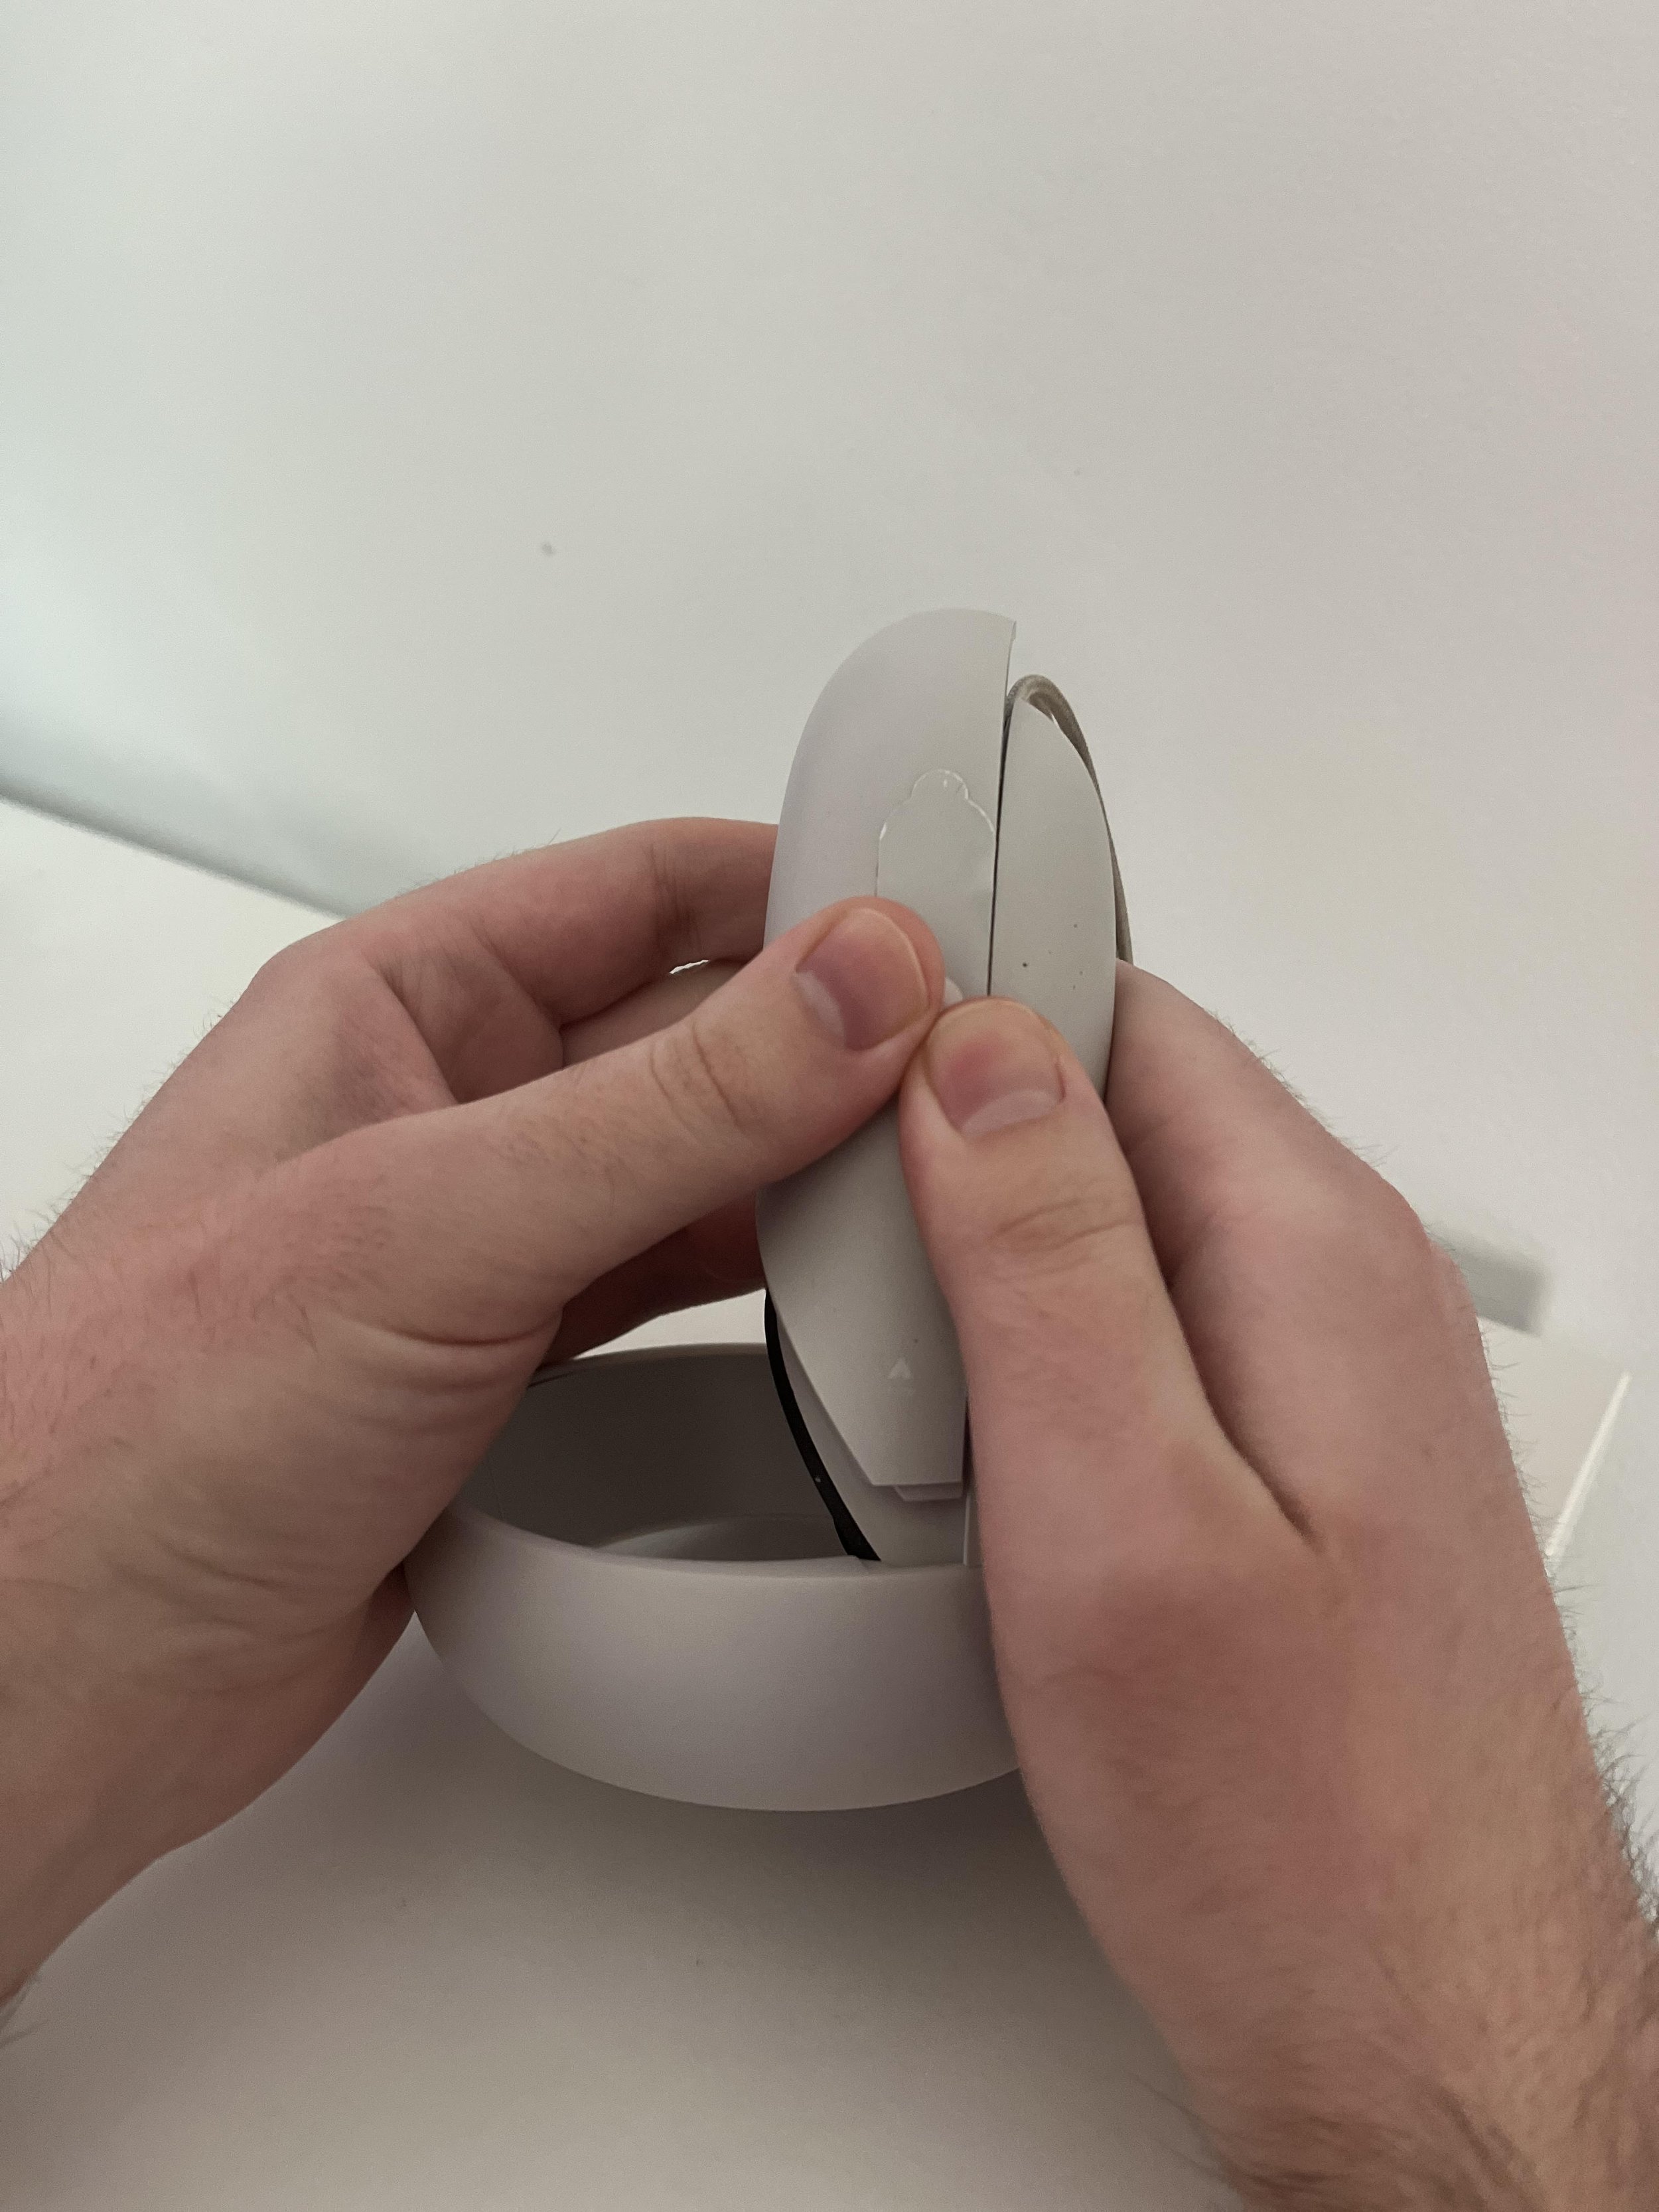
Once you’ve located the cover, hold the controller in both hands and gently press your thumbs down in the center of the compartment. Then push the cover out towards the bottom of the controller. The goal here is to push the cover slightly inwards and outwards, unlatching it and also moving it away so that you can place in your new AA battery. This can be a little tricky your first few times doing it, and new quest controllers can be a little more stiff and difficult, but keep at it and you’ll get it.
Leave the cover somewhere you won’t lose it for now. It’s time to remove the old battery and replace it. This can also be a little tricky and stiff the first couple of times, but once you get used to this it will be easy. As you can see in the little battery diagram inside the battery compartment, the positive end of the battery is the end that is pointing to the bottom of the controller grip. The negative end is pointed towards the ring.

To remove the battery wedge one of your nails between the top of the battery on the positive end (or a thin tool that can fit in the gap). Then press down on the battery so that the top part of it comes away from the inside of the compartment. This will give you room to pull the battery towards you and out of the controller.

Once the covers are removed make sure to dispose of the old batteries. Googling “nearby battery recycling” can show you some potential locations to dispose of old AA batteries.
Now that the battery compartment is empty get your new battery and determine the positive and negative ends. The positive end will have a little nub on top, there should also be + and - signs on each side that show which end is positive and negative.

Grab a single AA battery, making sure the positive end is up, and slip the negative end into the bottom of the compartment (when the grip is pointed upwards as in these pictures). You can push down on the battery so that you have room to slip in the positive end facing upwards. If you’re still confused on which way the ends should go, there is a little diagram inside of the battery compartment which shows which way the positive end of the battery should go.

Once the new battery is inside, push the battery cover back down over the compartment. When you start up your Meta Quest 2 again, you will see the battery life percentage of your controllers update to reflect the charge of the new battery. It is recommended that you change the batteries of both controllers at the same time.

It is also very easy to just use rechargeable batteries, like those found here on amazon. If there are four then you can just recharge the two old ones using the battery charger after replacing them with two new batteries. This means you don’t have to constantly buy new AA batteries and throw out old ones. It’s also good to reduce your environmental impact, and is just an overall win-win.
If you’re still experiencing power issues with your Oculus Quest controllers like the battery percentage not updating, or the controllers still showing as being low power even with new batteries, then you should contact the Meta support team and possibly get replacement controllers.