

The Walking Dead Saints and Sinners Aftershocks Walkthrough and Guide - Part 6 - Memorial Lane
Stuck in The Walking Dead Saints and Sinners: Aftershocks? Wondering where to go next? Maybe you just like to see what is in store for you before you get there, or want to look back and see if you missed anything in The Walking Dead: Saints & Sinners: Aftershocks.
Don’t worry, I’ve got you covered with this complete walkthrough. These articles will detail how to progress through the main story missions as quickly as possible, with a couple of guiding tips thrown in here and there to make your adventure smoother.
Last time we followed a bunch of clues to the cache in Old Town. Today we’ll be recovering the sixth national guard cache, which the Tower and Reclaimed are fighting over on Memorial Lane.
This guide assumes that you are starting Aftershocks with the "Aftershocks Quickstart” option in the main menu. If you’re playing Aftershocks after completing the main campaign then some details might be slightly different, but the challenges you face in the missions will be the same.
If you are missing some of the recipes then you can still pick them up while doing the missions in this walkthrough, though they won’t be explicitly pointed out here. For a full list of all recipes in The Walking Dead: Saints & Sinners, check out our recipe guide article.
Spoilers will be as light as possible, but there will be story spoilers by necessity in this walkthrough. There won’t be any explanation of what is going on in the story beyond what is necessary to make the walkthrough make sense.
The Resting Place
Wake up and listen to Channel 47 as always, but beware that you might want to do a bit more prep than usual this time.

The task to get the cache in Memorial Lane.
For your trip to Memorial Lane you’re probably going to get shot much more than usual, so make sure to bring at least 2 bandages, probably 3 to be safe. Oh, and bring a lot of firepower and ammunition too. You may find yourself fighting through a ton of enemies.
Especially for this mission make sure to craft a bit of every type of item and store it in your base. That means food, ammo, weapons, meds, and anything else you might ever need. You’ve definitely got a ton of crafting supplies by now, so turn them into some useful stuff before you head off on this mission. You won’t regret it.
When you’re armed to the teeth and have your healing items ready in your backpack head off to Memorial Lane.

Traveling to Memorial Lane.
The Battle Of Memorial Lane
When you arrive in Memorial Lane it may be suspiciously quiet… that won’t last long.
Take a look at your map.

The map of Memorial Lane.
See that tree icon in the center of the map? That’s the battlefield that not only contains the cache, but also a bunch of Reclaimed and Tower soldiers fighting each other to the death over it. At least they’ll start spawning in and fighting when you get close enough.
For now make your way down Garrison street towards the house marked as blue on your map. There will be some tower guards in front of it.

The Blue House is lightly guarded.
While they won’t be initially hostile feel free to just blast your way through them to get inside of the house. Once inside head up to the second floor.
There will be another guard or two in there. Take them out before you settle down in this room, which contains a hunting rifle, some ammo and junk on the table, and a picture which shows you a picture of a national guard crate with a number on it.

This room shows you which cache is the correct one, and can be used for a little sniping as well.
There are a bunch of caches all over the battlefield below, but most of them are empty. Only one contains supplies and that is cache number 41. It is located on the red couch right beside the tree in the center of the battlefield.
Of course it’s a battlefield, and as you’ll be able to see through the hole in the wall leading outside, there are Tower and Reclaimed soldiers fighting over it (or possibly just standing around, depending on how it worked out for you.)
Regardless you’ll have to make your way down there. The problem is that soldiers will just keep spawning after they are killed. Infinitely.
So you can pick off a few from your perch in the house with the rifle if you like, but eventually you’re going to have to run down there and get to that cache.

Cache 41 itself, which is full of loot for you.
This is where the medical items come in. Once you open the cache there will be quite a bit of loot inside, and more soldiers will spawn and run in right to where you are as you try and grab it.
So you will need to balance grabbing the supplies in the cache with healing yourself. If you’d rather just leave with your skin intact you can also always just open the cache and then leave right after. It’s up to you, but this is definitely the hardest cache to actually loot.
Once you’ve got the goods run back over to the blue house that you started at and back up Garrison street to the boat you arrived in.
Something’s Wrong In The Resting Place
Once you return back to The Resting Place and walk back towards the bus you’ll hear some strange noises. Like somebody… tinkering? Rifling through things?
You’ll quickly realize what it is when you see two tower soldiers running away from your bus.
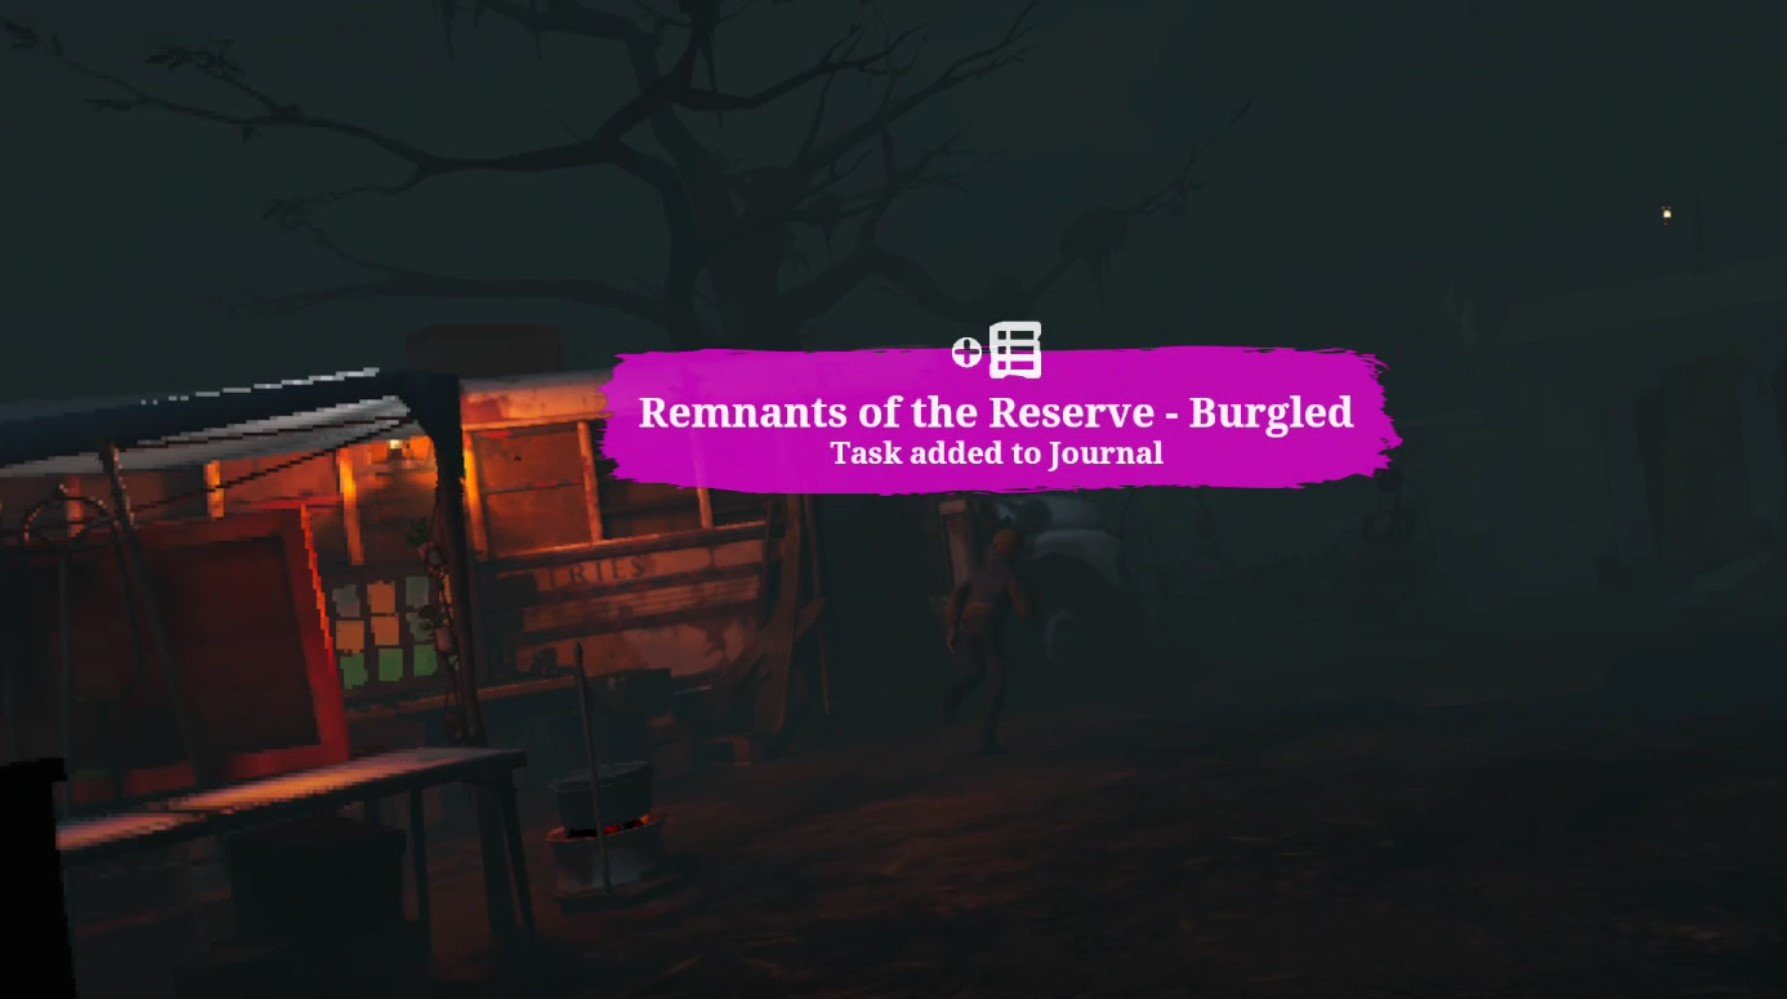
Thieves!
They’ve taken all of your crafting materials, and on top of that even your sleeping flask! Luckily any items that you’ve already stored inside of your bus are still left behind.
Well that just won’t stand. So read the next part of this The Walking Dead: Saints and Sinners - Aftershocks walkthrough to get your flask, and some of your stuff, back.