


Blade And Sorcery Golem Boss Fight Guide And Tips
Having trouble with Blade and Sorcery’s Golem Boss Fight? Well you wouldn’t be the only one.
The golem boss, lovingly named Hector by the community, is an opponent you will have to defeat quite a few times in Blade & Sorcery.
Luckily I’ve got a guide and some tips here on fighting the Blade & Sorcery boss golem so that you can upgrade your crystals and progress further in the game.
Having trouble with Blade and Sorcery’s Golem Boss Fight? Well you wouldn’t be the only one.
The golem boss, lovingly named Hector by the community, is an opponent you will have to defeat quite a few times in Blade & Sorcery.
Why? Because you will need to defeat this Blade and Sorcery boss every time you want to get a new crystal to upgrade your magic. You might as well get good at fighting the golem boss, because you’ll be doing it a lot.
Luckily I’ve got a guide and some tips here on fighting the Blade & Sorcery boss golem so that you can upgrade your crystals and progress further in the game.
How To Defeat The Blade And Sorcery Golem Boss
You need to destroy each of the pink crystals found on the golem’s body to destroy it. They shine pretty brightly, so when you see them you’ll know it.

The Blade & Sorcery Golem Boss. Also known as Hector.
These crystals can be located all over the golem. Some are on his upper legs, while others can be on his torso, upper arms, and even his back.
These crystals can be smashed with anything, even your bare fists if you hit them enough times, but a single hit with a blunt object will do just as fine.
While you can destroy some of the crystals by just jumping up and swinging a weapon overhead, like those on the golem’s legs, you’d have to actually climb up the golem’s arms and back to reach others.
It doesn’t end there though. You’ll notice that some of the crystals are also covered in a strange energy barrier. These barriers can’t be smashed. After you’ve destroyed a few of the crystals on the golem’s body you’ll need to look around the arena and find a big glowing blue crystal.

One of the blue crystals you will have to break to remove the shields from some of the golem’s crystals.
There are several of these throughout the arena, but only one will be revealed at a time. The others will be covered with a magical barrier. Once you find the crystal then smash it.
Some are easy to get to and can be smashed with a fist or melee weapon, while others may force you to climb to get close to them. You can always break those from afar with ranged attacks. If you don’t want to, or can’t, do that, there will always be something climbable that can get you close enough to smash it.
Once the blue crystal is smashed one of the golem’s pink crystals will lose the barrier protecting it, and the golem will also crouch down and be temporarily stunned. Run over to the golem quickly and take this opportunity to smash one of the crystals in a hard to reach area, like on its back.

After you break a blue crystal the boss will be stunned for a few seconds.
Once all of the pink crystals are smashed the golem will kneel down and not get back up. Hit its face to reveal the crystal beneath and pull the crystal out of its head to defeat it.
A once closed door will open in the chamber that you fight the golem in, go through that door and you can place the crystal on a pedestal and choose what kind of crystal you want. Then step on the glowing circle nearby to teleport back home.
Once you defeat the Blade and Sorcery boss you can get a crystal of any kind you like.
Equipment Tips For The Blade And Sorcery Boss Golem Fight
As with any boss fight in any game it’s important to show up prepared not only with knowledge (which is why you’re reading this article) but also with the right ingame equipment to tilt the chances of success in your favor.
Even if you showed up the golem boss fight with no weapons at all you will be relieved to know that there are a few pieces of equipment to be found within the arena itself. Just to the right of the gravity lift that you fall into the arena on you’ll find a spear and shield lying on the ground.

This shield and spear are great free weapons in the boss arena.
The shield isn’t particularly useful the first few times you fight the golem, but the golem does get more dangerous the more times you defeat him.
Later on they will develop a long ranged lighting beam attack that you can reflect with the shield. You can use the reflected beam to destroy the golem’s crystals as well. The shield can also be helpful in deflecting the golem’s other attacks.

You can reflect the golem’s lightning beam with a shield.
The spear isn’t ideal, but it is also useful as a means to smash the boss’s crystals by just hitting them with the shaft of the spear like it’s just a long club.
You’ll also notice that on either side of the arena there are these bowls inlaid into the walls that are full of lightning. Next to each of them is a bow and a quiver of arrows.

There are two free bows and quivers of arrows in the Blade and Sorcery golem boss arena.
Dip the arrow into the lightning to charge it. Then fire it with the bow. The arrow will become a homing arrow that will home in on the nearest crystal. It’s not very smart though, so if another piece of the golem is in the way the homing arrow will just bounce off.
Also keep in mind that the lightning won’t stick to the arrowhead for long, so you have to fire it quickly before it wears off. You can use these arrows to hit the golem’s pink crystals from afar, or destroy the big blue crystals that are in hard to reach places without having to climb to them.
The biggest drawback to relying on using ranged weapons is how limited your ammunition is, with just about forty arrows total being present in the arena. Each crystal also won’t break with just a single hit from an arrow, you will have to hit the crystal multiple times.

These lightning arrows can be very useful to take out the Blade and Sorcery golem boss’s pink crystals from far away.
There is also a big ancient hammer to the found next to the central pillar in the arena. While it isn’t ideal it can also be used to smash crystals. The same goes for the sword found on top of the ridge just to the left of the entrance to the arena (you’ll have to climb up or take the ramp on the other side of it to get up there).
So, naturally, it’s better for you to bring in some more ideal weapons for yourself. I’ve found that the easiest weapons to use to quickly smash crystals are short blunt weapons like the club, trench mace, or flanged mace. A small axe can also be a great choice to quickly smash those crystals.
These can be easily wielded with one hand so that you can grab it from a weapon slot while you’re hanging on to the golem with your other hand. They will also smash a crystal in a single hit.

Smashing the crystals on the golem boss’s lower leg is easy and should be done first.
You could bring additional quiver of arrows if you like to use your bow to fight the golem. Bringing your own shield is unnecessary, but you should also consider your choice of magical crystals when fighting the golem.
For instance, once you have obtained two gravity crystals and combined them you can use gravity magic to launch yourself into the air, which is very useful for quickly getting to high places in the boss arena, or jumping on to the golem’s back.
You can also use gravity magic to deflect the boulders the golem throws at you. So if you want more help against this Blade and Sorcery boss then make sure to get gravity crystals whenever you can. It’s the most helpful magic for fighting the golem.

Using gravity magic to jump on to the Blade and Sorcery golem’s back.
If you can get some armor to prevent you taking as much damage that is also helpful, but not nearly as much as bringing healing items.
Bring as many healing items as you can. The more you bring then the longer you can stay in the fight, just make sure to use them when your health gets low and you see red. If you can’t afford armor or healing items you can always keep doing outposts and arena battles on the map until you can afford as many as you like.
Bringing the right items can make the Blade & Sorcery golem boss fight a lot easier.
Some Golem Boss Fight Tips
So we’ve gone through how to defeat Blade & Sorcery’s Golem Boss Fight (destroy their pink crystals, then destroy the blue crystals to remove the shield from the rest of the pink crystals).
We’ve also gone through what sort of equipment you should bring (a short club, tons of healing items, armor if possible, arrows if you prefer ranged attacks, gravity magic if possible).
Now for some more general tips that will help you stay alive in the boss fight arena and defeat the boss.
First of all, mobility is key in this boss fight. You don’t want to let the golem hit you by swinging his big arms or throwing a rock at you. The key to avoiding these attacks is mobility. Stay moving as much as possible. Remember to swing your arms to run. As long as you don’t stand still and keep your distance you will have an easy time avoiding most of the boss’s attacks.
This also applies when you’re climbing the body of the golem itself. The golem has a lot of handholds for you climb up him, but you can only grab on to him for a very short time before they throw you off. So make sure to climb as quickly as you can with both hands, before grabbing a weapon with just one of your hands to smash a crystal.
Right after you smash a crystal make sure to jump off of the golem and run away, because the golem will throw you off of him with damaging magic, like a blast of gravity or electricity. Though if you’re quick enough you can destroy two crystals at once before jumping off. It’s risky, but if you’re quick you can pull it off.

The golem using a gravity blast after one of its crystals is destroyed.
When you’re far away from the golem make sure to keep moving to avoid their ranged attacks, and when you’re close make sure to carefully pick your opportunity to jump on top of them and get at those crystals.
You can just jump up to hit the crystals on his lower back and legs, but you’ll need to use ranged attacks or climb to reach the upper crystals. If you get hit make sure to heal up at a safe distance before taking another shot.
You can even run to the other side of the big pillar in the center of the arena to buy yourself some time where you won’t have to dodge the golem’s ranged attacks. This can be especially useful when smashing the crystal near the ceiling there, since the boss will take a while to walk around and start attacking you again.
That’s about it! You won’t need to use all of these tactics to defeat the Blade and Sorcery boss fight, so take and use whatever fits your playstyle. Enjoy!

All Blade And Sorcery Endings And How To Reach Them (Including the Secret Ending)
So you want to know how to reach each of the Blade and Sorcery endings in the Crystal Hunt game mode.
Well I’m going to tell you how to reach both of them here, but without what happens once you reach them, in order to keep this article spoiler free.
Also keep in mind that you can reach both endings on the same character. The first ending (the one you’re more likely to reach on your own) does not lock you out of the second ending (which is much harder to achieve) also known as the secret Blade and Sorcery ending.
Oh, and if you’re having a little trouble reaching the end of the game you might want to try some Blade and Sorcery tips and tricks.
Blade And Sorcery Endings - How To Reach Them
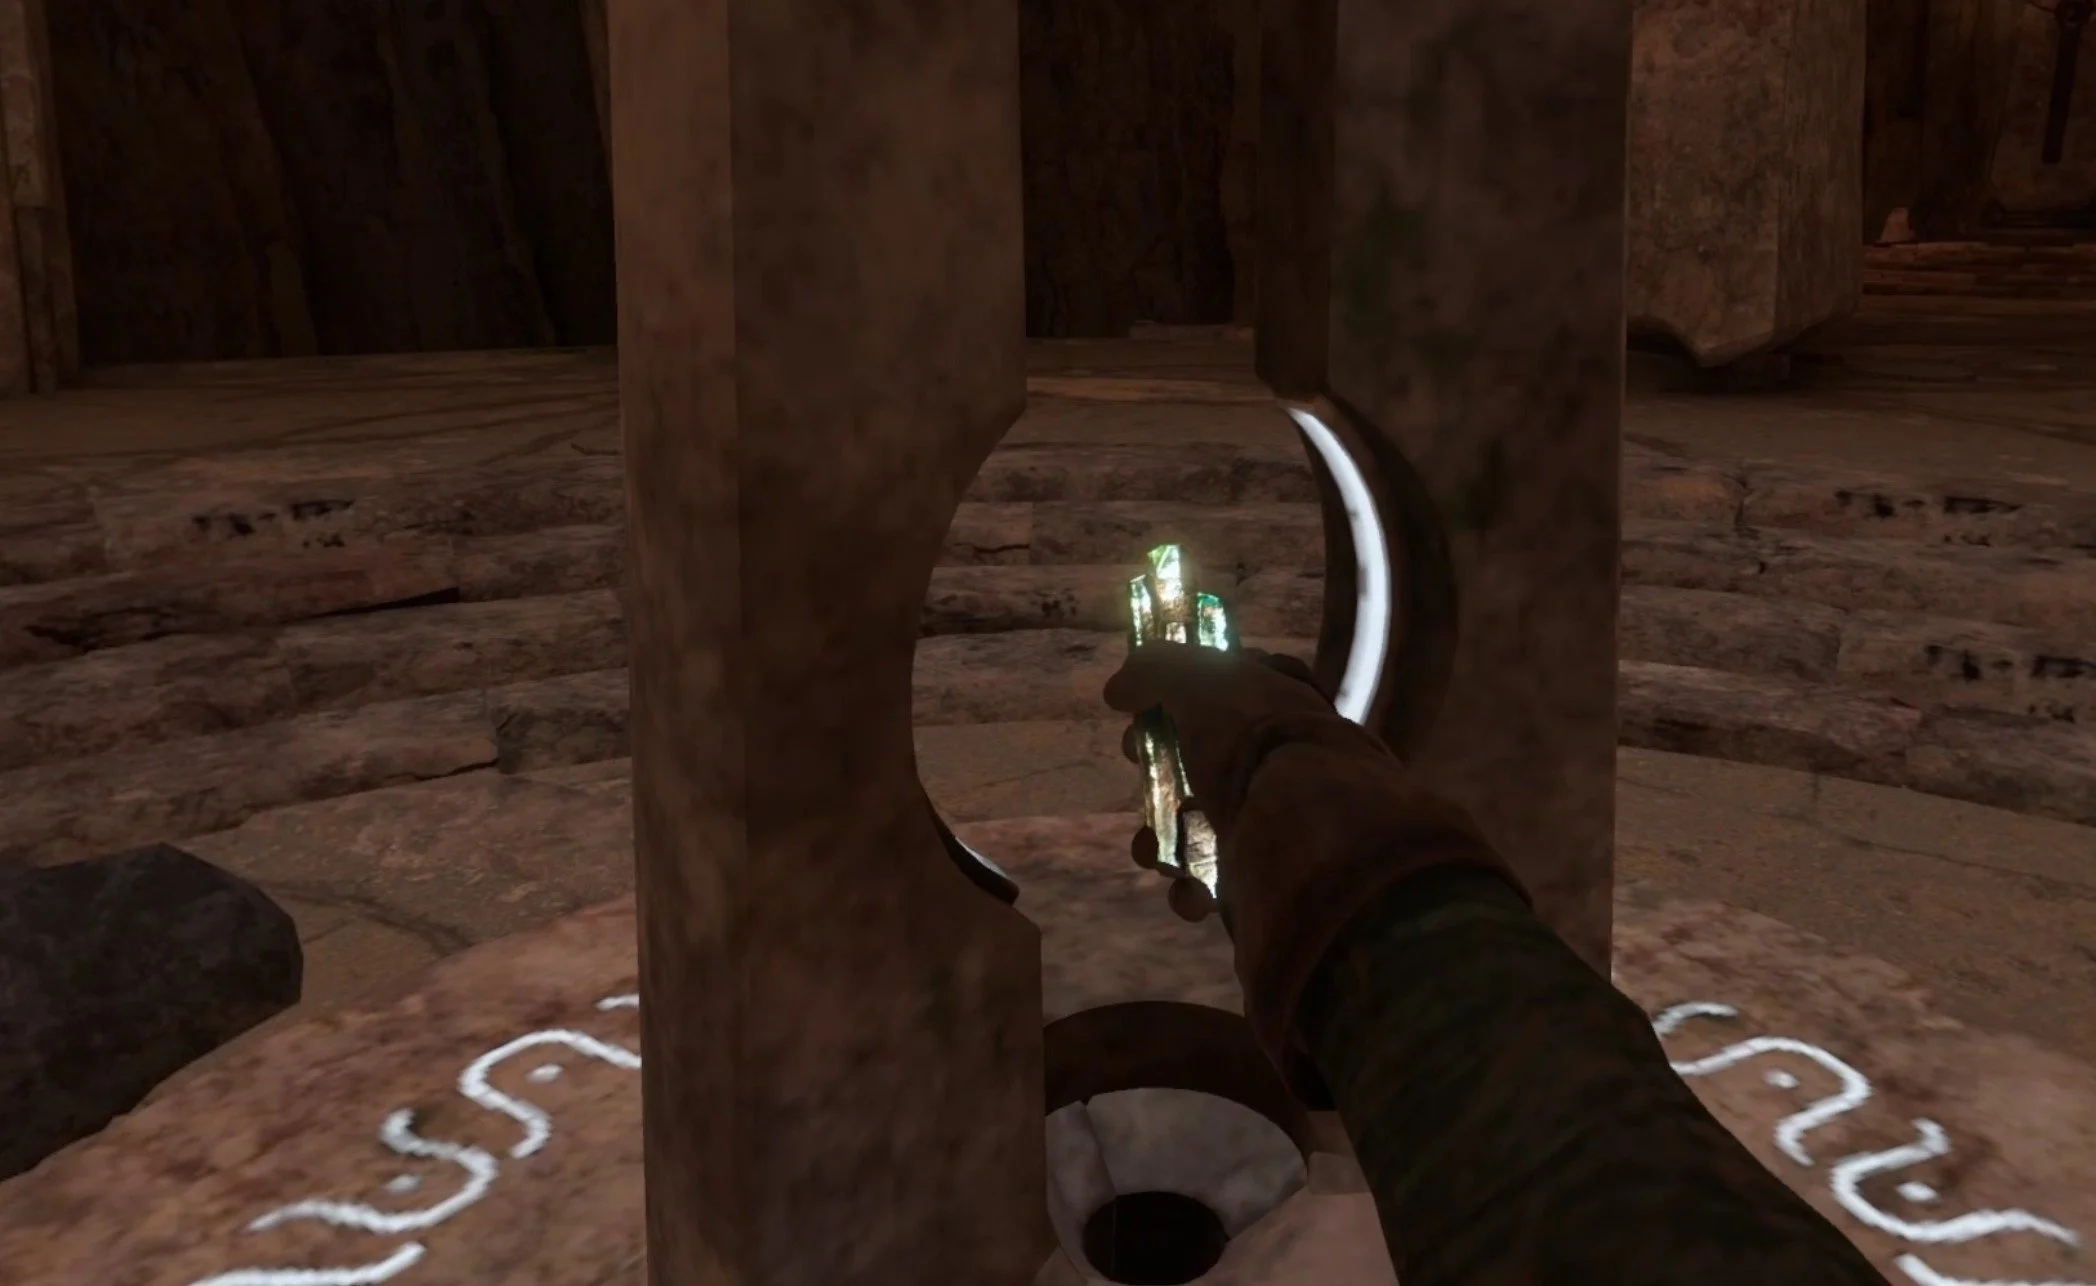
Reaching the end of Blade & Sorcery’s Crystal Hunt is pretty straightforward. You’ll notice shortly after you start the game that there’s this old stone doorway in the caves near your house.

Beyond this stone door lies the entrance to both Blade and Sorcery endings
You also might notice that this doorway has six crystal circles inlaid in it.
You’ll also notice that after each time to defeat the golem and unlock a new crystal that one of these six circles on the doorway will light up.
When you’ve defeated six golems and unlocked six crystals then the doorway will open up and reveal a portal on the other side.

Getting six new crystals unlocks the door and the path to the Blade & Sorcery endings
Go through this portal and you’ll be in the ending location of Blade and Sorcery, that big structure that’s been glowing out in the sea, visible on the water from your home.
Well the portal takes you straight there, and each of the two endings is located on this artificial island.

Now you can finally go to that huge structure out in the water
Blade and Sorcery Ending One
The first Blade & Sorcery Ending is the one you’re most likely to find the first time you enter the portal beyond the six crystal doorway, and it doesn’t take a ton of effort to find.
Just walk through the door into the big structure and continue down the big hallway that leads straight into a large chamber with a shining pedestal in the center.

The big chamber with the sword in the center, the location of both Blade and Sorcery endings
Just take one of the paths around the sides of the chamber, there’s one to your left and to your right, and go straight to the pedestal in the center.
Take the sword from the pedestal, and then you will witness the first Blade and Sorcery ending.

To unlock the first Blade and Sorcery ending just grab the sword from the pedestal
Blade and Sorcery Ending Two - The Blade and Sorcery Secret Ending
Now that you’ve seen Blade and Sorcery’s main ending it is time for the more complex but more satisfying secret ending for Blade and Sorcery.
You’re going to need to prepare a little for this one before you go back through the portal towards the structure. The first requirement to reach the secret ending to Blade & Sorcery is that you have at least the first level of each of the elemental crystals unlocked.
So you’re going to need to have unlocked at least one crystal for gravity, fire, and lightning. Otherwise you won’t be able to access the secret ending. Don’t worry if you don’t have one of each of these crystals.
You can always collect more map pieces and fight more golems as much as you like to get more crystals, just like before you unlocked the portal to the island structure.
It can also be very helpful to have unlocked the second crystal for gravity magic so that you can jump extremely high. The kick dash unlocked by body crystals is also helpful, as is any sort of ability that helps you traverse levels.
Oh, and make sure to bring a bunch of healing items in case you make a mistake. Once you’re ready go back through the portal to the structure in the ocean and walk back into the big chamber with the sword pedestal in the center.
Right after you enter the chamber turn to the left, and instead of walking along the path leading to the sword, go through the hole in the wall right beside it.

This hole in the wall is the first place you should go to unlock the secret Blade and Sorcery ending
Follow the cave through the hole until you see a gravity lift that you can swim up through. After you reach the top of the lift there will be a rock wall for you to climb up.

Once you’re through the hole in the wall go up this gravity lift
When you’re at the top there will be an opening on the right leading to a Balcony overlooking the big chamber with the sword in the center. Jump down onto the balcony.

There are three balconies with puzzles like this one that must be solved to unlock the Blade and Sorcery secret ending
See that thing in the center of the balcony? It’s sort of like a cylinder, and it has holes on each of its three sides.
Using your lightning magic create a ball of lighting in one of your hands and put it inside of each of the three large holes. You’ll notice the lightning stays in the hole. Mess up and put the wrong element in the wrong hole and you’ll take a lot of damage!
Do this for each of the three large holes and you’ll hear a peculiar noise indicating you’ve done… something.

Filling one of the puzzle holes with lightning. The first balcony puzzle needs lightning for all three holes.
Now it gets a little harder. Look to your left and you’ll see some lamps attached to some rocks floating in the air on a path headed straight for another balcony with another big object in the center of it.
You’re going to have to jump from hanging lamp to hanging lamp to make it across to the other balcony. If you miss a lamp and fall then remember to use your gravity magic to slow your descent and avoid taking damage.

Swinging across these lanterns will lead you to the second balcony puzzle needed to unlock the secret ending for Blade and Sorcery
Once you’ve made it to the next balcony there’s another one of those objects with those big holes in the sides of it.
However, this time keep in mind that each of the big holes has smaller holes above them. One has one smaller hole, another two, and another three.
Start with the hole that only has one smaller hole above it and light that hole up with fire magic. Then put gravity magic into the other two holes starting with the hole that has fewer circles above it. Once again you will hear a noise indicating you’ve done something.

The hole with one smaller circle above it needs fire. The other two need gravity.
You’ll notice there is a third balcony, but this time no convenient lanterns to swing across to reach it.
No worries, if you look down you can see another hole in the wall next to one of the paths that lead to the sword pedestal in the bottom of the chamber. This one will be on the opposite side of the one you previously took to get up here.

Go to the hole in the wall on the right side of the entrance to solve the final puzzle for the second of the Blade and Sorcery endings
Jump down and use your gravity magic to glide safely and slowly to the floor. Then head inside the wall and you will find another gravity lift.
Hop inside and swim your way to the top.

You can swim your way up this gravity lift
Once you reach the top you will be overlooking the central chamber once more, but this time look to your left and you will see the third and final balcony there.
Either climb along the wall to reach it or launch yourself towards it with magic. However you get to the balcony you will be confronted with the final puzzle once you get there, another one of those cylindrical obelisk things with holes in them. This time it will have three stacked on top of each other.
From top to bottom but gravity, then fire, and then lightning in the lowest hole.

Gravity then fire and then lightning solves the final puzzle and unlocks the Blade and Sorcery secret ending
Once you’re done with this congratulations! Jump down to the pedestal and grab the sword again. You’ll see that things will turn out a little differently in the Blade and Sorcery secret ending.
Well those are the Blade and Sorcery endings and how to reach them. I hope you get to enjoy both the normal and secret endings this way, and enjoy Blade & Sorcery in general. It’s a very fun game and a one of a kind VR RPG.
Oh, and if you’re having a little trouble reaching the end of the game you might want to try some Blade and Sorcery tips and tricks.