A Township Tale Update: How to Reach the Climbing Tower on the Quest 2 [Guide]
The Climbing Tower was finally added in the newest Update of A Township Tale for the Quest 2. A lot of players have been looking forward to this addition for a while, because mastering the Climbing Tower is not only fun on its own, but also allows you to climb all over the world of A Township Tale while you are exploring. Read on to find out how you can find the Climbing Tower in this newest update.
The Climbing Tower was finally added in the newest Update of A Township Tale for the Quest 2. A lot of players have been looking forward to this addition for a while, because mastering the Climbing Tower is not only fun on its own, but also allows you to climb all over the world of A Township Tale while you are exploring. Read on to find out how you can find the Climbing Tower in this newest update.
The Journey Begins
First you’re going to need some supplies to make sure you’ll make it. A Township Tale is a survival game after all, and you will definitely face some challenges on your way from your town to the Climbing Tower. Here is the recommended list for what you should bring.
A Leather Backpack (the more backpack space the better, there are a few chests you can loot on the way there.
A weapon of some kind, an axe would be best
A teleport potion in case you need to go back (Not super necessary but it’s a long journey. Teleport Potions can be found in chests)
Food (Not necessary as you can find enough mushrooms on the way, but it’s easier to not have to stop and forage)
Dynamite (One is all you strictly need but bringing a spare wouldn’t hurt. Dynamite can be found in chests)
Something to light a fire with (a flint and a rock works just fine)
Once your pack is all sorted make your way to the mines to start out.
Instead of going down into the pit, take the path on the right hand side that leads up and over the mine entrance, that leads to the teleporter. Even further past the teleporter and empty chests above the mines is another path leading to the Rocklands.
The Rocklands
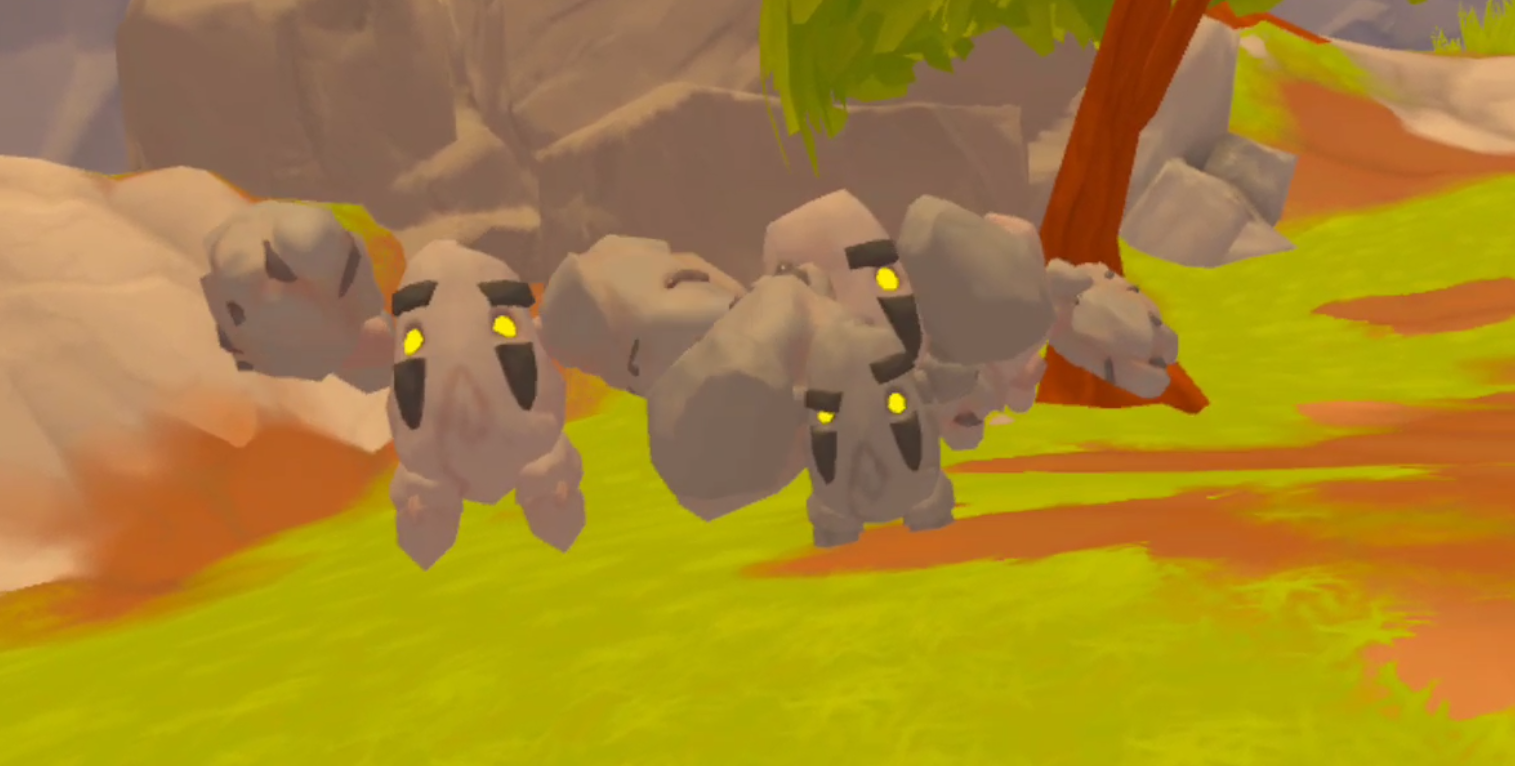
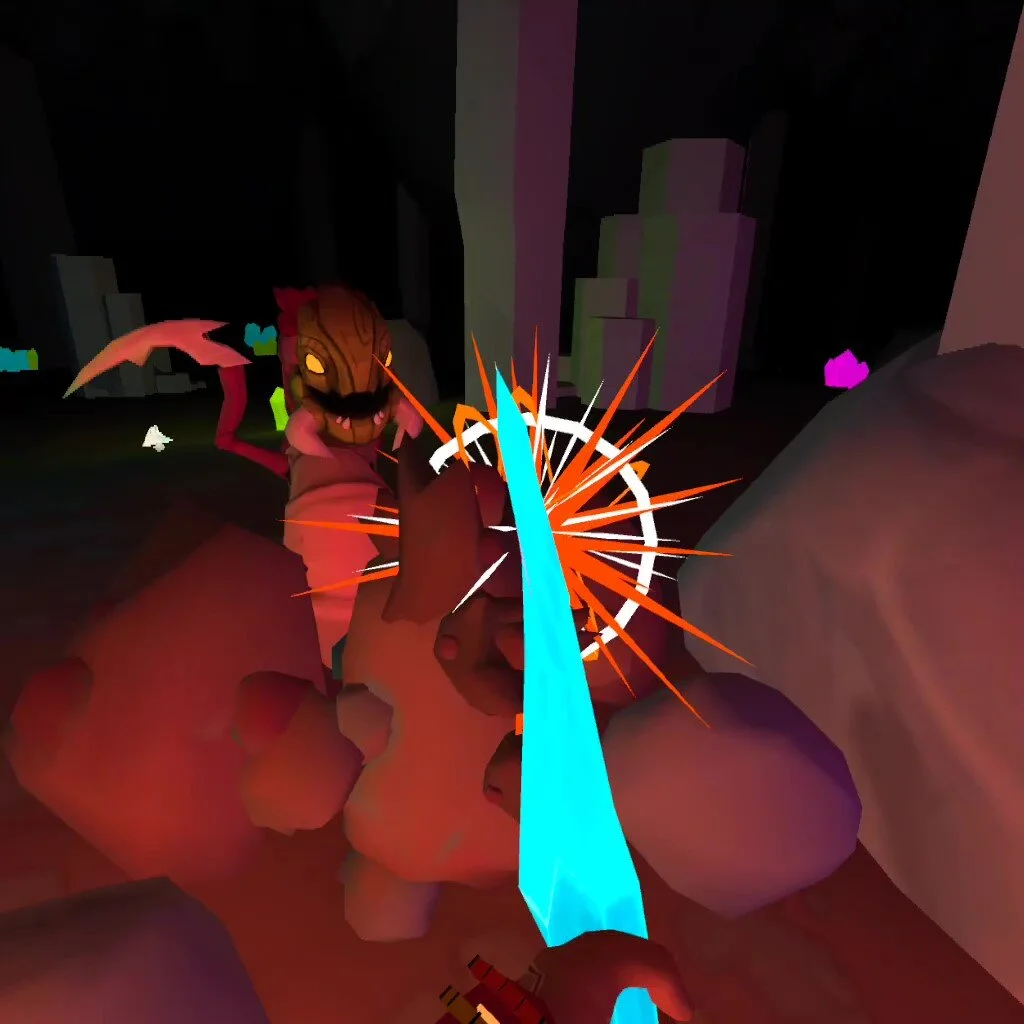
The Rocklands are where the journey starts to get rough. You will see Turabadas (the enemies make out of rocks) all over the place, stray to close and they will attack you. Fortunately they’re not so dangerous in the open because they cant run nearly as fast as you can, and they won’t follow you for very long.
Otherwise the Rocklands are a big series of small hills and mining nodes, just keep going past all of the Turabadas and past the tallest hill, until you come to a section of wall that looks much darker and different than the other walls.
This wall can be destroyed, so here is where your dynamite comes in. Grab some dried grass nearby and put it on the ground, then light it with a flint and rock. Then light the fuse on your dynamite with the burning grass and leave it in front of the breakable rocks before running away as fast as you can. When the dynamite blows up the rocks will be gone and you can continue on.
Next is a small rocky valley full of enemies such as Turabadas and Goteras (The armless tree people). Just continue through the valley and run past them. There’s some pots and crates to break if you like, but they won’t contain anything particularly special. There will be a few paths and ramps for you to walk up, just keep moving on and don’t get caught by the hostile creatures. Eventually you will climb up a path and crest a hill to see this.
The Tarn
This new area is called the Tarn, and wow is it huge. If you’ve never been there before then it might be the biggest wild area you’ve ever seen in A Township Tale! Once you’re done taking it all in go down the path leading off of the mountain you’re standing on. At the bottom are some trees and more Goteras. If you haven’t got an axe with you then take one of the rusty axes laying near them, you’ll need it soon. There is also a cluster of mushrooms, pots and boxes nearby in case you are hungry.
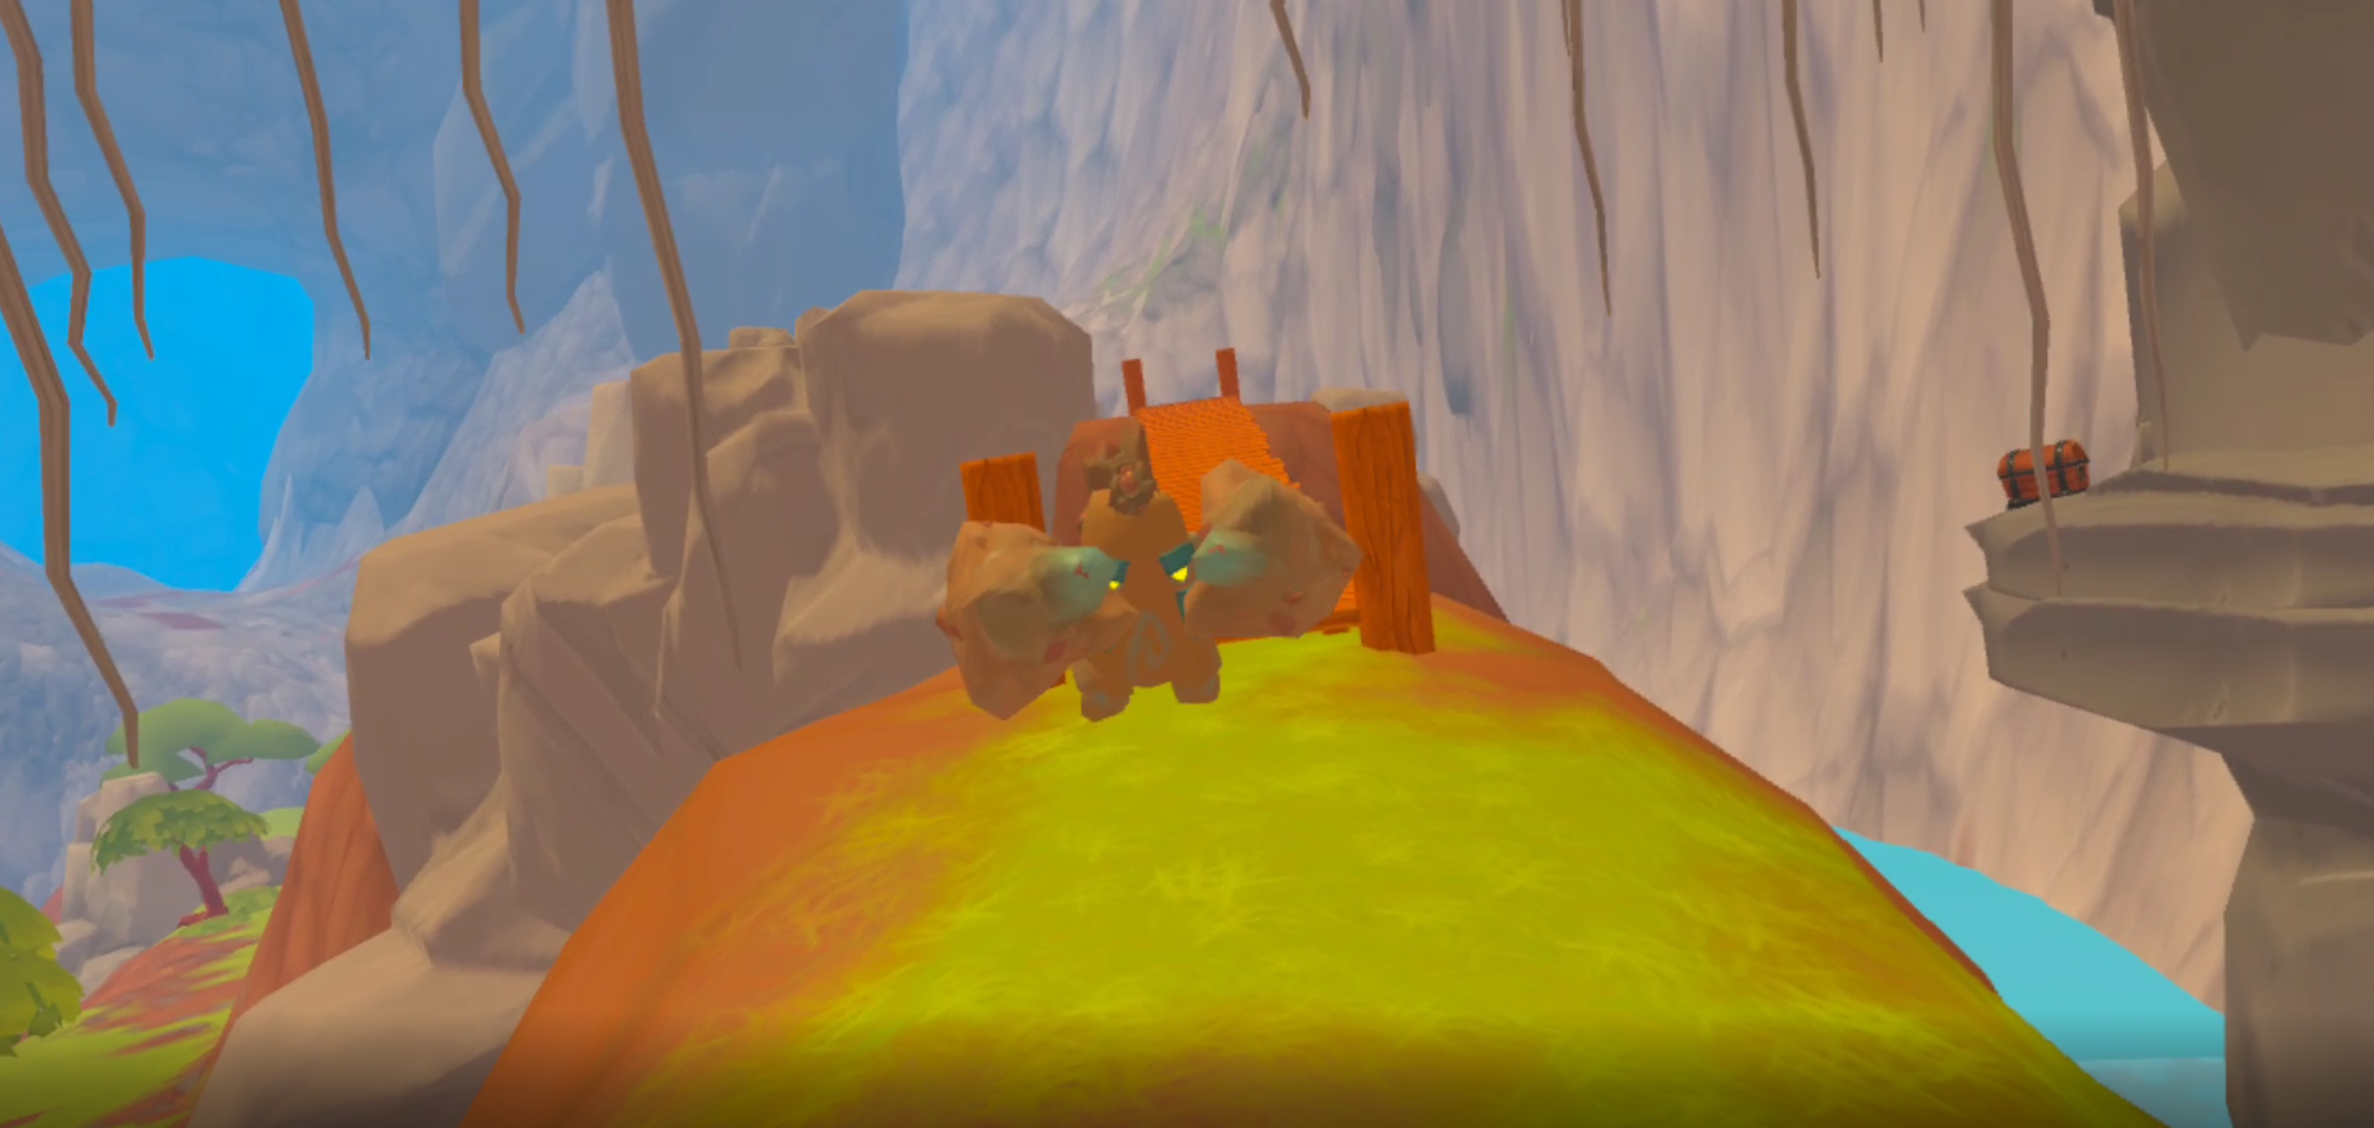
Explore around and soon you’ll find two pathways. One leads into a rocky area and a stone arch covered in vines. There is a chest and some iron nodes behind those vines. The other pathway leads up to the wooden bridge that you can just faintly see in the image above, on the right side between those spires. Guarding that bridge will be one pissed off Turabada.
Since there’s not much space to run around this guy, you’ll have to either draw him out and then run around him, or try and squeeze past before he hits you. Now if he does hit you you’ll be slowed down since you’ll count as being in combat, and won’t be able to outrun the Turabada. Don’t panic, you can just beat him in a fight if you want to, or just keep blocking his fists and backing away until he gives up. Since he’s a little guy and it’s a 1 on 1 fight, you won’t have much trouble just defeating him.
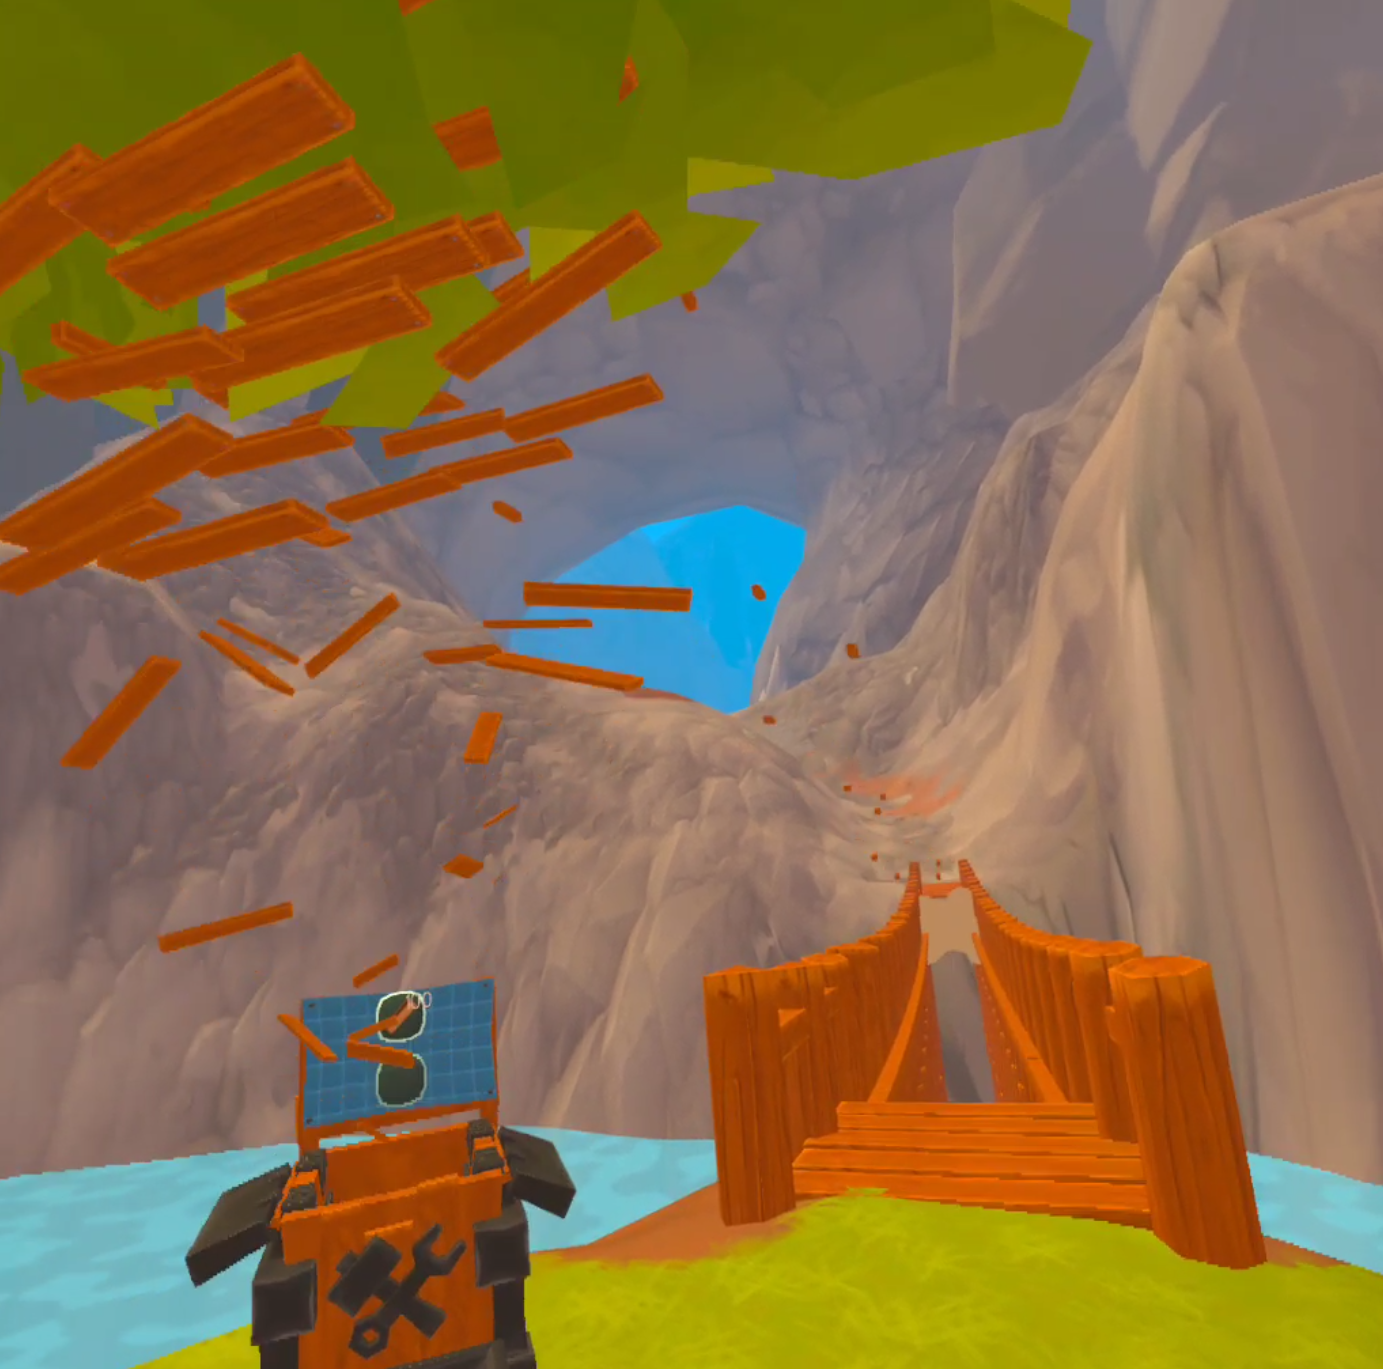
Once you get past that bridge keep going towards the giant rock arch that you can see in the mountainside behind it. You’ll see that there is a gap between the hill you’re on and the path leading to the arch. Fortunately a bridge can be built there with 100 pieces of wood.
Here is where your axe comes in. There are some choppable trees near the unbuilt bridge along with some Goteras. Defeat the Goteras and then chop one or two trees down. You will have plenty of wood to build the bridge. The Goteras also drop wood when defeated, by some combination of tree cutting and Gotera fighting you will easily get 100 pieces of wood and build the bridge.
Climbing Canyon
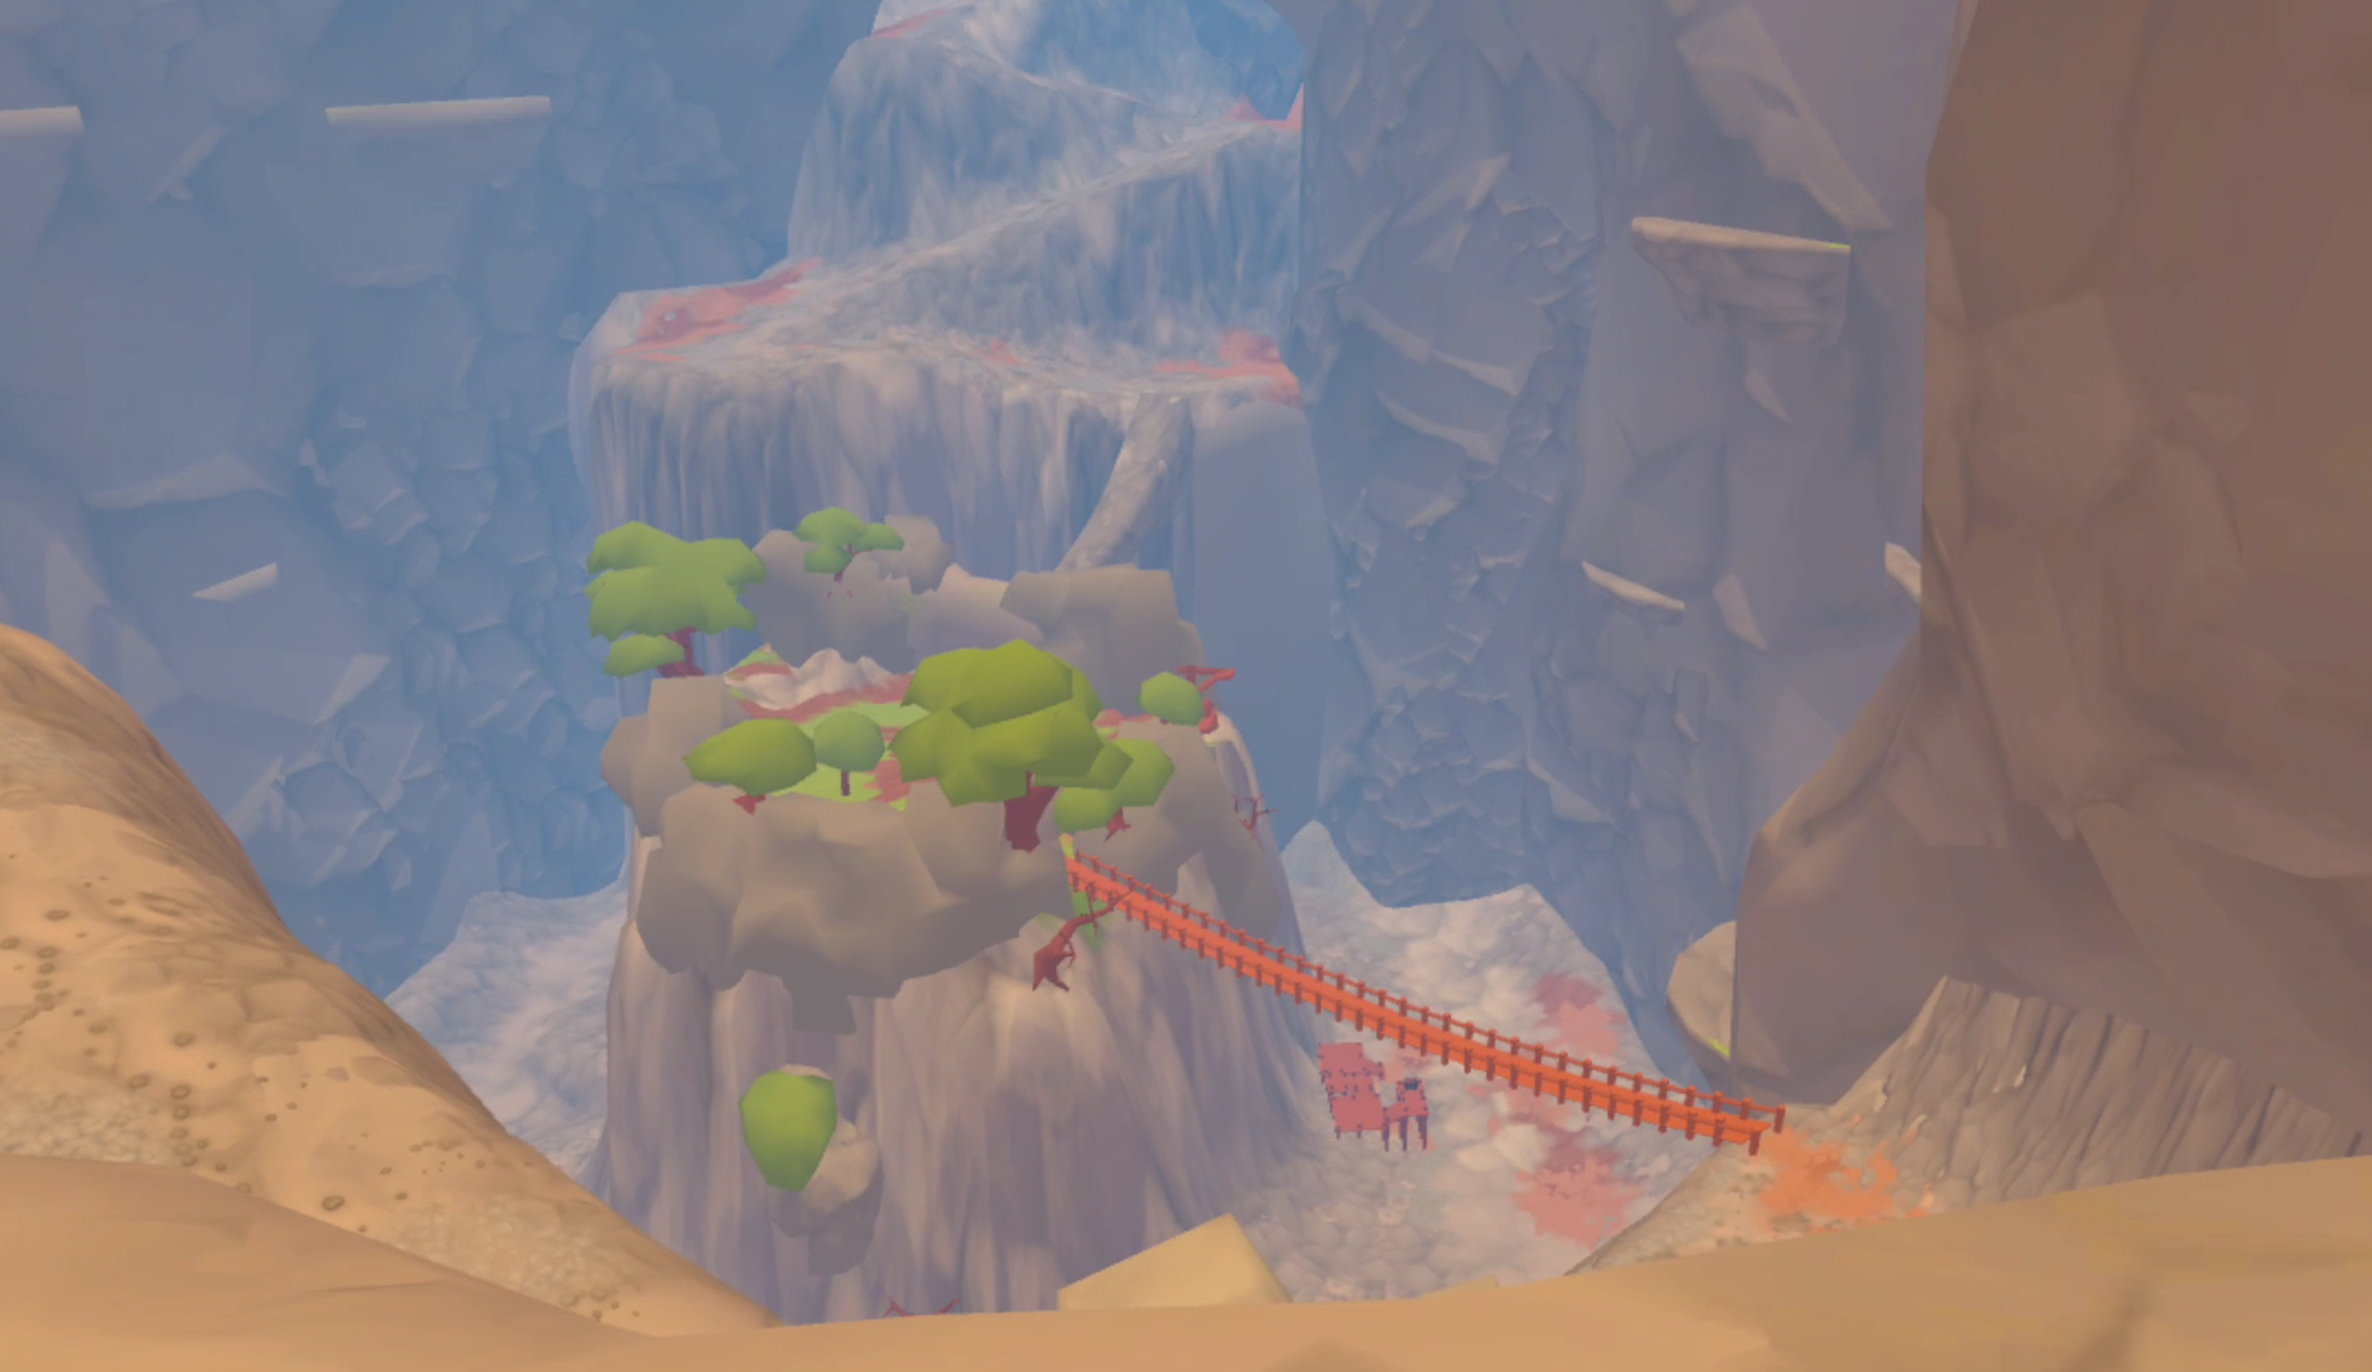
Cross the bridge to enter the last leg of your journey through the mountains, though that doesn’t mean there won’t be any more danger to overcome. Follow the new path until you come to a big basin or rock, and in the center a bridge leading to and from a wooded grove suspended above the canyon.
Once you make it down to the bridge you can keep going further down, where there are some chests. There are also more iron nodes to be had around here, though a lot can’t be reached until you complete the climbing tower. To get to the tower you will need to go through the island grove and out via the bridge on the other side. This is the last big obstacle before the Climbing Tower.
Both the bridge into and out of the grove are covered in vines. Normally vines don’t pose much of a problem, the issue here is that once you cut your way into the island, there are a ton of Turabadas inside. They will almost immediately start to chase you.
You can’t just outrun them like you normally can, because if you run to the exit from the island, you’ll be blocked by the vines. So you have to try and cut your way through the vines before they catch up with you. Be careful for vines that are overhead, because just a single vine dangling by your head can still block you from running forward. Of course you could also try fighting the Turbadas, but there are several big and tough ones. It would be a very hard fight to win.
Once you are past the island keep going forwards past the other clusters of enemies, pots and crates. You’ll probably start running into Wyrms as well, which pop out of the ground and spit acid at you. They’re even easier to avoid than the other enemies you’ve seen on this journey.
The Climbing Tower
A little further upwards up the path past the island, and you will finally see it. The Climbing Tower.
Once it is in view you can easily tell the way forward. The winding rocky switchbacks of the mountains will give way to a gentle grassy slope leading towards the tower. Just follow it to the entrance in the side of the mountain it is perched on.
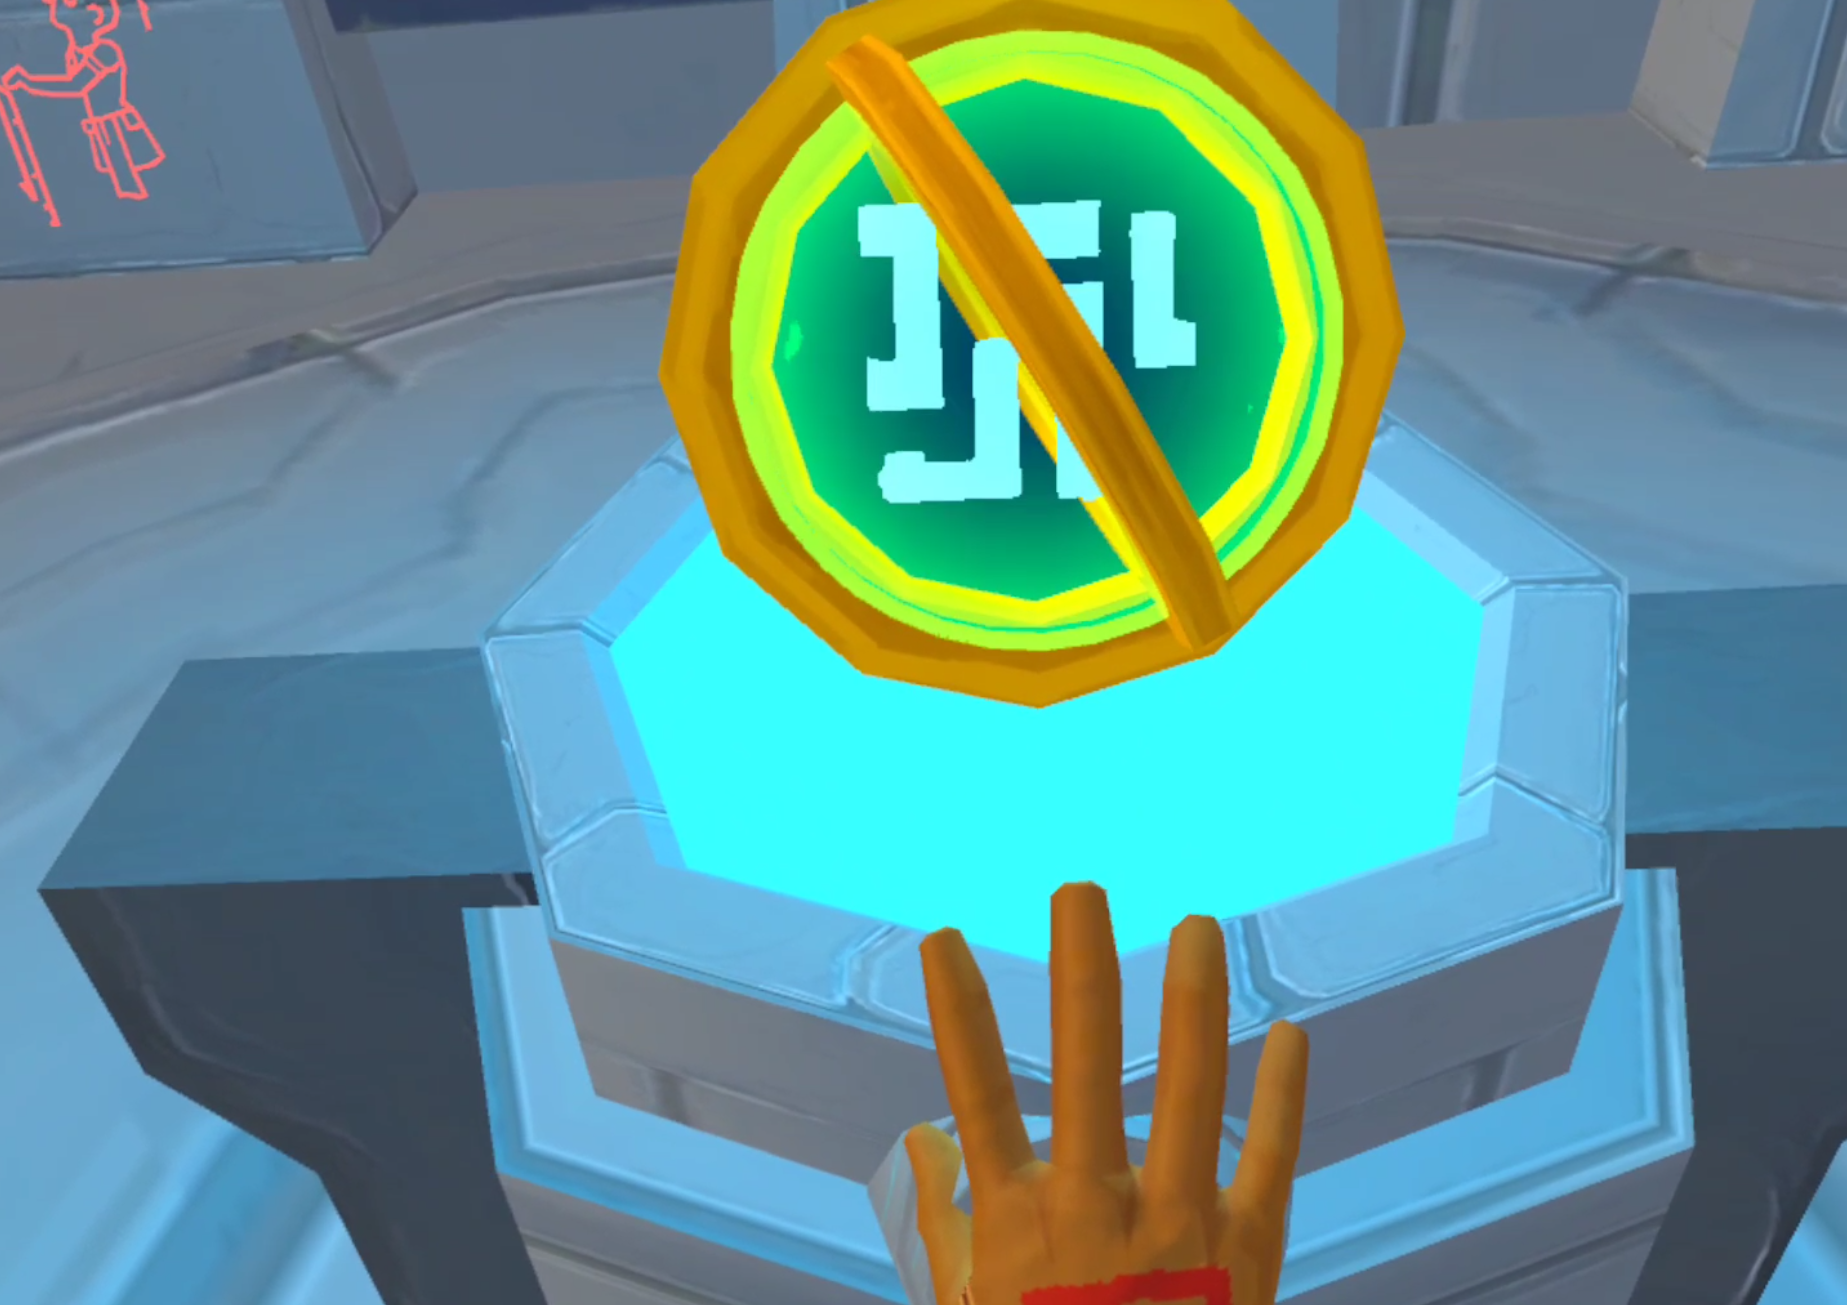
Once you’re inside, follow the stairs downward to the beginning of the climbing challenge! Simply place your hand on the button at the central pedestal to activate the climbing tower challenge. Your items will disappear, and you won’t have to worry about food while you are climbing. Then go ahead and get to it, follow the paintings on the walls for hints.
That’s how you get to the Climbing Tower in A Township Tale’s newest Update. Happy climbing!
How to Make Metal Weapons and Tools Solo at the Blacksmith in A Township Tale
If you’ve followed our guide on how to Play A Township Tale Solo on the Oculus Quest 2 then you’re definitely at the point where you have unlocked the Blacksmith building and can finally make metal Weapons and Tools. The best and most durable weapons in A Township Tale are made at the Blacksmith, while there are some that you can find out in the wild, you’ll need to know how to make your own to have a consistent source of weapons and tools while exploring A Township Tale Solo.
If you’ve followed our guide on how to Play A Township Tale Solo on the Oculus Quest 2 then you’re definitely at the point where you have unlocked the Blacksmith building and can finally make metal Weapons and Tools. The best and most durable weapons in A Township Tale are made at the Blacksmith, while there are some that you can find out in the wild, you’ll need to know how to make your own to have a consistent source of weapons and tools while exploring A Township Tale Solo.
This guide assumes that the Blacksmith on your server has not been used by other players, and directly follows our previous Solo Guide for A Township Tale.
Settle In
After strutting up your newly constructed staircase you will see the Blacksmith directly in front of you, which you can recognize by the giant forge, training dummy, and anvil shaped sign.
It’s been a long time since anyone was here, so all of the doorways and windows are overgrown with vines so thick you can’t walk through them. Use a tool to smash the vines to pieces. If you don’t have a tool or weapon on you, a rusty hammer is on the anvil in front of the forge.
Now that you can enter the Blacksmith freely you can get down to the real business of making your own weapons and tools. When you take a look around you’ll see various parts and pieces lying around, in addition to some rusty tools. There will also be some other useful pieces on shelves. We won’t be using any of that for our first creation. Instead we’ll create something from scratch using recipes that will be available to anyone when they first unlock the Blacksmith.
Smelting Ingots in the Smelter
First things first, in order to make something out of metal, we will need metal ingots. Gather all of the coal and copper ore you have. Even if you don’t have any there should be enough already in the Blacksmith to create a few copper ingots. Just look on the shelf immediately to your left after you come in through the entrance that is next to the training dummy.
Once you’ve got your copper ores and coal together, it’s time to use the huge black smelter in the center of the building to make some bars of copper (aka, ingots). You’ll notice a hopper right in front of that shelf which has the ores and coal on it. Open it up, and throw all of your copper inside. Once it’s all nestled in there close it completely. That will put your copper ore inside of the smelter.
If you are wondering how many ingots will be made from your ores, every three ores creates a single ingot.
If you mess up and put something in the hopper that you don’t want in the smelter, you can always pull the lever next to it and everything you put inside will appear on the little table to the left of it.
Once your ore is inside of the smelter, you will need some fuel to heat it up and turn it into ingots. To fuel up your smelter go a little to the right of the hopper, and open the grate you will find at floor level. Throw all of your coal inside the grate, and the smelter will instantly start smelting ore into bars.
Smoke will start to billow from the smelter, and you will see flames inside of it, so you know it’s working. Still, each bar takes a few seconds to smelt. To speed up the smelting process you can push down on the bellows next to the Coal Grate. You know the bellows are working when great gouts of flame start appearing in the smelter window in front of you.
When the smelter stops working you are either out of ore or out of coal. If you’re in a pinch and don’t have enough coal, you can also use wood to fuel the smelter. You could also always go back into the mines for more too.
To collect the fruit of your labors go to the output hopper to the right of the bellows.
Turn Ingots Into a Blade
So now that you have some ingots it’s time to make our Dagger blade. By now you’ve probably noticed these black rectangles lying around with silhouettes of tool pieces on them. There’s one with a hammerhead on it right beside the smelter, and a few more on the table right behind the output hopper you just retrieved your ingots from.
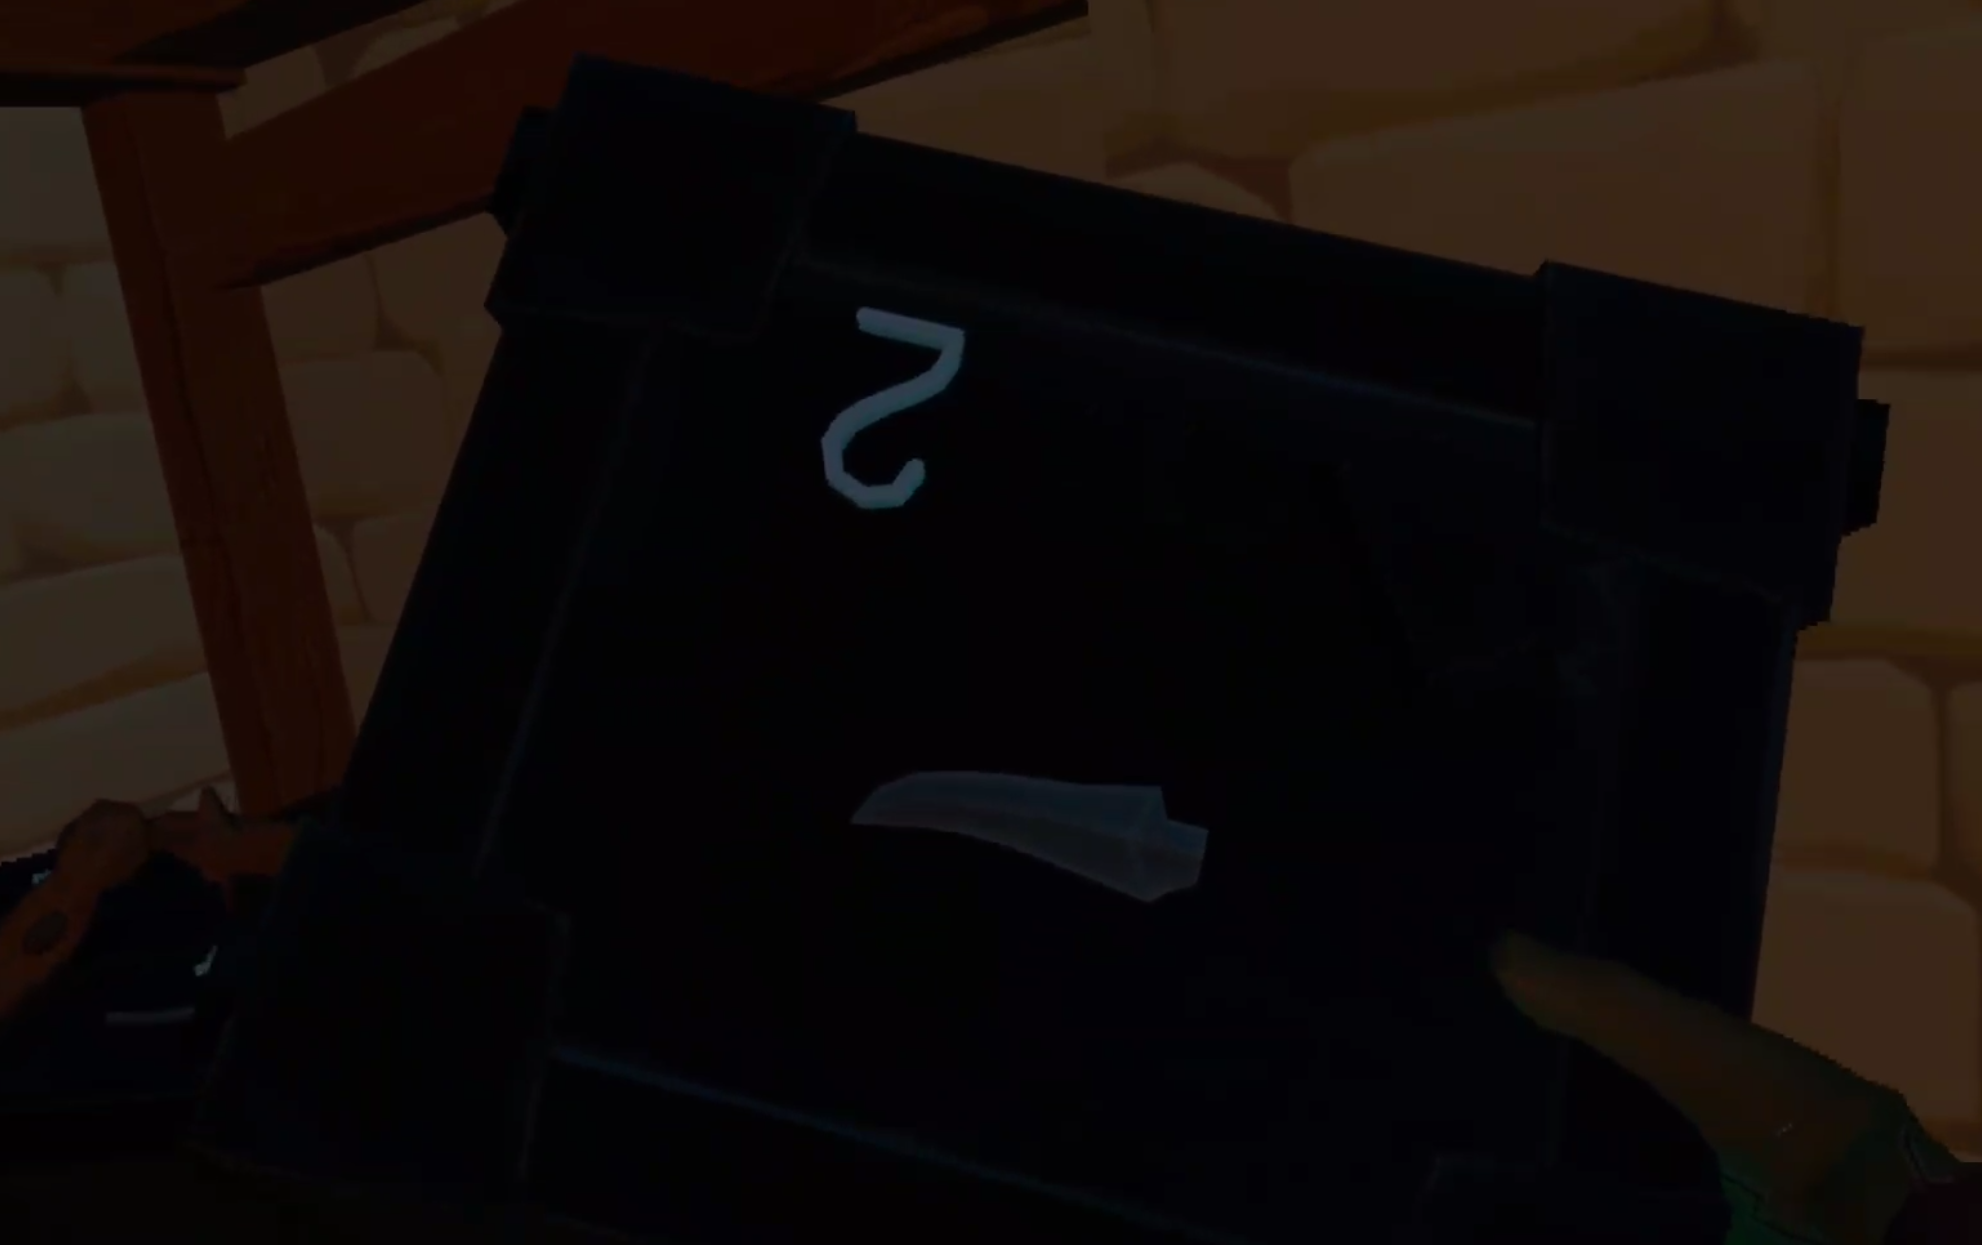
These are blacksmithing moulds, and they go in the slot on the side of the furnace right above where the hammer mold spawns. You can find more of these moulds in chests throughout the world and in the mines. Luckily the game gives you a few here to start with, and it gives you an easy way to organize them all.
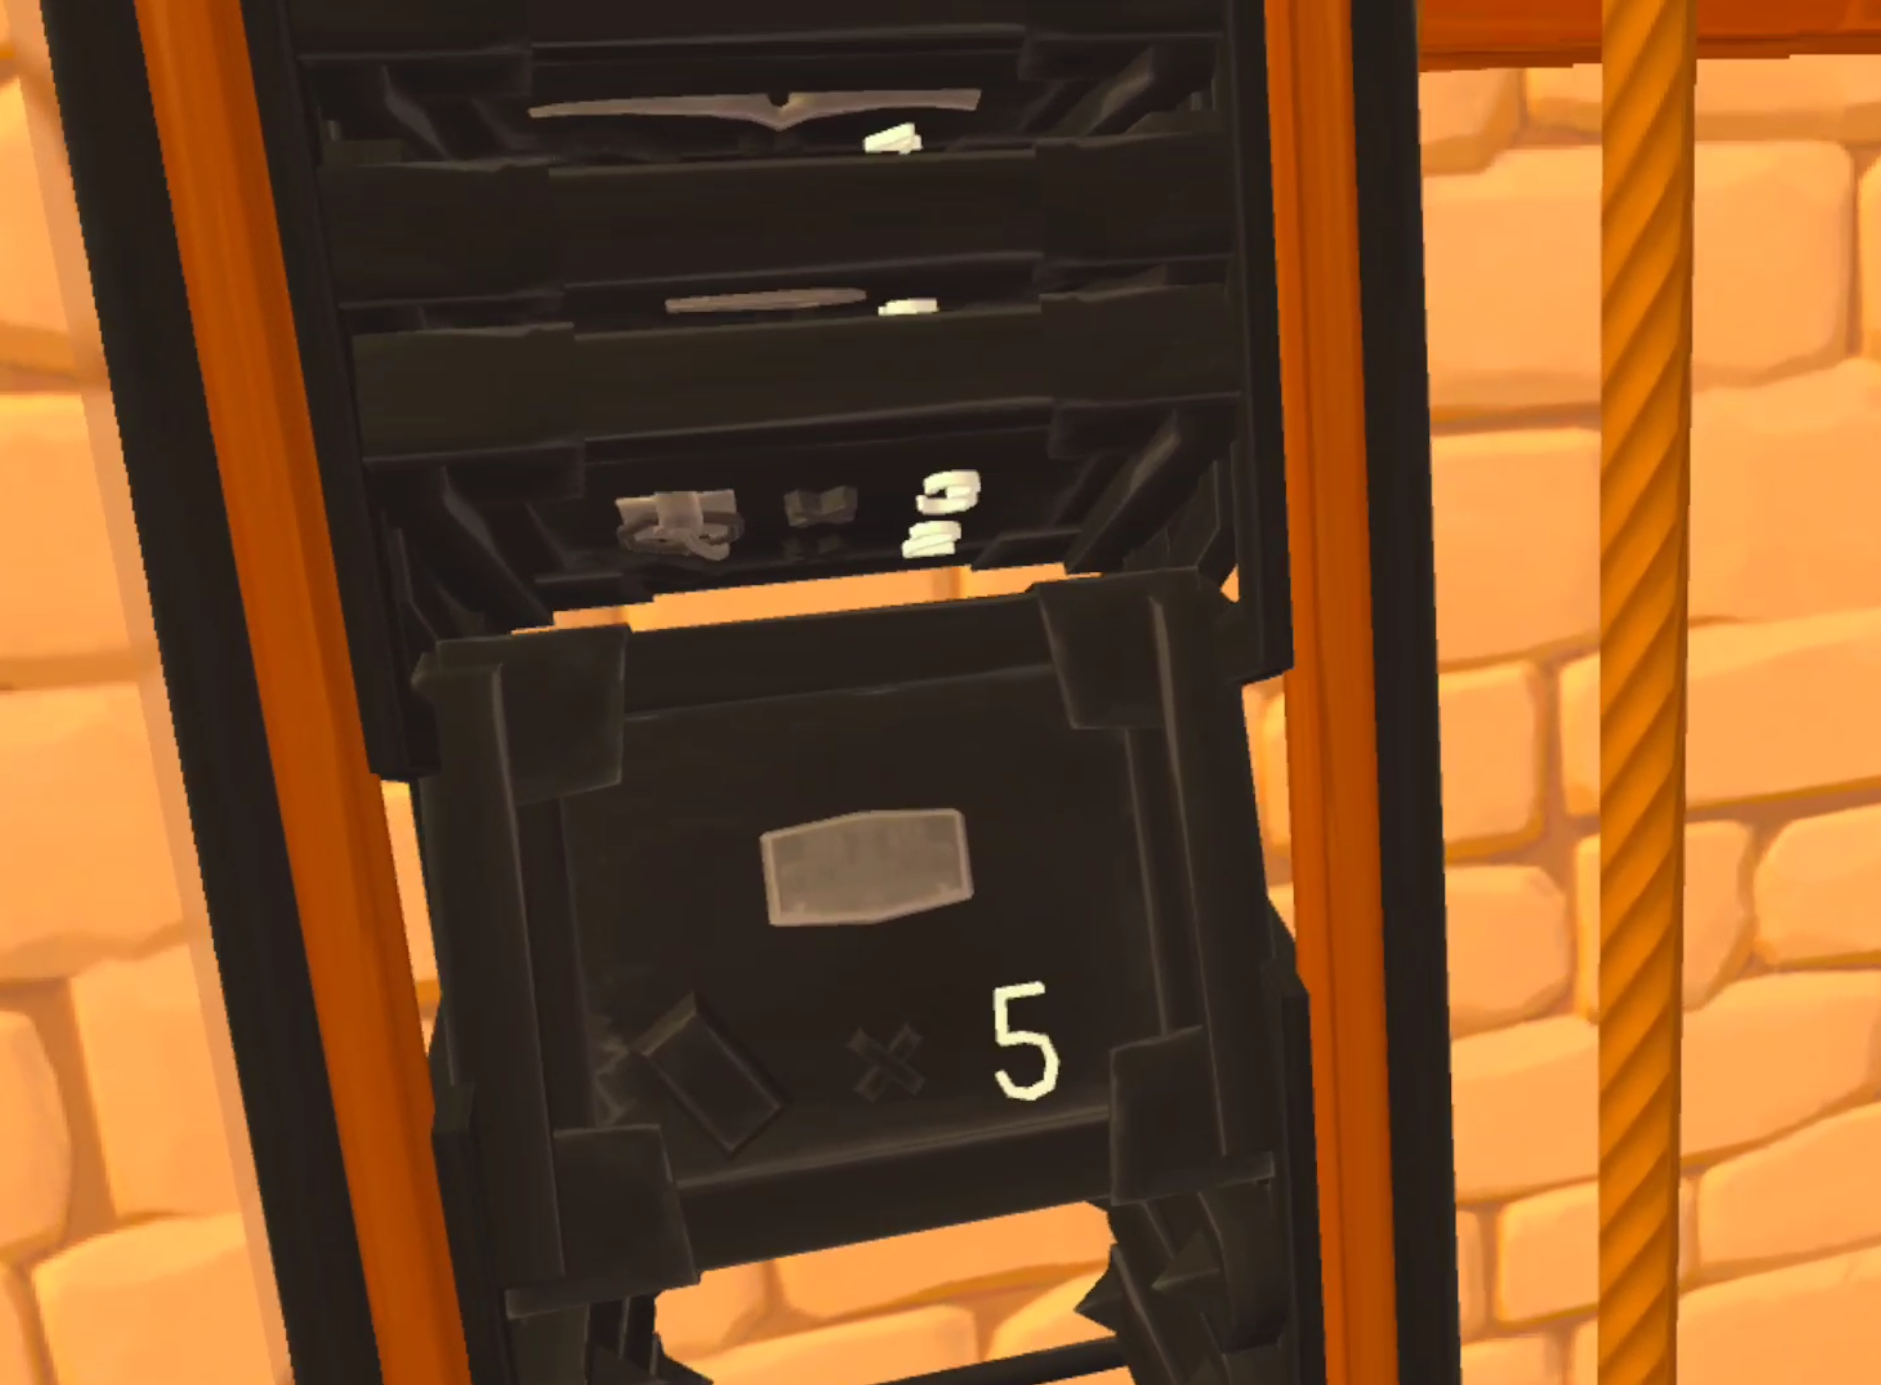
On the other end of the Smithy you’ll see a tall black metal cage with a rope on the side. This device stores Moulds in each of the brackets inside of it. You can also peruse your collection of moulds by pulling the rope on the side of it. To put a mould inside of this device take the mould in your hand and hold it up to one of the brackets, then let go.
Once you’re done storing your Blacksmith Moulds, locate the mould that looks like a short curved blade. This is the curved dagger mould, and will be our first metal weapon that we make ourselves.
Once you’ve got the mould put it in the slot right above the spot on the side you found the Hammer mould. Once it’s nestled in there any ingots that you put into the smelter will then be turned into whatever mould is in that slot. In this case, a curved dagger blade. The number on the mould also indicates how many metal bars are needed to make that metal item. In this case, two.
Now go back to the input hopper and put in exactly two of your newly minted copper bars. You can put in more if you like, but if you do the smelter will not stop making curved dagger blades until it runs out of bars or fuel. So only put in two bars in order to make a single dagger blade.
Once the bars are in smelting will begin automatically as long as there is fuel in the smelter, just like when smelting the ores into ingots. Once the smelting is done the finished dagger blade will drop into the output hopper.
Firing Your Blade at the Forge
When you pick up your new dagger blade you might notice that it’s a little… bulky. A little dull even. That’s because this blade has yet to be forged, and is just in the rough shape of the end product. It’s not sharp at all. Now it’s time to bring it outside and get to the coolest part of Smithing at the Township Tale Smithy, forging.
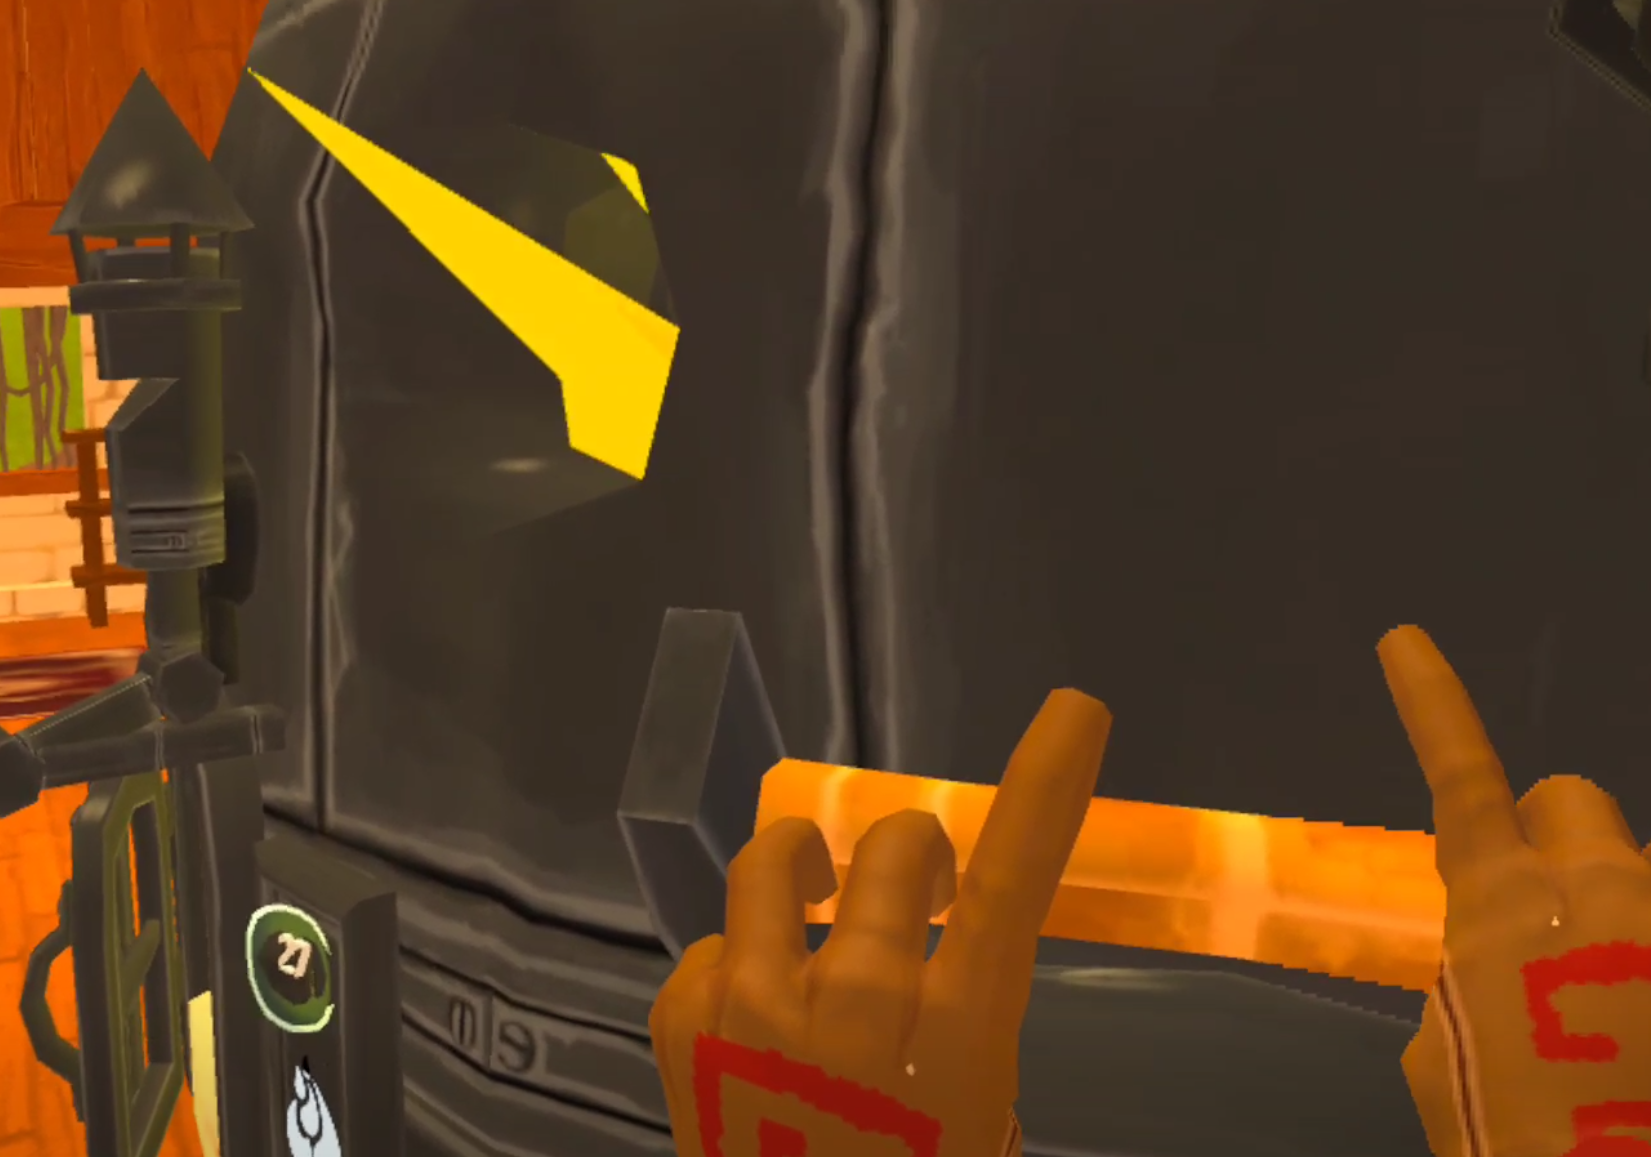
Forging is straightforward. Take the thing you need to forge, and put it into the hot fire. In this case that is your dagger blade. There’s a little piece of stone that you can lay it on next to the coals that is very convenient. Don’t stick your hand too far into the forge or you will take damage.
In a few moments the metal piece will become hotter and glow orange. Then little wisps will start to float out of it. When you see those wisps the blade is ready to be smashed into shape.
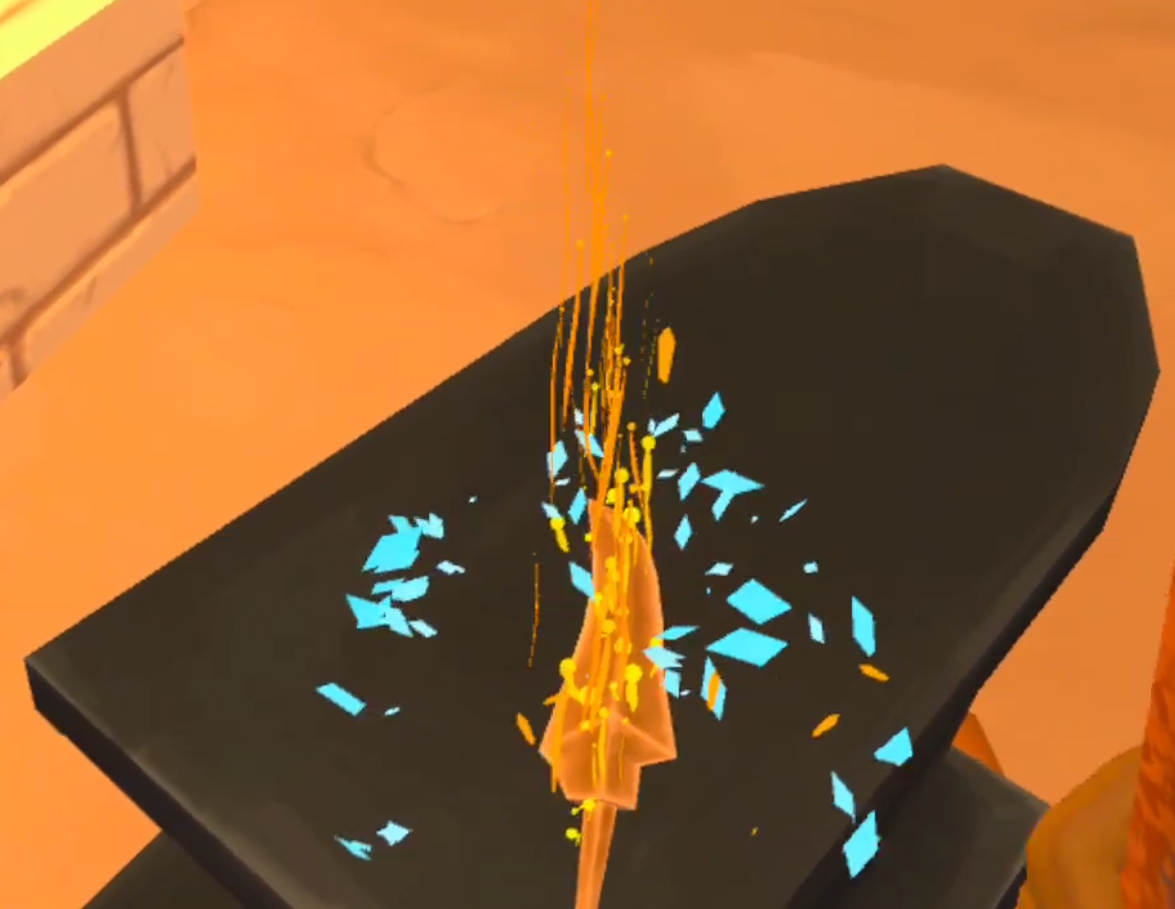
Take the blade out of the furnace and put it on the anvil next to it. Use the rusty hammer that spawns on the anvil to start smashing at the blade. If you’re hitting it dead on there will be a satisfying sound, as well as a small burst of sparks. You will also notice the shape of your blade change as it flattens out and becomes sharper. Keep hammering until the blade loses it’s orange glow.
When the blade is cool put it back in the forge until the orange wisps come out of it again. Keep doing this until a flash of blue sparks and a triumphant noise signal that the blade is finished!
Creating a Handle | Basic Carpentry
Now that the smithing and forging is done up at the Smithy, the final part you will need for your dagger is a handle to attach the blade to. You’ll be able to find handles in chests or in the mines, and there are even a few that spawn in the Smithy, but for this example we will make our own.
So let’s leave the Smithy with our new blade, and go down the stairs to the Carpentry Workshop.
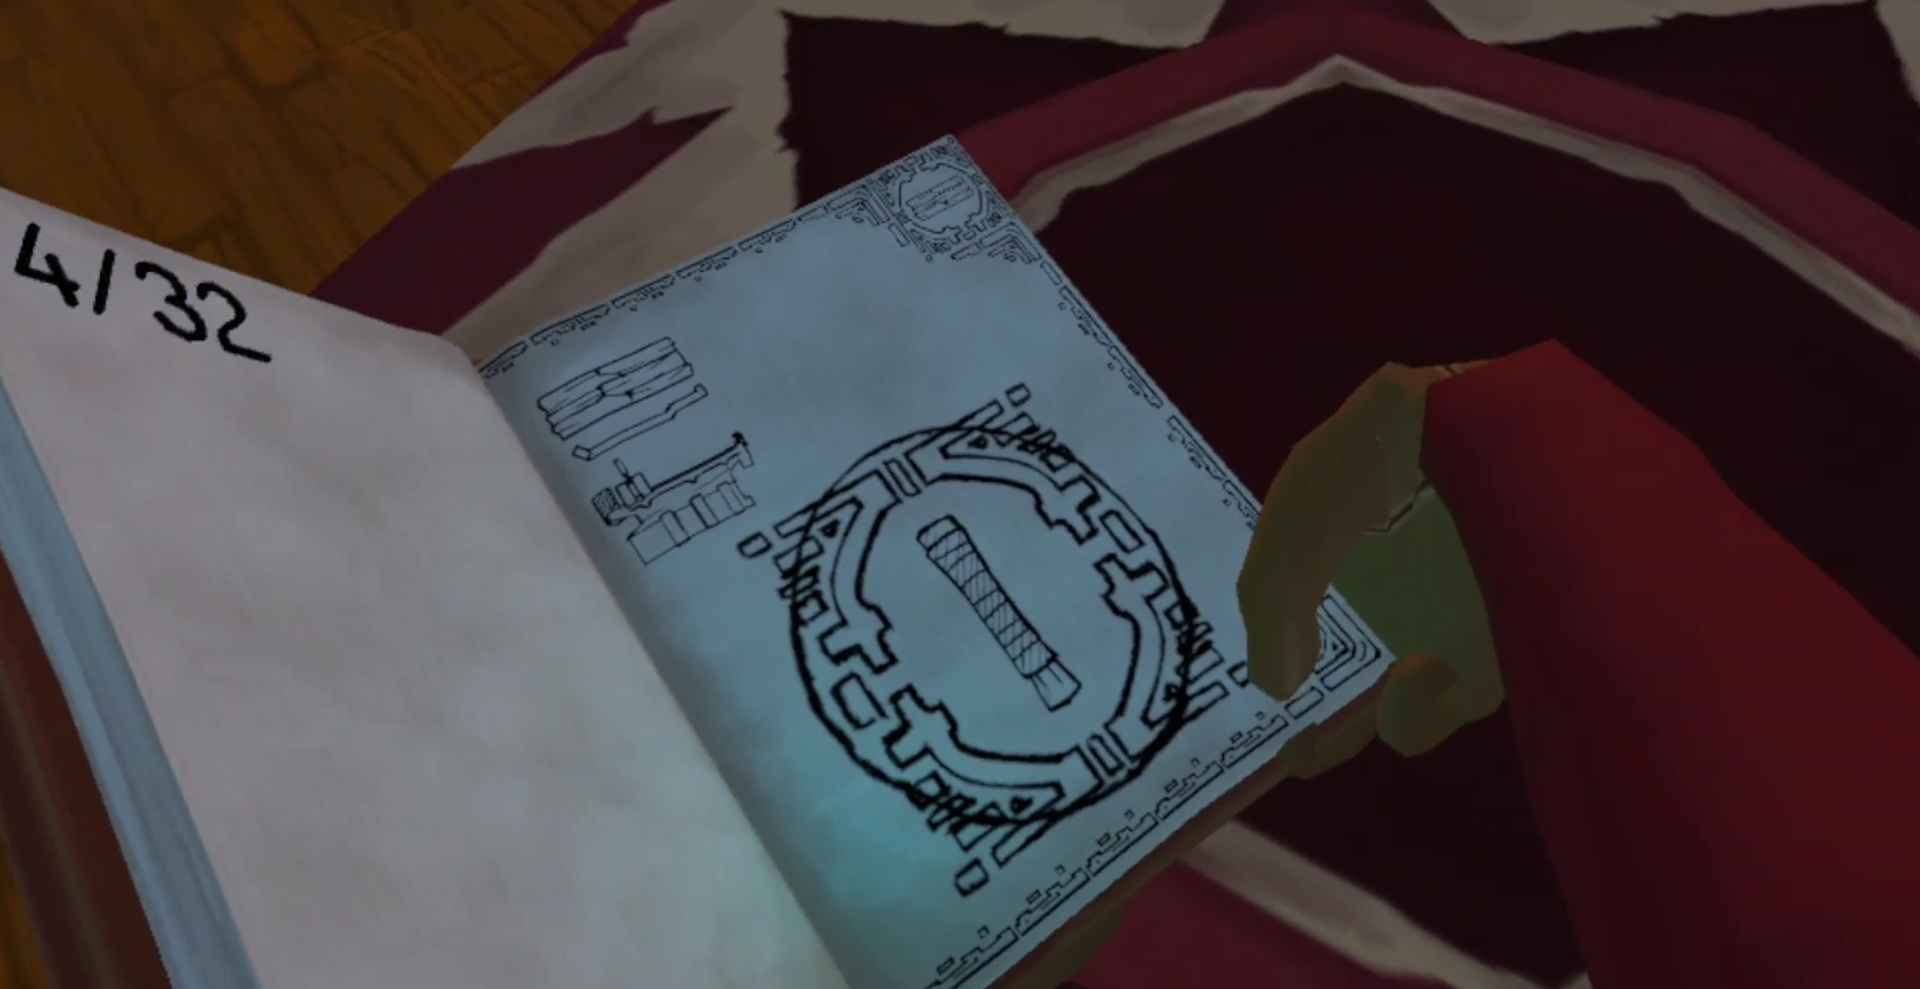
To make the handle you will need six pieces of wood and a hammer. Some extra pieces of wood wouldn’t hurt either, in case you make a mistake. Past the Carpentry Workbench in the center of the room (aka the Wood Turning Table) you will see a book on a pedestal in the back of the building. Pick up that book and leaf through it until you find the short handle recipe page. Rip that page out of the book.
Then take the page you ripped out and put it into the page holder next to the workbench in the center of the room.
Once the page is in the workbench it is time to add your wood. Put the pieces of wood in between the two sections of the workbench and move the sliding section inwards to capture the pieces. You will need to place six in total to make the one solid block of wood needed to make the handle.
Once the pieces have been placed in between the two sections successfully you will see that one part of the wooden block becomes highlighted.
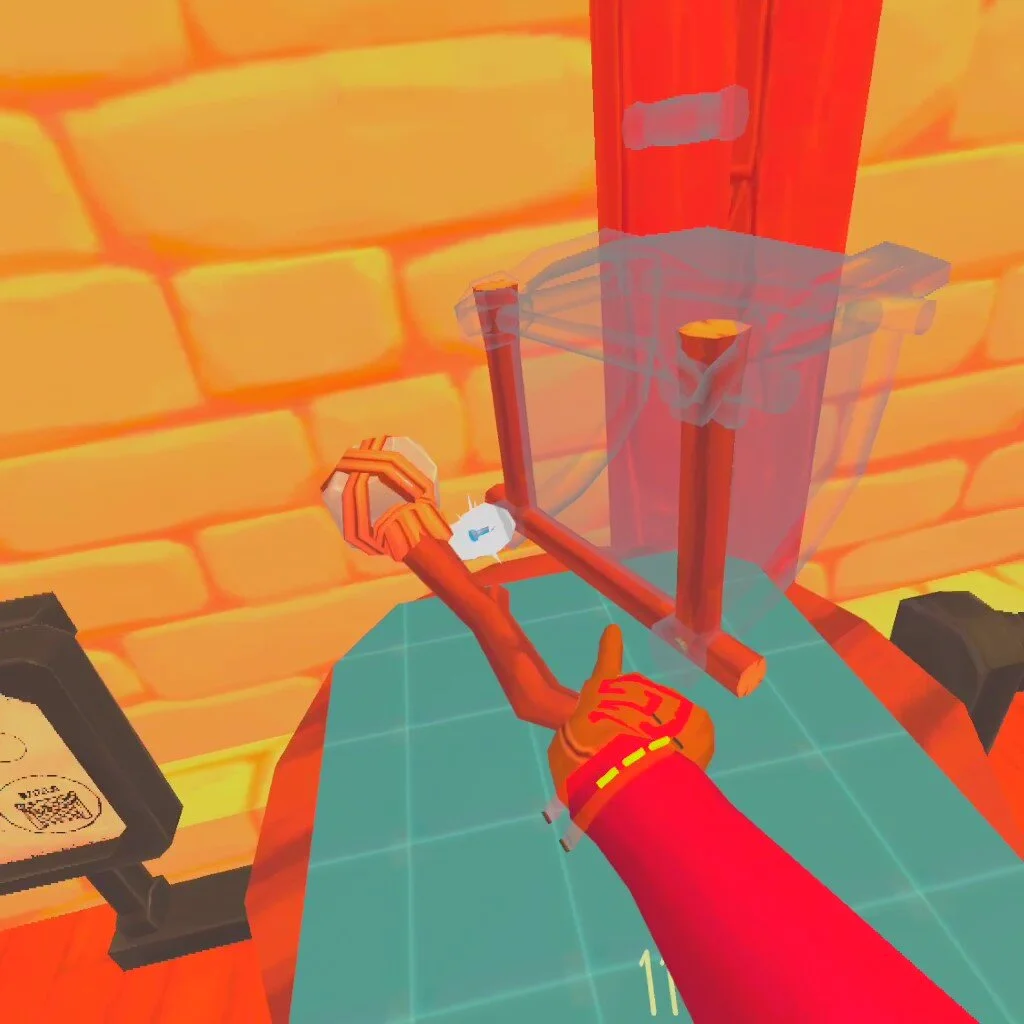
There should be a chisel nearby on a table, take that chisel in one hand and your hammer in the other. This part can be difficult to get the hang of. Place the Chisel at a 45 degree angle to the piece of highlighted wood, and then strike the back of the chisel with the hammer. If you did it right you will see wood chips fly off of the piece of wood, hear a wooden clapping noise, and see the piece of wood you are chiseling move slightly.
Keep doing this until the highlighted section of the wood block flies off, and a new section is highlighted. Make sure to only chisel off the highlighted sections, the order is important. If the piece you need to chisel is on the bottom of the wood block, grab the handle on the top of the moveable section of the table and pull it downwards to flip the block of wood upside down.
When you chip off all of the outer pieces of wood you’ll be left with just the inner section. Once you make it that far order doesn’t matter, just chip away at it however you want to.
Keep chiseling away at the center until your handle is revealed. Now you’ve got every piece needed to create your dagger!
Combining The Pieces
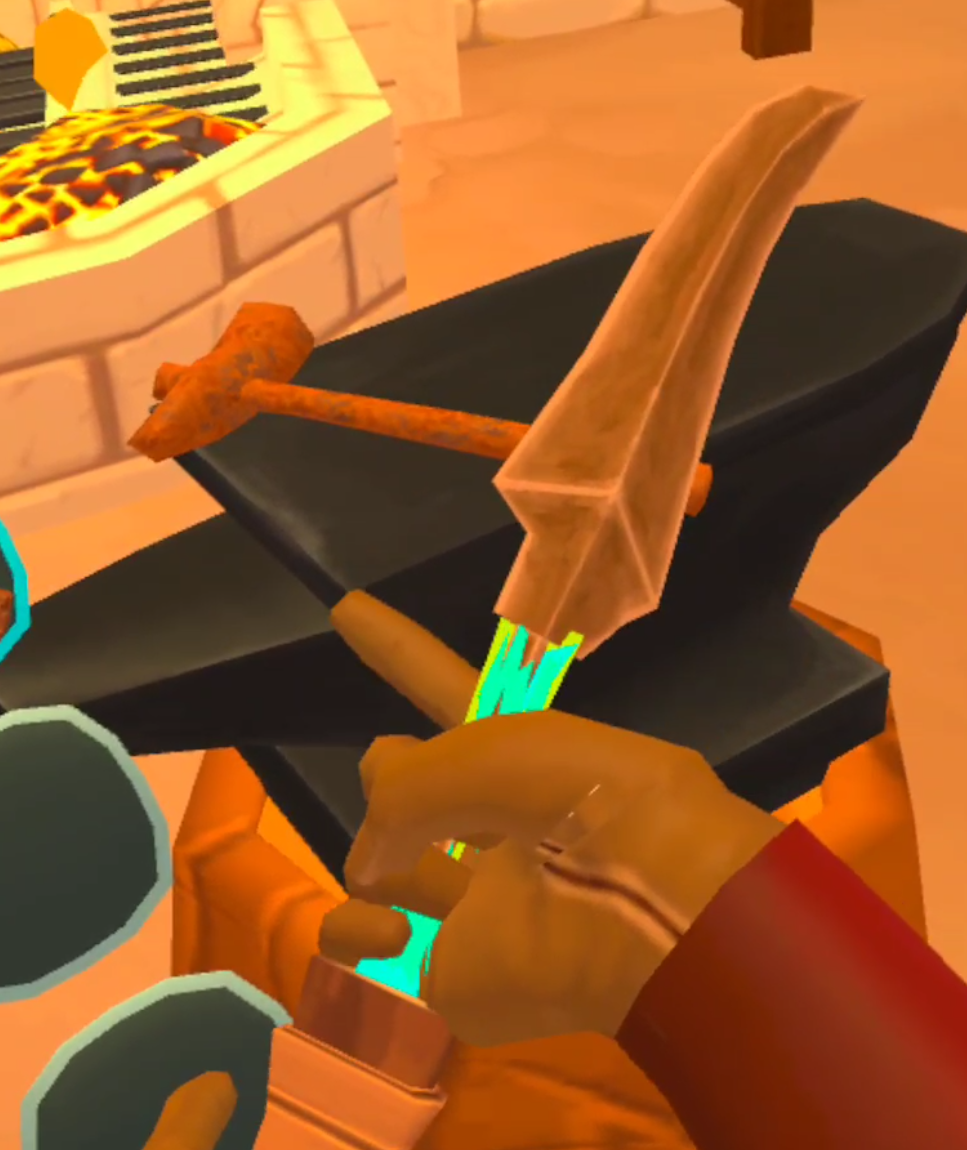
The last part is by far the easiest. Just take your finished short handle in one hand and your finished blade in the other. The places where you can combine the two will be highlighted. Then just smash them together and voila! Your dagger is complete.
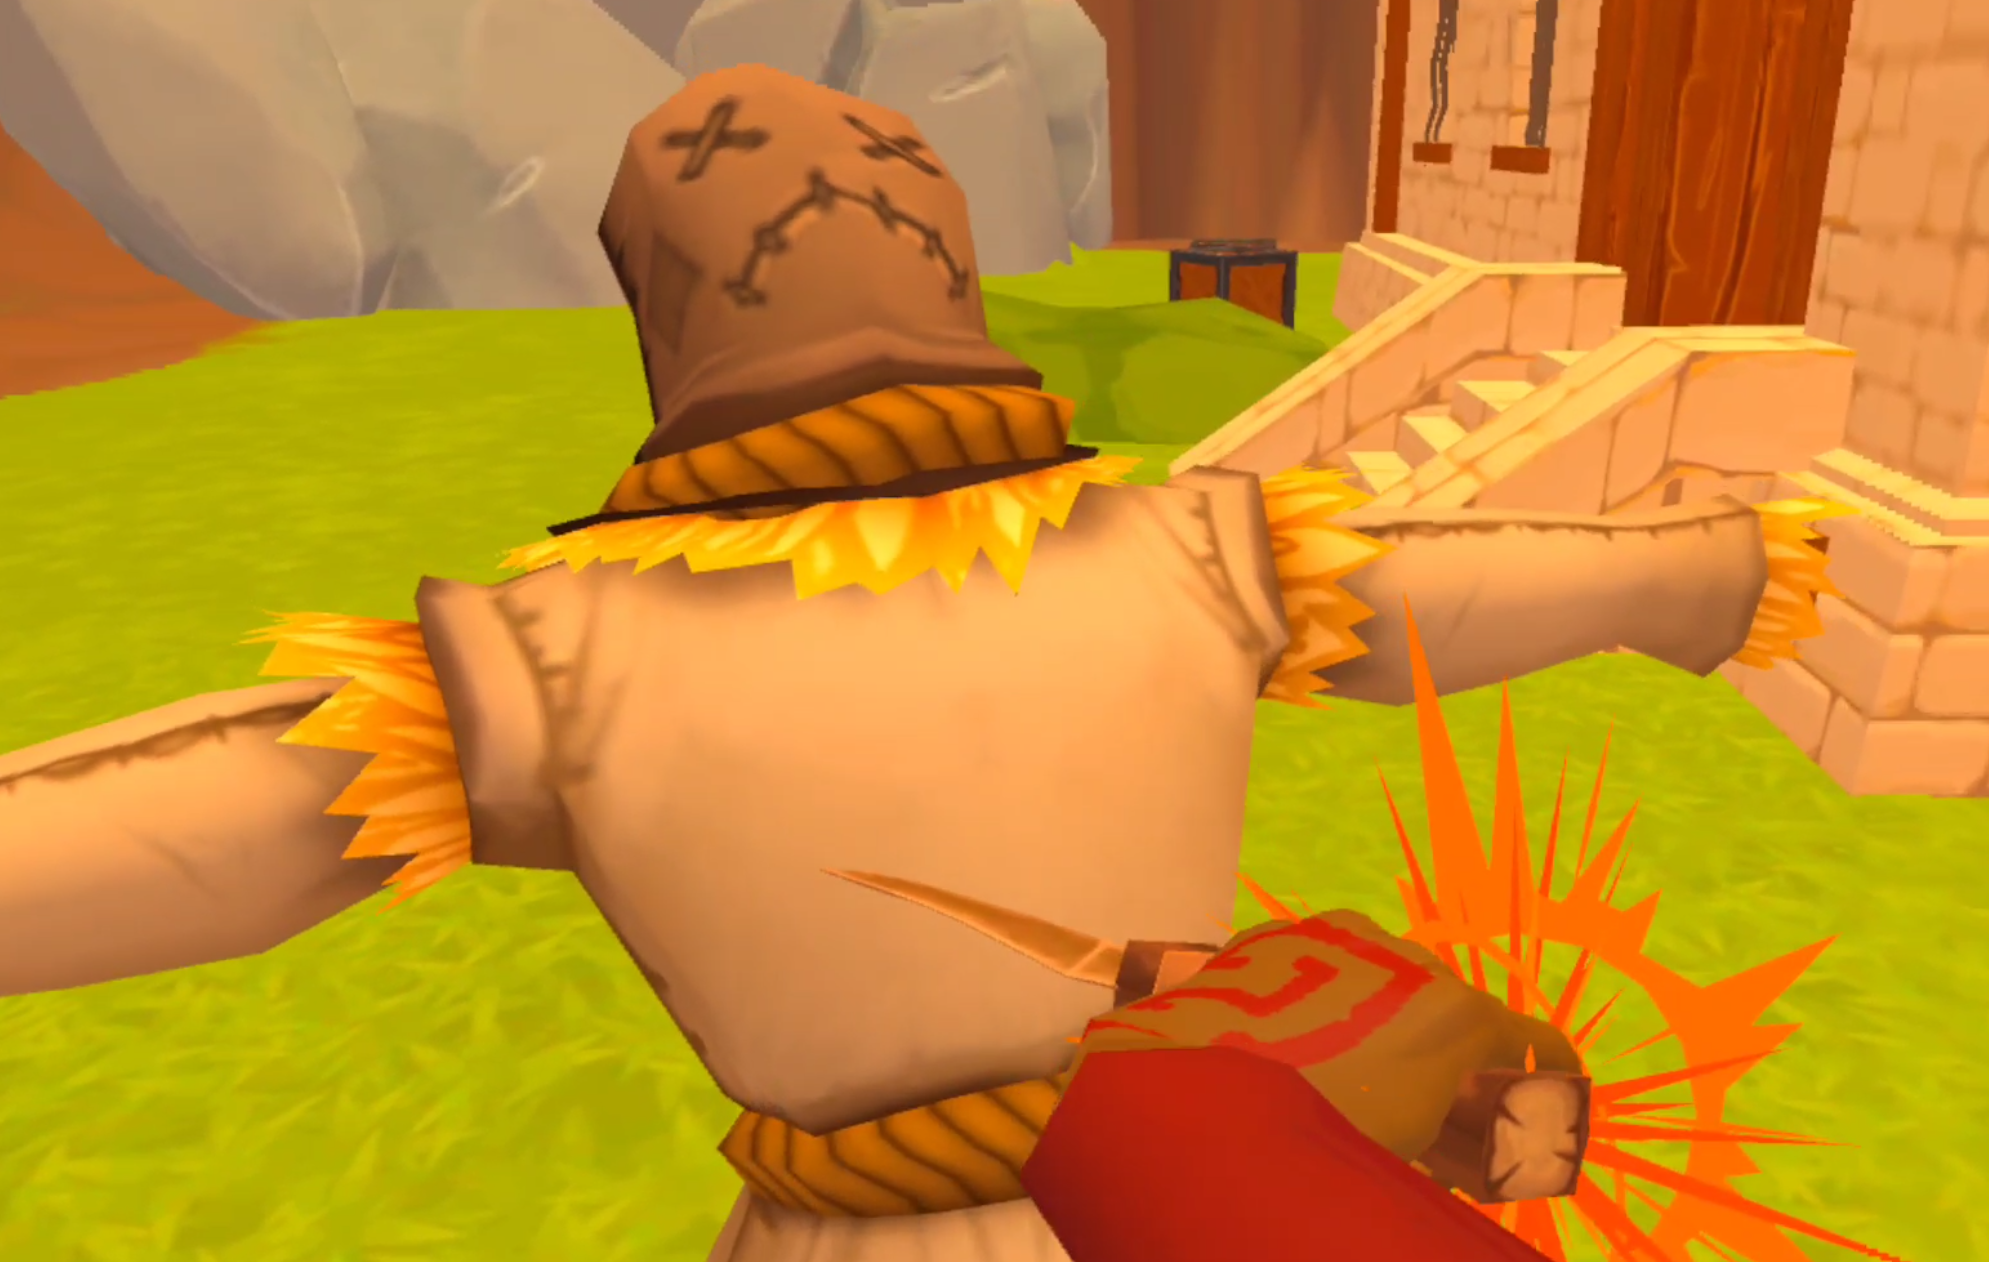
Feel free to test your new weapon out on the dummy right in front of the Blacksmith.
Now that you’ve made one Weapon Solo every the next ones will only get easier. For your next weapon you might find, or have the mould for, a pommel or blade guard to increase the durability or damage of the weapon. There are tons of variations and combinations of pieces that you can combine into various tools and weapons. Some use longer handles, like pickaxes and hammers.
Next you can make a pickaxe or hammer using the moulds you start with and the long handle found on one of the Smithy shelves. The more you explore and the more crafting recipe pages and moulds you find, the more interesting combinations you will be able to make. That’s a big part of the fun of A Township Tale. Now that you know the basics the sky is the limit for crafting Solo.
A Township Tale can be found for free on PCVR via Alta’s Website or for the Oculus Quest via the Oculus store for 9.99$. It’s a ton of fun, even by yourself, and well worth the price if you don’t mind doing a lot of gathering and crafting yourself. Good luck out there and have fun!
A Love Letter to A Township Tale’s Mines
It all started innocently enough, a little foray into the dark for some sandstone. I only needed a little more sandstone to finish building the bridge into the woods. So I grabbed my torch and the complementary pick near the entrance. Then I descended.
For those who prefer a Video/Audio experience. This article is also available on Youtube.
It all started innocently enough, a little foray into the dark for some sandstone. I only needed a little more to finish building the bridge to the woods. So I grabbed my torch and the complementary pick near the entrance. Then I descended for the first time.
Oh it was dark, scary, terrifying even. I heard the scraping of who knows what down in the tunnels. There I was, brand new to A Township Tale, expecting a light fantasy world of adventure and a fun crafting system. Instead I was cowering in a corner, glancing over my shoulder at the sound of every echoing scrape and hoping the wain light of my torch did not go out. I grabbed what I could and got the hell out of there. Off to greener pastures, but it wouldn’t be the forests that would hold my attention. It would be that dark, mean place.
As so often in RPGs, the reason was loot. The mines are full of loot, bursting with it. Crates, chests, all containing vital Blacksmithing molds and crafting recipes. The second time I went into the mines I only went down a single additional level, but I was hooked. The possibilities those recipes brought, the things I could make. I had to have more, MORE.
So I made a sword, hoisted my pick, readied my teleport potion, and so my addiction to delving in the dark began. Now I’m starting to understand dwarves a little better. Around every craggy corner is more potential for the shiny motherload, the next big find. Otherwise, the next big danger, and both of those possibilities are just as compelling.
If you want danger and loot in A Township Tale, then the Mines is your place. You can access it right from the beginning, though I wouldn’t recommend it without a weapon. A teleport potion is vital too, once I wandered up six levels in the dark, praying my food would hold up and the coal in my lantern wouldn’t burn out. All because I figured I would find one down in the depths, but never did before my sword was on the verge of shattering into pieces and I had to flee for my life.
There’s random loot and there’s ores, coal and crystals down in the mines. Mushrooms too. Probably other things I haven’t even found yet. Most of all there’s enemies. A lot of Turabadas, but I like to call them Rock Monsters. Wyrms too, which are pretty aptly named. Turabadas are great, they’ll drop stones and ores, both of which you’ll need in spades. Also these little grenades that are just GREAT for taking out their cousins. That’s cannibalized firepower, quite literally. Wyrms spit acid and pop up randomly out of the floor with a foreboding rumble. They’ll surprise you, but they’ll also surprise the Rock Monsters. Playing off their natural hatred of each other can make a tough fight a lot easier. Wyrms and Turabadas will fight each other to the death.
It seems dangerous at first, but really it’s all sunshine and unicorns up on the first few levels. Well, there’s no sunshine, but you know what I mean. The mushrooms aren’t even poisonous. The Turabadas are generally the little, adorable kind easily taken down with a few hits. Further down though, they get big and beefy. Unless you’ve got a few of those little grenades on you or some dynamite you better hope you block their giant craggy fists or you might find yourself back in town with all of your best gear sitting down in the pitch black somewhere. Sometimes you just have to call it quits and throw a teleport potion at your feet.
Get a little further down and you hit the crystal caverns. Wow are they are beautiful. There’s light in the darkness here, and I felt like I could see for miles. Still, it gets more dangerous the deeper you go. Crystal Wyrms, more big Rock Monsters. My heart was racing the first time I made it that far. All in the search of that sweet, sweet iron and gold.
I was sweating. A Township Tale isn’t a particularly intense VR experience most of the time, but after an hour in the mines my headset was drenched. Partly from swinging swords and picks and partly from the excitement of it all. I got my iron. I got my gold. More awaits down in the depths. A seemingly infinite amount to be had in the darkness, and the thrill of acquiring it.
A Township Tale opens up to danger and adventure in the Mines, and making that sword you’ll need to keep the Wyrms off your back has special significance when it saves your life later on. It’s the beauty of any crafting system. Create the things you need to make your way to the hallmarks of victory. The Mines contain those hallmarks. Iron, gold, loot. All the things you want to make the things that will get you more of what you want.
More than anything I wanted some excitement, and I found that in the Mines. I will continue to find it as I delve deeper and deeper, always searching for the next big find. The next treasure always elusively a few floors down, guarded by whatever terrors lie in the depths.
A Township Tale: How To Play Solo
A Township Tale, which recently released on the Oculus Quest, is meant to be a Mulitplayer RPG experience. The Developers say that it is meant to be played that way. The mechanics clearly show that a lot of hands are meant to work together to achieve the goals of a burgeoning town in a fantasy wilderness. Crafting items, cooking food, collecting resources, fighting monsters, all of these things are meant to be specialized roles that players can excel at. In the end it seems that the goal of the mechanics of A Township Tale is to create a specialized labor economy of sorts. A fun specialized labor economy, but specialized non the less. The experience system also lends itself to that. Do one thing more, get more perks and abilities that help to do that one thing.
A Video version of this article can be found on the Reality Remake Youtube Channel.
A Township Tale, which recently released on the Oculus Quest, is meant to be a Mulitplayer RPG experience. The Developers say that it is meant to be played that way. The mechanics clearly show that a lot of hands are meant to work together to achieve the goals of a burgeoning town in a fantasy wilderness. Crafting items, cooking food, collecting resources, fighting monsters, all of these things are meant to be specialized roles that players can excel at. In the end it seems that the goal of the mechanics of A Township Tale is to create a specialized labor economy of sorts. A fun specialized labor economy, but specialized none the less. The experience system also lends itself to that. Do one thing more, get more perks and abilities that help to do that one thing.
What if that’s not your bag? What if you don’t like to play with others, or don’t know anyone you would like to play the game with, or would find the experience of exploring and building a town more relaxing on your own? Is A Township Tale simply not for you? If you’d like to find others to play the game with, just join a server, or look on the Reddit page. There are loads of people willing to teach you the game and have a fun time in it. For those who prefer solo play, we will answer those questions here, and possibly show you a path forward to a, if not bustling, at least well constructed Township.
Note that this article is for the Oculus Quest version of the game, which does not currently have the same features as the PCVR version.
The Learning Curve
As we have already covered here at Reality Remake, A Township Tale has horrible tutorials. A lot of what you need to know will be covered here, but if you ever get stuck on how to do anything and just can’t figure it out, do yourself a favor and watch a youtube video about it, or read the wiki. These resources are invaluable for figuring out the crafting professions. Gathering and fighting are much more intuitive, and relatable to other VR games.
If you would rather leave some mystery in the world, then we won’t spoil too much here.
A New World
So you spawn into your new world, wide eyed and bushy tailed. Ah the possibilities, the adventures in store for you. Nothing but you, the open world, an an experience to enjoy. There are sticks, stones, and pieces of flint littered about. All of the resources for basic tools are abundant. There are even pots and crates around, which you can smash open for more limited resources. It’s a great time to wander about and get your bearings. Oh, and watch out for the birds.
Soon enough you’ll have wandered through all of the buildings of your Township. You may even come across the mines, or blocked passages and unbuilt bridges. There seems to be so much to do, but where to start? Well, as much as you might dream of wandering into untamed wilderness right off the bat, there are things to be done first to acquire the proper tools in order to do so without death or worse, a serious lack of inventory slots to hold that sweet, sweet treasure.
Keep an eye out for any treasure chests you find, and visit them often. They can spawn useful items that you can’t make yourself yet. More importantly they also spawn book pages and metal molds to expand your crafting and gathering capabilities.
VR Survival, but still Survival
Early on in survival games there are two things which always limit a player and either make work much slower, or make areas harder or impossible to explore. Those two things are equipment and inventory slots. The grass backpack you begin with can hold six items, and your belt can hold 4 for a measly total of 10. If you’ve broken any of those pots while exploring your Township you will already feel the pain of leaving useful items scattered around, and needing to run back and forth to store them all. Without a team of other players, quickly cutting down on running around storing things is a top priority. Luckily one of the few recipes you begin with is to create a leather backpack, which holds 9 slots instead of 6.
Priority #1: Stay Fed
First things first though. You have a hunger bar and you need to eat. Time to rustle up some food. You might remember those birds from earlier. Well get your favorite rusty tool or rock on a stick and get to bashing.
The birds will drop meat, an easy way to get nutrients and a full belly. No need for cauldrons or pots, just toss those pieces of meat near an open flame until they smoke and eventually turn brown. Carry them with you, and eat anywhere on the go. Of course that will take an inventory slot, but now it’s time to lessen that particular problem.
Priority #2: A Better Backpack
While you’re walking around town, smashing pots and crates, there are a bevy of useful items that you cannot attain in any other way which you will find. The three you will need most of all to start with are metal buckles, leather straps, and the differently colored rolls of leather.
You will need at a minimum 2 leather rolls, 7 leather straps, and 11 metal buckles. Bring as many of these as you can find before you begin, especially the straps and buckles. You will probably break some of them. If you thought making the grass and sticks backpack in the tutorial was hard, then making this new backpack brings a whole new challenge. That is, not breaking pieces off of it when you are hammering in nails.
Hammering in nails is an art and a science. You must hit them directly. Not too hard, not too soft. Too hard and you damage the new piece that you are nailing in. Too soft and your blow will have no effect. If you make too many mistakes before hammering in a single nail you can always remove and re-add the piece to bring it up to full health. If you hammer in a single nail then you have to either hammer them all in successfully, wait for the piece to pop off by itself, or keep going until you either succeed or break it. Some of these pieces require a lot of nails, so being careful and precise is key. If you tend to hit too hard, use a rock on a stick. If you tend to hit too soft, then one of the many rusty hammers lying around may be easier. There should be plenty of the required pieces around town to make a single backpack.
You will want to save your old backpack in case you perish somewhere (for instance, deep in the mines) with your brand new one. Be careful just leaving it laying around as it may disappear.
With that done, what to do next? Well we’ll tell you.
Gating by Labor
A Township Tale gates off new areas not by requiring a certain item to progress, ala the Zelda series, or purely by placing enemies in your way which are difficult to progress past without better equipment. No, A Township Tale prevents your access to new areas via Labor. To build a bridge to a new zone you will need to add the materials necessary in order to build it. You will need a lot of these materials. Without anybody else to rely on to assist in getting them you will want to collect them as efficiently as possible. A piece of flint attached to a stick will work, but it will be slow. So naturally you will want to acquire better tools as quickly as possible, and the ability to make more when they break.
Priority #3: Better Tools
There are two buildings in the town that you cannot access right from the start. The Woodcutter’s hut and the Blacksmith. The Blacksmith is needed to make metal tools, though metal ore is freely available. Unfortunately, a whopping amount of wood is needed to build the stairs that lead to the Blacksmith.
So alright, just need to go cut down some trees and off we are to the world of advanced tools. Well no, there are only decorative trees in the town. The trees that can be chopped down in order to get such a large supply of wood are gated behind another labor wall. The first one you likely came across actually, a bridge to the forest near the starting spawn.
So it’s time to do some mining, and not for the stones you’ve been pulling out of the ground. You need white stones, also called sandstone, which are only found by mining nodes and occasionally some small amount in chests. Luckily you won’t need to do it all with a piece of flint on a stick. A fresh server will include a pick axe head and handle right next to the chest in front of the entrance to the mines. Just combine them and you’ve got the perfect tool to quickly acquire the white stone needed to build that bridge. You can also get some Copper and Coal while you’re at it. Saving any grey stones you find is also a good idea, as you will need a wagonload of those later on.
A good deal of all of these can be found without even entering the mine, just around the entrance. It is easier to break open a bunch of rocks at once, and then bend over and pick up all of the stones and ores in one swoop. If you thoroughly explore the entire overworld you can find all of the white stone needed to build the bridge, just barely. Otherwise you will need to stop down into the Mines. If you’d like to shake things up with a little adventure and danger, then definitely go into the Mines.
The Mines
The mines are very, very dark. Your torches will go out, and if you don’t like to put your torch on the ground while you’re swinging your pick, you can put a piece of dry grass on top of a flint on a stick and have light and mining capability in a single tool. Slow mining capability, but still. Since the way down is long and you may need a quick escape, you may want to bring one of the purple teleport potions if you’ve found one in your earlier exploration.
There is also a chest just inside the entrance, and as with all chests it is best to check it periodically for new items and recipes. If you want those sweet ores and white stones though, you’ll need to go down an ominous staircase to the first level of the mines.
The darkness swallows you in the depths. Sound echoes off of the walls. You will hear scraping coming from further within. Unless you’re really ready for a fight then don’t go too deep. The Rock Monsters hit like trucks and can take a beating. Gather the white stones first and foremost, and try to leave with your skin intact. There are also some chests and crates to be looted as well. If you have the stomach to go deeper, that is.
Off to be a Woodsman
When you have collected the white stones necessary to build the bridge, then congratulations. You’ve passed your first labor gate. It will get easier. Just put the rocks in the chest and watch as magic assembles your way forward.
Further in you will find the Woodcutter’s Hut, and a bevy of rusted tools laying about. Don’t bother with them. A proper axe is tucked into a log down the path. As with the pickaxe earlier this will make gathering a lot faster. You can see that some trees have different bark, and tend to stand up a little straighter than the decorative trees you’ve seen thus far. These can be chopped down just like the ones in the tutorial. Also make sure to bring a shield, as big a shield as you have found. Some of the trees will fight back.
The first big area containing a lot of harvestable trees will also have a large amount of these enemies. The first couple of trees can be harvested without attracting their attention, but the quickest way to get the lumber needed to access the Blacksmith is to take them out. Hope you brought your shield, because they like to shoot spores at you. Hold your shield up to block the spores, and whack them with your axe. Also, being made of wood, they will drop wood as well, along with some strange spores. Might as well take all of them. With the creatures gone and a few large trees chopped into wedges, you should have more than enough to build the staircase to the Blacksmith.
Congratulations once more! You’ve cleared the second labor gate and can now access every crafting building in the town. A world of new tools and weapons awaits you.
More to Come
Reality Remake isn’t done with A Township Tale yet. For the followup to this article we have another guide on How to Make Metal Weapons and Tools Solo as well. Now that you’ve gone through all of this effort to gain access to the Blacksmith, it’s time to make use of it.
Anyone who wants to follow this guide, but hasn’t played yet, can buy A Township Tale on Oculus Quest for 9.99 or play for free on PCVR.
A Township Tale: Fun Premise, Bad Tutorials
A Township Tale is a new VR title from Alta, which just released on Oculus Quest. It has best been described as a sort of Runescape VR (for anyone who still plays or remembers that most venerable of graphical MUDS). While lacking in the “Massive Multiplayer” aspect of a game like Runescape or World of Warcraft as Orbus VR: Reborn attempts to emulate, A Township Tale focuses more on it’s systems and the ways in which a player can do things normally done in a Multiplayer RPG space, but in VR.
A New Dimension of Multiplayer Survival
A Township Tale is a new VR title from Alta, which just released on Oculus Quest. It has best been described as a sort of Runescape VR (for anyone who still plays or remembers that most venerable of graphical MUDS). While lacking in the “Massive Multiplayer” aspect of a game like Runescape or World of Warcraft as Orbus VR: Reborn attempts to emulate, A Township Tale focuses more on it’s systems and the ways in which a player can do things normally done in a Multiplayer RPG space, but in VR.
Take, for instance, lighting a fire. In a “Flat” game, aka a non-VR title using a mouse and keyboard, you would need fire lighting items in your in game inventory. Flint and Steel, and some wood. Then you either select a campfire to build from a menu, maneuver it’s hologram into position, and press a button to place it on the ground. Maybe you want to cook something on that fire, well you press a use key and a menu pops up and you can turn some uncooked meat into some cooked meat with another button press. All in all, pretty removed from the actual process of creating a fire and cooking meat. Even in a games market saturated with survival titles, the most basic aspects of survival must be abstracted away to suit the controls which a player can use.
In VR there are so many opportunities to take things a player can do and make them physical, almost make them close to the process of doing the actual thing, because you have virtual hands that can actually move objects like you can with your real hands. A Township Tale excels at this, where most VR games have totally ignored this potential.
Back to the fire. In A Township Tale there’s no menu saying “Here’s what you need for a fire then press this button". You need to know how to build a fire, or you need to intuit it. You place some grass on the ground and get some pieces of firewood ready. Then you get some flint and a stone and smack them together over the grass until the spark catches the kindling. Once the grass lights up you put the wood over it, and wait for the wood to catch and burn as well. Put on a few more pieces of wood, arrange them so that the flames touch each, and there you have it, a fire. All done by moving objects with your virtual/physical hands, while sitting on your actual floor. With a fire built, let’s say you want to cook some meat. You take some raw meat from your inventory and just… put it on the fire. Wait for it to smoke, and wait for it to turn into cooked meat. You watch it like you would actually watch meat cook. Note the change in color, take it off before it burns. Try not to burn yourself in the process. No menu, no list of ingredients. Well, there are some lists of ingredients for crafting, but those are in actual books you need to open and flip through the pages of, but more on that later.
Amazing, right? It feels… so real. It pulls you in, and makes the feeling of creating something where there was just raw materials so much truer to life and truer to form. That is what VR is best at, taking something already done in games and taking it closer to reality. However, here in A Township Tale, that’s also the problem. How do new players learn to do these things?
The Tutorial Island
Well, there is a tutorial. It’s not a very good one. When you first create your character and enter the game you are thrust into a little tutorial world, and there first come into contact with the way A Township Tale expects you to learn how to do things in its world. Billboards and Checklists.
Well the first one seems straightforward enough, complete all of the tutorials and the actual game begins. The woodcutting is easy. There are axes, chop a tree down, then chop that tree into smaller bits. Smaller and smaller until you’re left with some wood suitable for crafting or keeping a fire going.
Mining gets a little more complicated. This time you need to make your own tools. A flint pickaxe and a torch. There are checklist items for both. Though one is for the Crafting checklist and the other is for the Mining checklist. This doesn’t make a lot of sense, as you will need the flint pickaxe to mine anything. The “Craft flint and stick together” item really belongs on the mining checklist. God help you if you start bashing a rock with another rock. That might not make sense in the real world, but this is still a video game. Maybe you’d think that would work. Nope, you need flint on a stick.
Grab your piece of flint and a stick, and helpfully a little trail of green magic will show you where you can put it to finish creating your little pickaxe. The same goes for a torch. That was easy enough as well. You go into the mines, bash a few stones into smaller stones. Boom, mining complete. Congratulations. Now comes the hard part, crafting.
Crafting Starts Hard
Crafting feels like a skill, something you would need to learn just like you would in real life. There a knack to smashing in nails just right. There’s an order to where the pieces go. Clearly knowledge of the game helps a lot in crafting, so crafting something for the first time without that knowledge is confusing and often frustrating. The backpack you must make in the tutorial island is a great example of this.
A nearby sign helpfully states that you only need grass and sticks to make this backpack. Luckily there are a lot of both just outside of the building. It also states that you will need to hammer in some nails. Hopefully you can figure out that nails are automatically added and that you need a rock to hammer them in. At first you just add pieces, sticks and grass. When you pick up the right piece, where it should go is highlighted, but you don’t know what order they go on it. A lot of trial and error ensues. Maybe you notice when a nail should be hammered in before you can add the next piece, maybe you spend ten minutes trying to add the next piece before noticing that you needed to hammer in a nail before going forward. Maybe you figure out that the sticks in the frame need to go in before the grass does. Well you either figure it out yourself, or you take off your VR headset and turn to the internet for someone to show you exactly how its done. Also, hammering is hard. Just like chopping wood, there’s a knack to getting it just right, and sometimes when you hit a nail it seems like it should go in further and it doesn’t.
Getting caught on a single part that just doesn’t make sense is frustrating. There’s really nothing to turn to in game to help you figure it out. So you may just take your headset off and Youtube it, which is a failure of the game. Having to turn to Youtube to figure something out means that the tutorial is just insufficient. Not to mention, this backpack is the easy part. It’s the introduction. Maybe it’ll make sense to you, maybe you’ll be lucky enough to not run into a bug that makes this even harder. A nail that is required for the next section may not appear, or the place you need to put a part may not highlight. Sure A Township Tale still needs a lot of work put into it, but when you’re not sure what you should do next one of these bugs is a show stopper. Whenever you put the backpack together you’re ready for the open world, the true game.
Crafting Gets Harder
It’s going to feel like one long tutorial for a very long time. With so many more things to craft and do there’s a lot of figuring out ahead. Oh, and checklists, no tutorials, no how tos, just checklists.
Let’s take carpentry as an example. To make a lot of things you’re going to need wooden handles and other parts. They’re the base of a lot of useful items, like swords. The checklist seems simple. Add the ingredients to make a short wooden handle, 6 wood in this case. Select the recipe and add it to the bench, and then just chisel it out of the wood. In most games this would be sufficient. All accomplished in a few button presses. In A Township Tale, there’s a lot of details not handled in such a simple list. First of all there’s adding the wood to the bench. No, you don’t just place it on the bench.
You really need to place it between the two pincers on the let side of the bench, to hold them in place for chiseling later. Well nothing tells you that. You need to figure it out, and if you don’t you’re going to have to Youtube someone else doing it. See the trend? When you don’t get it naturally there’s nothing in game to help you out. Well there’s some arcane runes of some sort in the crafting recipe itself, helpfully sitting on a nearby pedestal, but good luck getting such minor, yet vital, details out of that.
So you’ve got the wood on the block, the next item is to add the recipe to the bench. Okay, there’s no obvious way to select a recipe. Maybe just placing the book on the bench will do something? No. Maybe putting the book in the slot on the side of the bench that seems to be just about the dimensions of the book will add it. No. What you need to do is rip a page of the recipe out of the book, and then put it in that little slot. You may have tried ripping the page out and just not ripped hard enough, because you weren’t sure that was the way to do it. So now the bit you need to chisel off first lights up. Okay, grab the nearby chisel and hammer, and whack at the back of the chisel like you would in real life. Intuitive. Oh, but make sure you whack it with a wide swing, and make sure the chisel is just about horizontal but not quite, or there will be absolutely no result.
There are so many places to get caught up the first time you do even the most basic recipe, and that is the crux of the problem. It is insanely easier and less frustrating to just stop playing the game and find a video of someone else doing the same thing, so you can get all of the minor details. Hopefully you don’t get bored or distracted on the way back to the game. There really should be something in game that tells you these gaps, the checklists provide some structure, but just aren’t sufficient.
Tutorials are a lot harder in VR, where the tasks are so physical and the guidance is more complicated than saying “press a button” or highlighting the button to press. A more elegant solution like a hologram that mimics what you need to do might be in order, but that is much harder to implement. Even more thorough text that tells you how to do these things would help. For instance, telling you that you need to rip out the crafting page instead of just saying “Add the Recipe to the Bench.” Games need an in game tutorial that doesn’t rely on exiting the game to watch a video in order to do basic crafting and tasks. Or do they?
In Conclusion
A Township Tale has a big emphasis on a community working together to achieve goals. Maybe the designers intended for players to rely on one another to teach them how to do these things. There’s definitely fun to be had there, and the joy in passing on skills earned to a junior player.
Crafting isn’t as simple as pushing a button, there is actual skill involved. The more you do it the better you get at it. Not by seeing a number go up, but by being physically more agile at performing the actions you need to perform to turn a chunks of wood into a useful handle, or raw meat and kindling into a fire and cooked meat. That is the magic of VR, but it also offers a big challenge to new players. Does this lack of proper in game tutorials make the barrier to entry high enough to discourage new players, or would it rather encourage them to seek help from others and build communities in the process? Feel free to comment below on what you think.
Anyone who wants to try out this in depth crafting system can buy A Township Tale on Oculus Quest for 9.99 or play for free on PCVR. The Oculus Quest Price tag does come with some cosmetic bonuses and in game currency. If you really want to get into the game fast, watch some tutorials on crafting before jumping in.
More to Come
Reality Remake isn’t done with A Township Tale yet. After figuring out the basics there is a lot more game to dig into. Join us at our server, named realityremake.com. More articles on this intriguing experience to come soon.


![A Township Tale Update: How to Reach the Climbing Tower on the Quest 2 [Guide]](https://images.squarespace-cdn.com/content/v1/60ee2eaaafee646b28e6aa42/1668364449029-NFKI1JC4OJ0PV552AI9D/ATownshipTaleClimbingLogo.jpg)


