

How To Play Minecraft VR Directly On The Oculus Quest 2 Standalone Without PCVR
Minecraft VR is an absolutely fantastic game, and once you get it working it is a ton of fun. Now you can even enjoy it if your PC isn’t great and can’t run games in PCVR. You only need a PC to install it on your headset, and after you’re done setting it up you can play VR Minecraft on your Oculus Quest 2 headset whenever you want.
Despite the low resolution textures and the blocky appearance of well… everything. VR Minecraft on the Oculus Quest 2 is an absolute blast to play.
The freedom of Minecraft’s open world and the impressiveness of exploring it becomes even better and more immersive with the addition of Virtual Reality on a Meta Quest 2. All of the caves and wilderness that you explore, and of course the creations that you make within the game, are even better to experience like they are right in front of you in VR.
Unfortunately installing Minecraft for the Oculus Quest 2 isn’t as simple as most games, which you can just install through the Oculus Store or App on your phone.
Nope, to play Minecraft VR on the Meta Quest 2 you’ll need to do a bit of extra work, but it’s definitely worth it. So if you want to explore Minecraft in VR on your Oculus Quest device then keep reading because we’ve got exactly how step by step.
Oh, and if you’ve got an Oculus Quest 3 then unfortunately this won’t work, at least at the time of writing. Currently this will only work for older Meta Quest devices, but the developers of this Minecraft VR port to Quest are hard at work on including the Meta Quest 3 as well.
Minecraft VR for the Oculus Quest 2 - Prerequisites
So before we get going with the installation process there’s a few things you’ll need:
A Microsoft account with Minecraft: Java Edition
A PC on the same WiFi network as your Oculus Quest 2 headset
A cable to connect your PC to your headset: You can buy the official Oculus Link Cable here. If you’d rather try a cheaper option then there are several available from Amazon like this one here.
Once you have all of these things then you’ve got everything you need to play Minecraft on your Quest 2. So let’s get started.
Minecraft VR for the Quest 2 - Installing SideQuest
To play Minecraft directly on your Meta Quest 2 standalone without running the game on a PC, we’re going to use the popular application SideQuest to sideload an app called QuestCraft on to your headset.
If you’ve never used SideQuest before then don’t worry, I’ll run you through how to set it up and sideload QuestCraft here. Oh, and in case you’re wondering SideQuest and QuestCraft are both totally free! As long as you already own Minecraft you won’t have to pay a cent more to enjoy it in Virtual Reality.
If you already have SideQuest installed then skip down to the next section.
To start go to the SideQuest installation page and download the Easy Installer.

Download the Easy SideQuest installer by clicking here
The installation of SideQuest is guided by the installer. Each step you need to take will be shown in the SideQuest installer window.
After running the installer the first thing you will need to do is connect your Quest 2 headset to your computer using that Link Cable mentioned in the prerequisites.
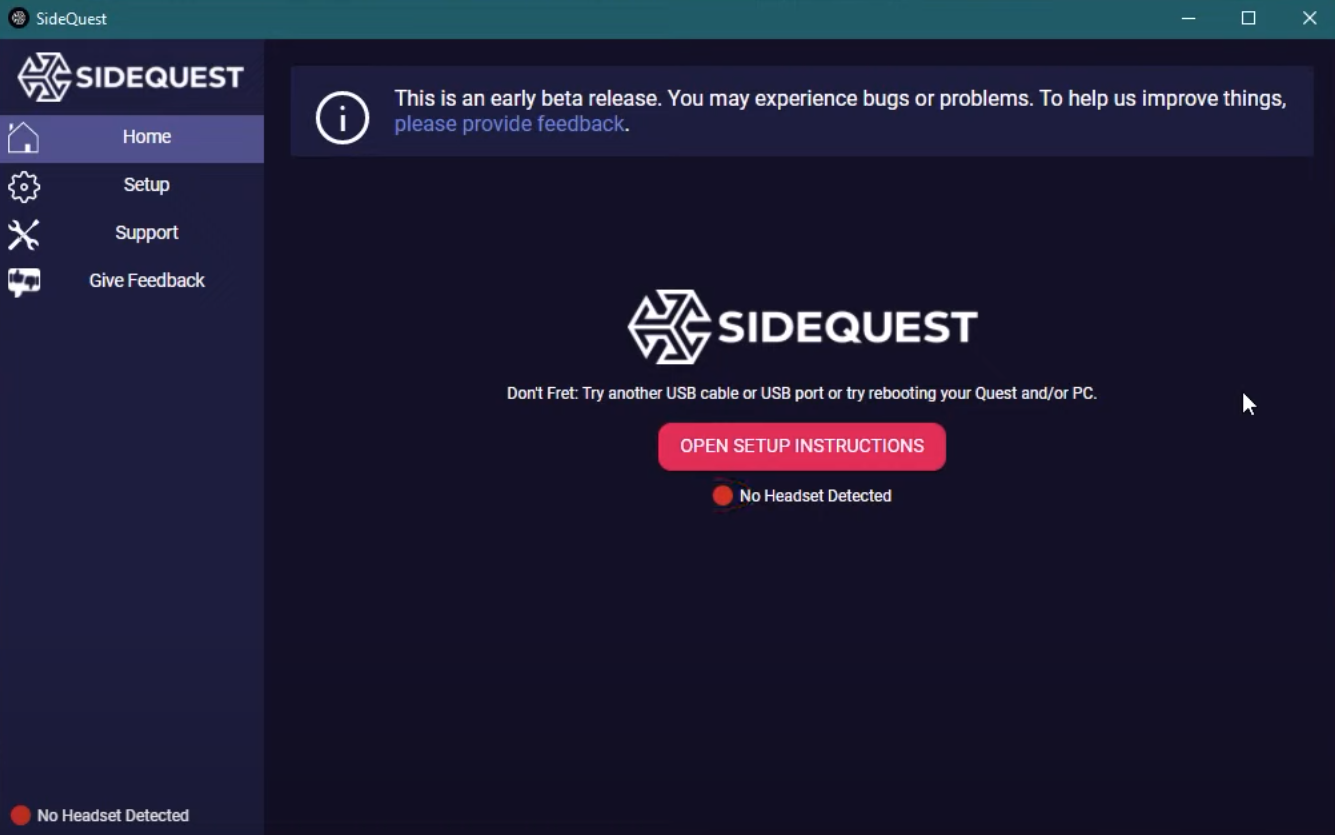
The first page of the SideQuest installation process
Once your headset is connected to your PC then the installer will continue to give you instructions on how to set up a Meta developer profile and enable developer mode on your Quest device.
Unfortunately there’s no way to sideload apps like QuestCraft for VR Minecraft on your headset without doing this.

This might seem like a lot but trust me it’s worth it
Luckily the SideQuest installer makes the whole process very easy by explaining exactly what to do step by step.
After you’ve set up your Meta Organization and enabled developer mode I also recommend you create a SideQuest account while you’re at it. You’ll need it after completing the installation. Don’t worry, the SideQuest account is completely free.
If you just follow what the installer says until all of the red circles under “Connection Status” turn green, then you’ll be just fine. When you’ve successfully installed SideQuest some confetti will appear on the launcher and it will look something like this.

Once you see this you’ve successfully installed SideQuest on your Oculus Quest 2! Now on to installing Minecraft VR
Congratulations! When you’ve done this then not only is Minecraft VR just a few simple steps away, but all sorts of other sideloaded apps will be very easy to install on your Oculus Quest 2 and enjoy.
Minecraft VR - Installing and Playing QuestCraft
Now that SideQuest is installed on your headset it’s time to put your Oculus Quest 2 on and open SideQuest.
Go to your game library as usual and click the search bar at the top. You don’t have to type anything into it. Instead click on the drop down next to it and then click on the “Unknown Sources” option.

Go to “Unknown Sources” to open sideloaded applications like SideQuest or VR Minecraft
You’ll see a new application called “SideQuest” click on it to open it.
When SideQuest loads and opens you’ll get a prompt with a six digit code telling you to go to sdq.st/link and enter the code. So take your headset off, go back to your PC and go to that website and enter the six digit code. You’ll also have to log into your SideQuest account. If you didn’t make one earlier then do so now. It’s easy and it’s free.
Once you’ve linked your SideQuest installation on your headset to your Oculus Quest 2 the SideQuest app will open. You’ll get some prompts asking you for various permissions, hit “Allow” on all of them.

Allowing permissions will make everything run smoothly
You also might have a prompt, like in the screenshot above to Update SideQuest. Go ahead and do that. You’ll probably get a prompt telling you that “your phone currently isn’t allowed to install unknown apps from this source.”
If you do then hit the “Settings” button in that popup and enable the slider for “Allow this source.”

If you don’t do this then SideQuest won’t be able to install anything
If you don’t update SideQuest or aren’t prompted to then you might have to do this later when you install QuestCraft.
Otherwise if you do update then SideQuest will close itself, just relaunch it.
Now that you’ve finally installed, updated, and accessed SideQuest, let’s install Oculus Quest 2 Minecraft! This part is easy. Search for “QuestCraft” by clicking on the magnifying glass in the top right and typing it in, or if you’re lucky it might be right there on the front page.

Opening the QuestCraft page in the SideQuest app
This will open the QuestCraft page. There will be a big button on it that says “SIDELOAD". Click that button and let SideQuest do its job.
You’ll see some prompts show up saying that APKs and other things are installing. If you get any prompts asking you for permissions, then accept them.
Soon you’ll see a popup at the bottom of the window telling you that QuestCraft was installed successfully. Nice! Now go back to your app library, and go back to the “Unknown Sources” menu just like you did before to open SideQuest.
This time you’ll see a new app named “QuestCraft” so go ahead and open that.

Opening Minecraft VR from the “Unknown Sources” menu
It might take a while to load, just be patient, but when it does you’ll find yourself in a grand hall made of minecraft blocks with a huge screen right next to you.
Point your right controller at that screen and click the “Sign In” button on it.

Another code to link, but this is the last one
You’ll see a prompt appear below it telling you to go to microsoft.com/link and enter a code.
Go ahead and do that. After you enter the code you’ll also have to log into your Microsoft account that owns Minecraft: Java Edition. You’ll be asked to confirm that you’re giving certain permissions to the application in order to do this.
Now while I had no trouble when doing this, some reviews for QuestCraft on SideQuest have stated that at this point they get a message saying that their account couldn’t be found or couldn’t be accessed. If you get an error or have a problem around here then exit out of QuestCraft, restart your headset, double check the credentials you’re using for your Microsoft account, double check that your Microsoft account has Minecraft: Java Edition on it, and try again.
Once your account is linked successfully then just click “Sign In” again. It will change to some new buttons giving you various options like ModManager and the current version. Let’s finally get into some Meta Quest 2 Minecraft on your Quest and hit “Play”.

When you get here you’re so close to Oculus Quest 2 Minecraft
Or rather wait for Minecraft to download on to your Quest. You’ll see some text start appearing and disappearing in the bottom right corner of the big screen.
This is all downloading and installing a bunch of stuff to let you play VR Minecraft.

This is the last step, downloading some Minecraft VR mod files
You’ll have to wait for a few minutes, but eventually the text will go away. When it does hit “Play” again.
Then you’ll find yourself in a dirt room with the Minecraft main menu screen in front of you. Awesome! You’re finally in Minecraft VR.

The Minecraft main menu in Virtual Reality on the Quest 2
Go ahead and test out how it works by making a world and hopping in it. Your right hand works just like it does in the Oculus menus. Just point and pull the trigger to select.
The main menu and options work mostly like they do in the flatscreen Minecraft game, though there are some new options that are VR specific.
Now you should be aware that the first time you make a world and play Minecraft in VR on your Oculus Quest 2 like this, it’s probably going to be a little laggy and choppy.
Don’t worry, this will probably go away in a few minutes. Just ride it out. You may experience little glitches like your character sliding in a random direction, or the framerate suddenly dropping sharply. I found that it took about five to ten minutes for the game to smooth out and function well.
Be a little patient and hopefully it will work better. This is a mod after all, and mods tend to have bugs and problems.

Punching a tree in Minecraft VR on the Quest
As long as it runs smoothly this Minecraft VR mod for the Quest is pretty great.
You can harvest blocks, or hit enemies, by pointing your dominant hand at them with your cursor and holding down right trigger, or you can actually swing at them with your arm or tool.
Pointing your cursor at a space while holding a block and pulling the left trigger places the block in your hand. When you make a Crafting Table you can also craft things with it by pointing your cursor at it and pulling the left trigger.

Using the crafting bench in VR Minecraft
There’s a lot more to learn and discover in Minecraft VR, so I’ll leave that to you.
Not to mention you can also use your newly installed SideQuest application to Sideload all sorts of other games on to your Oculus Quest 2 as well.
Minecraft is a ton of fun in Virtual Reality, and I hope that this setup guide has given you the chance to experience the wonder and fun of VR Minecraft as well with the comfort and freedom of any standalone Quest 2 game. Enjoy!